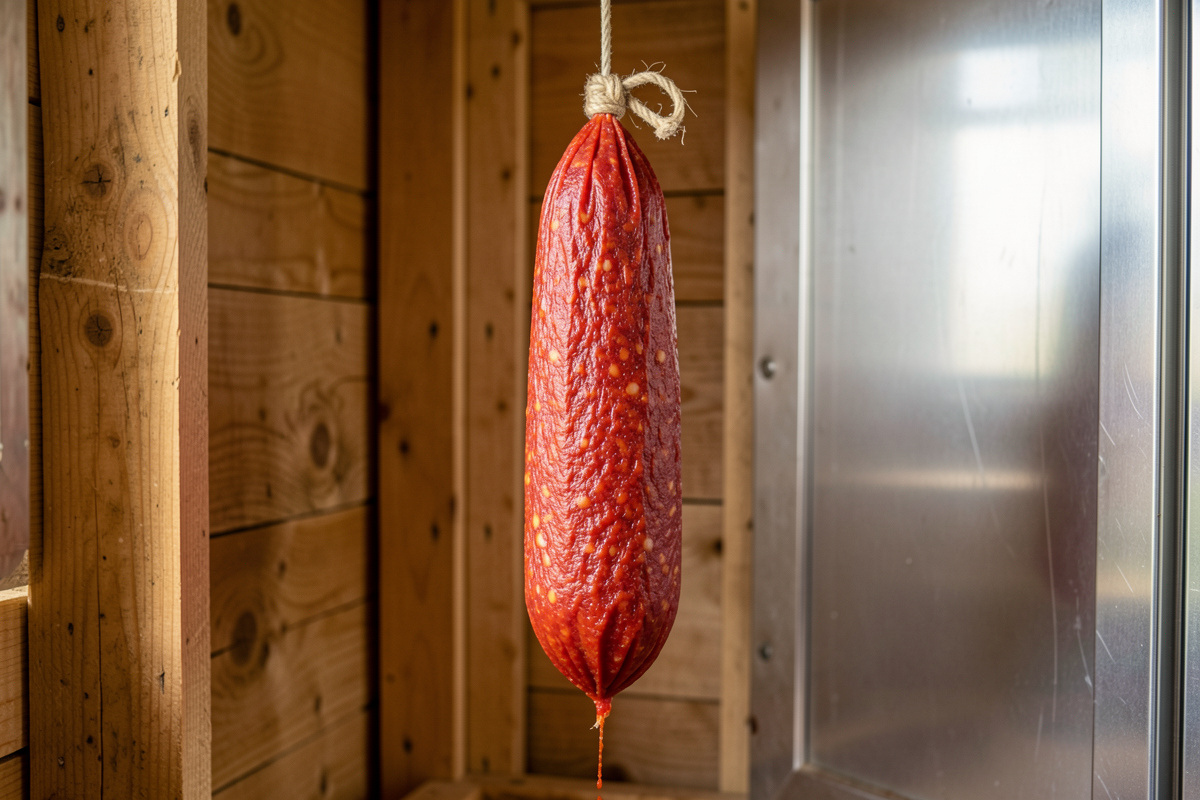

‘Nduja is a fermented, spreadable Calabrian salami: fatty pork and a heavy dose of Calabrian chili, salted at about 2.75%, cured with Cure #2, fermented to drop the pH below 5.3, then dried only to roughly 25–30% weight loss so it stays soft enough to spoon. That last number is the whole trick — you stop the dry early, on purpose, and let the acid and the cure do the preserving instead of dehydration.
I have been hanging whole-muscle and fermented sausage in converted-fridge chambers for years, and ‘nduja sits in its own corner of that work. It is the one piece on my shelf where the goal is not a firm slice. Everything about the build — the fat fraction, the grind, the ferment, the short dry — is tuned to keep it spreadable while still hitting the same safety hurdles a hard salami clears. This guide walks the whole thing, from the cure shelf to the spoon, the way I run mine.
What ‘Nduja Actually Is — A Ferment, Not Just a Spicy Sausage
‘Nduja is a soft, fermented, dry-cured pork sausage from Calabria, built around a very high proportion of chili. What makes it different from a sliceable salami is not the chili — it is the fat. A traditional ‘nduja runs well over half fat by weight, which is why it spreads like a paste rather than slicing into rounds. Treat it as a controlled ferment that happens to be soft, not as a fresh sausage you smear on bread.
The chemistry is identical to any salami I make: lactic acid bacteria eat the added sugar, drop the pH, and that acidity (alongside salt and nitrite) is what makes the meat safe to eat without cooking. The pH drop that finishes a salami is the same lactic-acid chemistry that ferments a jar of sauerkraut — same bacteria family, different substrate. If you have never built a fermented sausage before, read my complete guide to home salami making first; ‘nduja assumes you already understand fermentation and drying as a process.
Because it is fermented and then dried over weeks, ‘nduja is firmly in long-cure territory. That single fact decides the most important ingredient on the list, and it is the one beginners most often get wrong.
The wider point is that ‘nduja belongs to a whole category the average salami census ignores: soft, spreadable fermented sausage. Most home charcuterie writing is about firm, sliceable salami — the soppressata, the finocchiona, the saucisson. Spreadable sausage works by a different logic. You deliberately keep more fat, grind finer, and dry less, then lean harder on the ferment and the cure to make up the safety margin you give away by not drying to a hard slice. Once you understand that trade, the whole family — ‘nduja, sobrasada, and the softer Calabrian sausages — makes sense as variations on one idea rather than a set of unrelated recipes.
The Cure and Culture Shelf: What Actually Goes In
‘Nduja needs five non-negotiable inputs beyond meat and chili: salt, Cure #2, dextrose, a starter culture, and time. The cure choice is the safety call. Because this is a fermented sausage dried over several weeks, you use Cure #2 (sodium nitrite plus sodium nitrate), not Cure #1. The nitrate acts as a slow reservoir, converting to nitrite across the long dry — exactly what a multi-week cure needs.
Here is the cure shelf I weigh for a 1 kg batch, and why each one is there:
| Ingredient | Amount (per 1 kg meat) | Why it is there |
|---|---|---|
| Sea or kosher salt (non-iodized) | 27.5 g (2.75%) | Flavour, water activity, controls the ferment |
| Cure #2 | 2.5 g (0.25%) | Nitrite + nitrate reservoir for a long dry — botulism and color |
| Dextrose | 4 g (0.4%) | Food for the bacteria; fuels the pH drop |
| Starter culture | Per manufacturer dose | The lactic acid bacteria that acidify the meat |
| Calabrian chili (hot + sweet) | 200–300 g (20–30%) | The defining flavour and color |
Never substitute iodized table salt — the iodine inhibits the ferment. Never run a “natural, no-nitrate” version of a long-dried fermented sausage; that is the one shortcut that genuinely puts Clostridium botulinum on the table. I keep a tub of Cure #2 curing salt labelled and stored away from regular salt for exactly this reason. As an Amazon Associate I earn from qualifying purchases.
The starter culture is the other piece people skip and regret. A commercial starter culture like T-SPX seeds a known population of lactic acid bacteria so the pH drop is predictable instead of a gamble. “Letting it happen naturally” means hoping the right bugs win the race against the wrong ones — a needless risk when a sachet costs almost nothing.
Rehydrate the culture in a little non-chlorinated water about half an hour before mixing, and keep it away from the salt and cure until it goes into the meat — chlorine and a direct hit of concentrated salt can both knock back the bacteria before they ever get started. I keep distilled water on the bench for exactly this. It is a tiny detail, but it is the difference between a culture that fires in a day and one that stalls.
Equilibrium Cure vs Salt-Box: Why I Weigh Everything
For a sausage, there is no salt-box option — you are not burying a whole muscle in salt, you are mixing a measured amount into ground meat. That makes ‘nduja an equilibrium cure by definition: every gram of salt and cure you add stays in the product, so the percentages have to be right. This is the opposite of curing a coppa, where excess salt sits on the surface and can be rinsed; here, what you weigh is what you eat.
That is why I work in baker’s percentages off the combined meat-and-fat weight and weigh on a scale that reads to 0.1 g for the cure and culture. Eyeballing the Cure #2 on a 1 kg batch is how people drift into either an ineffective dose or an unpleasant one. Weigh the total meat first, then calculate: 2.75% salt, 0.25% Cure #2, 0.4% dextrose. Write the numbers down before you start grinding. The discipline of the weight log starts at the cure stage, not the drying stage.
Meat and Fat: The Ratio That Makes It Spreadable
The defining feature of ‘nduja is its fat content. Where a sliceable salami runs roughly 70% lean to 30% fat, ‘nduja inverts that idea — somewhere between 50% and 70% fat is normal, with the rest lean pork. I build mine around pork belly, fatback, and a portion of shoulder or jowl, aiming for a paste that stays soft and emulsified at room temperature.
That high fat is exactly why temperature discipline matters so much here. Fat smears the instant it warms, and a smeared batch never spreads cleanly — it goes greasy and breaks. Partially freeze the meat and fat until they are firm and crunchy at the edges before grinding, chill your grinder plates, and work fast. If you want the full mechanics of plate size and fat temperature, my guide to grinding meat for salami covers the cold-grind discipline that keeps the emulsion intact. Get this wrong and you will end up reading my fix for greasy ‘nduja instead of eating it.
‘Nduja is traditionally ground fine, often passed twice or even paste-blended, because you want a smooth spread rather than the visible fat dice of a soppressata. That fine grind is part of why it stays soft — there is no coarse fat structure to firm up as it dries.
A practical note on sourcing fat: not all pork fat behaves the same. Hard back fat holds its structure best and is what I build the bulk of the paste around; softer belly and jowl fat melt more readily and smear faster, so I keep them as a minority of the mix and grind them coldest. If your only option is softer fat, freeze it harder and longer before grinding, and accept that your working window in the kitchen is shorter. The fattier the build, the less heat it tolerates before the emulsion breaks — and ‘nduja is about as fatty as a fermented sausage gets.
The Chili: Calabrian Heat Without Wrecking the Cure
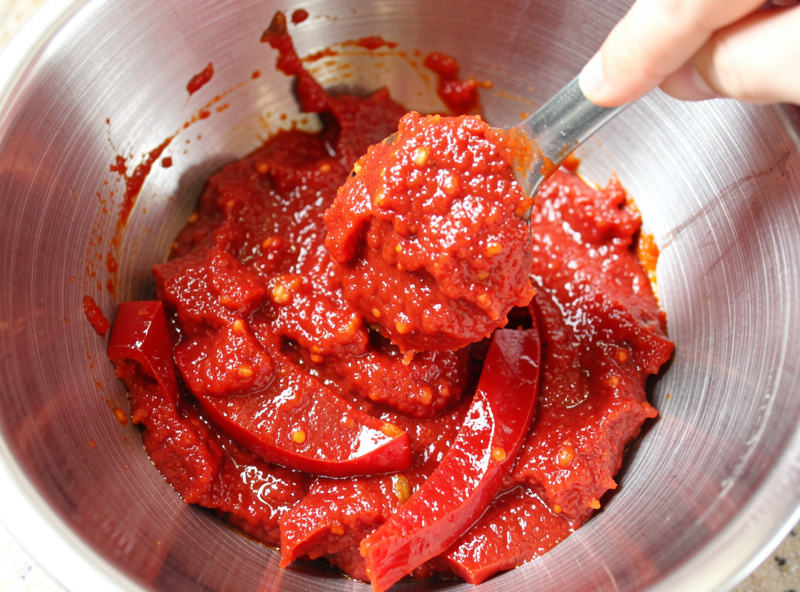
Chili is what makes ‘nduja ‘nduja, and the amount is genuinely large — 20 to 30% of the meat weight, far more than any other salami I make. But it is not all firebreathing heat. Traditional builds blend hot Calabrian peperoncino with a larger fraction of sweet roasted red pepper, which carries the deep red color and body without melting your palate. I detail the exact split, fresh-versus-dried, and how to dial the burn in my dedicated ‘nduja chili ratio breakdown.
One safety note that gets overlooked: chili paste carries water, and water raises the water activity of the mix. That is one more reason the salt, cure, and ferment all have to be right — you are working with a wetter, higher-fat paste than a normal salami, so the hurdles that keep it safe have less margin. The chili is flavour; it does nothing to preserve the meat.
Mixing and Stuffing the Paste
Once the meat, fat, chili, salt, cure, dextrose, and rehydrated culture are combined, mix until the paste is uniform and slightly tacky — but stop there. Over-mixing a high-fat paste warms it and starts the smear. I mix mine cold, in a bowl set over ice if the kitchen is warm, just until everything is evenly distributed and the color is consistent.
Stuffing ‘nduja is its own small challenge because the paste is soft and the format is wide. Traditional ‘nduja goes into a large pork blind gut or a wide beef bung; at home, a wide beef bung gives that classic fat torpedo, while sewn-end beef caps are easier to handle for smaller batches. I compare the two in detail in best casing for ‘nduja, and the broader trade-offs live in my salami casing types guide. Whatever you choose, stuff firmly with no air pockets — trapped air under the casing is where surface spoilage starts.
A vertical sausage stuffer makes wide-casing work far easier than trying to push soft paste through a grinder horn. After stuffing, prick any visible air pockets and wipe the casing clean.
The Fermentation Phase: Dropping the pH for Safety
This is the step that makes ‘nduja safe, and it is non-negotiable. After stuffing, you hold the sausage warm and humid so the starter culture wakes up and acidifies the meat. With a traditional culture like T-SPX, I ferment around 20–24 °C (68–75 °F) at roughly 90% relative humidity for 24 to 72 hours, until the pH drops below 5.3. Below 5.3 is the safety line; I usually aim for the high 4s to low 5s.
The reason warmth matters is also the reason it is dangerous to get lazy here: a warm, moist, low-oxygen meat environment is the exact window Clostridium botulinum likes. The acidification is what closes that window. Never hold the sausage warm without an active culture acidifying it — that is the botulism trap, not a “rest.” If you do not own a pH meter yet, my method for fermenting salami without a pH meter covers the sensory and timing cues, though for a high-fat paste like this I genuinely recommend measuring. A cheap digital pH meter removes all the guesswork.
The full safety logic — pH, water activity, and how the hurdles stack — is worth understanding before you eat anything you fermented. I lay it out in is spreadable salami safe and in my broader charcuterie food safety guide.
The Drying Phase: The Soft-Spread Endpoint
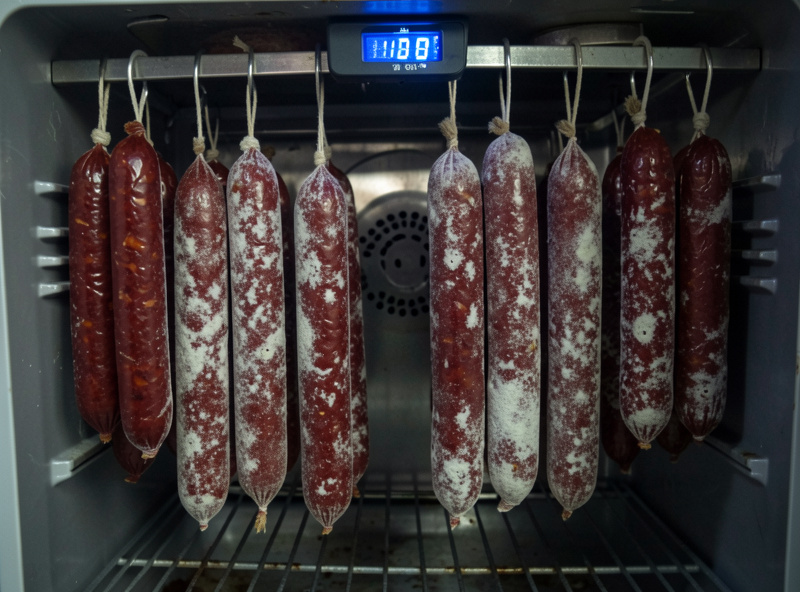
After the ferment, the sausage moves to the drying chamber — for me, ~12–15 °C (54–59 °F) and ~75–80% relative humidity, the same envelope I hold for every dry-cured piece. The difference with ‘nduja is where you stop. A sliceable salami dries to roughly 35–40% weight loss; ‘nduja you pull much earlier, around 25–30% weight loss, so it firms slightly but stays spreadable. The high fat means it never gets hard the way a lean salami does.
Weight loss is the honest doneness signal — I log the start weight of every piece and weigh again until it hits target. The exact endpoint and how long it takes lives in how long to dry ‘nduja. Hold the climate steady: too dry and too fast and you get the dreaded case hardening — a hard dry ring trapping a wet, unsafe core. Stable humidity from a chamber humidifier is what prevents it, and the whole climate-control approach is in my curing chamber climate control guide.
You will likely see white mold bloom on the casing during the dry. That is normal and protective if it is the right mold — powdery and white. My good white mold vs dangerous black or green mold guide shows the difference, and you can deliberately seed the good stuff with a Penicillium nalgiovense culture.
Air Exchange: The First Week Is the Riskiest
The first week after the ferment is where most surface problems start, and the lever that controls them is air exchange. A sealed chamber with no fresh air lets surface moisture and stray spores build up against the casing; too much airflow dries the surface faster than the core, and you are back to case hardening. I run a 120 mm low-speed fan on a roughly five-minutes-on, twenty-five-off cycle — enough to refresh the air and even out the humidity without blasting the casing.
For a soft, high-fat ‘nduja the balance leans gentle. You want the surface to dry just enough to set a protective skin and let the good white mold establish, not so aggressively that it seals before the interior has lost any water. If you see a hard ring forming early, ease the airflow and nudge humidity up. The mechanics of fan sizing and placement are in my chamber build notes, and the same Home Assistant hub that schedules my grow lights also runs the chamber’s compressor and fan cycle — humidity, as I keep telling people, is destiny.
How I Serve and Store Finished ‘Nduja
Once it hits the soft-spread endpoint, ‘nduja keeps well because the same hurdles that made it safe — low pH, salt, cure, reduced water — also slow spoilage. I keep a working piece wrapped in butcher paper in the fridge and spoon from it; the cut face will firm and darken slightly with air, which is normal. For longer storage, the whole sausage holds for months refrigerated, and you can freeze portions with little loss because the high fat protects the texture.
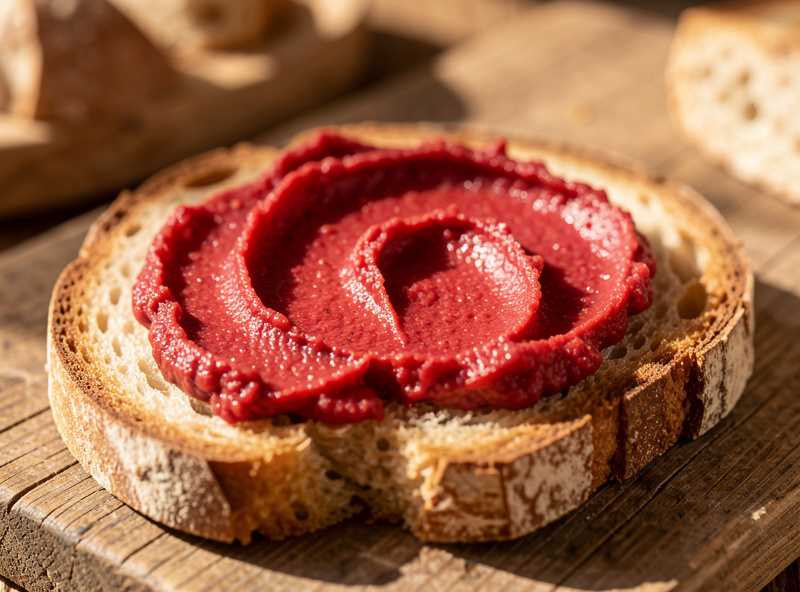
On the plate it is endlessly useful: stirred into a tomato sauce, spread on toasted bread, melted over roasting vegetables, or folded through soft eggs. A little goes a long way given the chili load. Because it is already a stable cured product, you are warming it for flavour, not cooking it for safety — though I would not argue with anyone who likes it bubbling on a pizza.
Troubleshooting: Greasy, Hard, or Off
Three problems account for most failed ‘nduja. Greasy instead of spreadable almost always means the fat smeared — too warm during grinding or mixing, or the chamber ran too warm and rendered fat out. Hard outer ring, soft core is case hardening from drying too fast. Slimy, sour-in-a-bad-way, or fuzzy black-green growth means throw it out — when in doubt, bin it. A related defect, fat smear in salami, shares the same cold-discipline cure. None of these are about heroics; they are about holding temperature and humidity steady and respecting the weight log.
‘Nduja vs Its Spreadable Cousins
‘Nduja is the most famous soft, spreadable fermented sausage, but it is not the only one. Spain’s Mallorca makes sobrasada, a paprika-forward spreadable that is built on dried pimentón rather than fresh chili and runs far milder. If you want the direct comparison — heat, spice form, origin, and method — I put them side by side in ‘nduja vs sobrasada. The Spanish cured-pork tradition also runs to firmer whole-muscle pieces like lomo embuchado, which is a useful contrast in technique.
If you want a firmer, sliceable project to build alongside your ‘nduja, a coarse soppressata uses the same cure shelf and ferment but a completely different grind and dry endpoint — a good way to see how much the fat fraction and weight-loss target change the final product.
The Whole Build at a Glance
| Phase | Conditions | Target / endpoint |
|---|---|---|
| Cure & mix | Everything below ~2 °C, cold tools | Smooth, tacky paste — no fat smear |
| Stuff | Wide beef bung or sewn caps | Firm pack, no air pockets |
| Ferment | 20–24 °C, ~90% RH, 24–72 h | pH below 5.3 |
| Dry | 12–15 °C, 75–80% RH | 25–30% weight loss (soft-spread) |
Frequently Asked Questions
Do I really need Cure #2 to make ‘nduja?
Yes. ‘Nduja is a fermented sausage dried over several weeks, which is exactly the long-cure situation Cure #2 exists for. The nitrate acts as a slow reservoir that converts to nitrite across the dry, protecting against botulism. Cure #1 alone is for short cures and does not last the distance.
How much chili goes into ‘nduja?
Between 20 and 30% of the meat weight, which is far more than any other salami. It is a blend of hot Calabrian peperoncino and a larger fraction of sweet roasted red pepper for color and body, so the total is large but the raw heat is balanced rather than overwhelming.
Why is my ‘nduja greasy instead of spreadable?
The fat smeared. This happens when the meat or fat got warm during grinding or mixing, or the chamber ran too warm and rendered fat out of the paste. Keep everything near freezing, chill your tools, work fast, and hold a steady drying temperature around 12 to 15 degrees Celsius.
How dry should ‘nduja get?
Only about 25 to 30% weight loss, much less than a sliceable salami’s 35 to 40%. You stop early on purpose so it stays soft and spreadable. The fermentation acid and the cure do the preserving, not extreme dehydration, which is why the short dry is still safe.
What pH does ‘nduja need to reach to be safe?
Below 5.3, and I aim for the high 4s to low 5s. The fermentation phase, held warm and humid with an active starter culture, is what drives that acid drop. The pH fall is the main hurdle that makes a soft, uncooked sausage safe to eat.
Can I make ‘nduja without a starter culture?
You can, but you should not. A commercial culture seeds a known population of lactic acid bacteria so the pH drops reliably and quickly. Relying on wild bacteria is a gamble that the right organisms win the race, and with a wet, high-fat paste the margin for error is small.
Related Guides
- How Much Chili Goes in ‘Nduja: Calabrian Heat Without Wrecking the Cure
- Best Casing for ‘Nduja: Wide Beef Bung vs Sewn-End Caps
- How Long to Dry ‘Nduja: Soft-Spread Endpoint by Weight
- Why Is My ‘Nduja Greasy Instead of Spreadable? Fixing the Fat
- Is Spreadable Salami Safe? The Fermentation Rules for Soft Cured Sausage
- ‘Nduja vs Sobrasada: How the Two Spreadable Salamis Differ
- How to Make Sobrasada: Spanish Paprika Spreadable Sausage