All Guides

Building a Curing Chamber

Every technical article, build log, and curing walkthrough — organized for reference.

Inkbird Curing Chamber Controller Upgrade Guide
Building a Curing Chamber

Inkbird Curing Chamber Controller Upgrade Guide

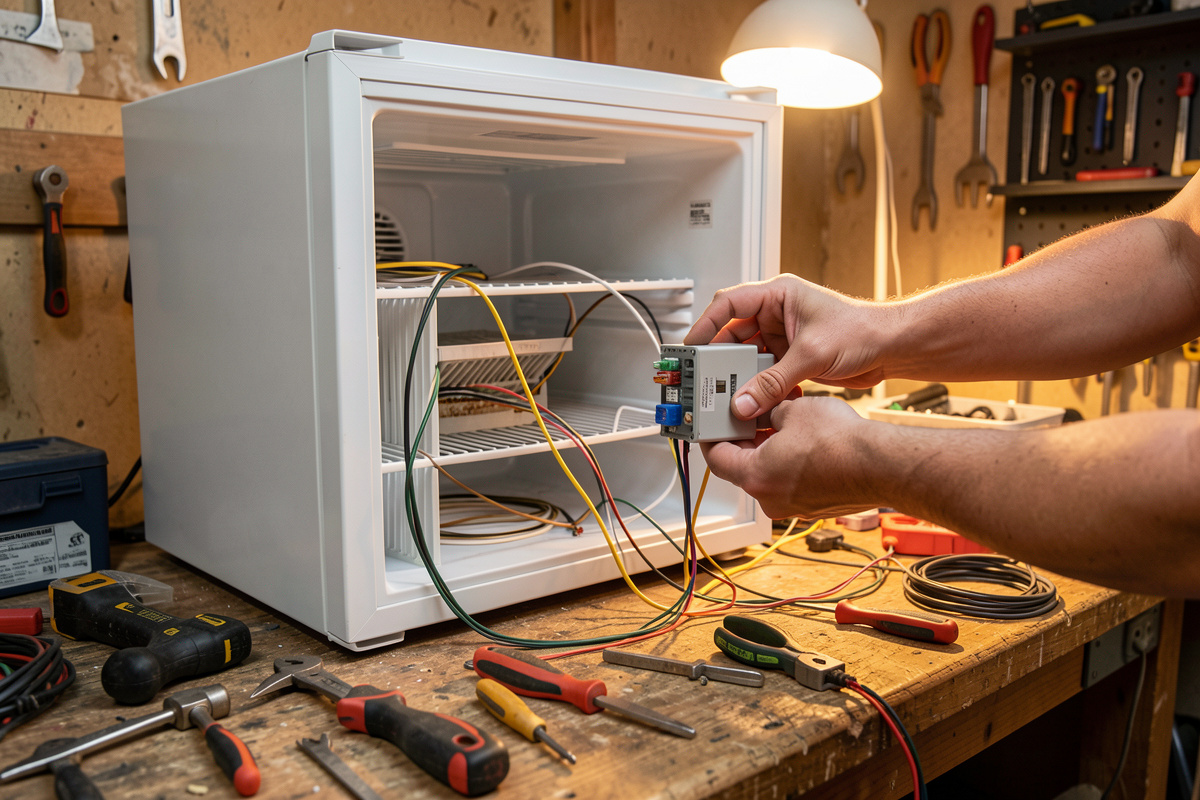
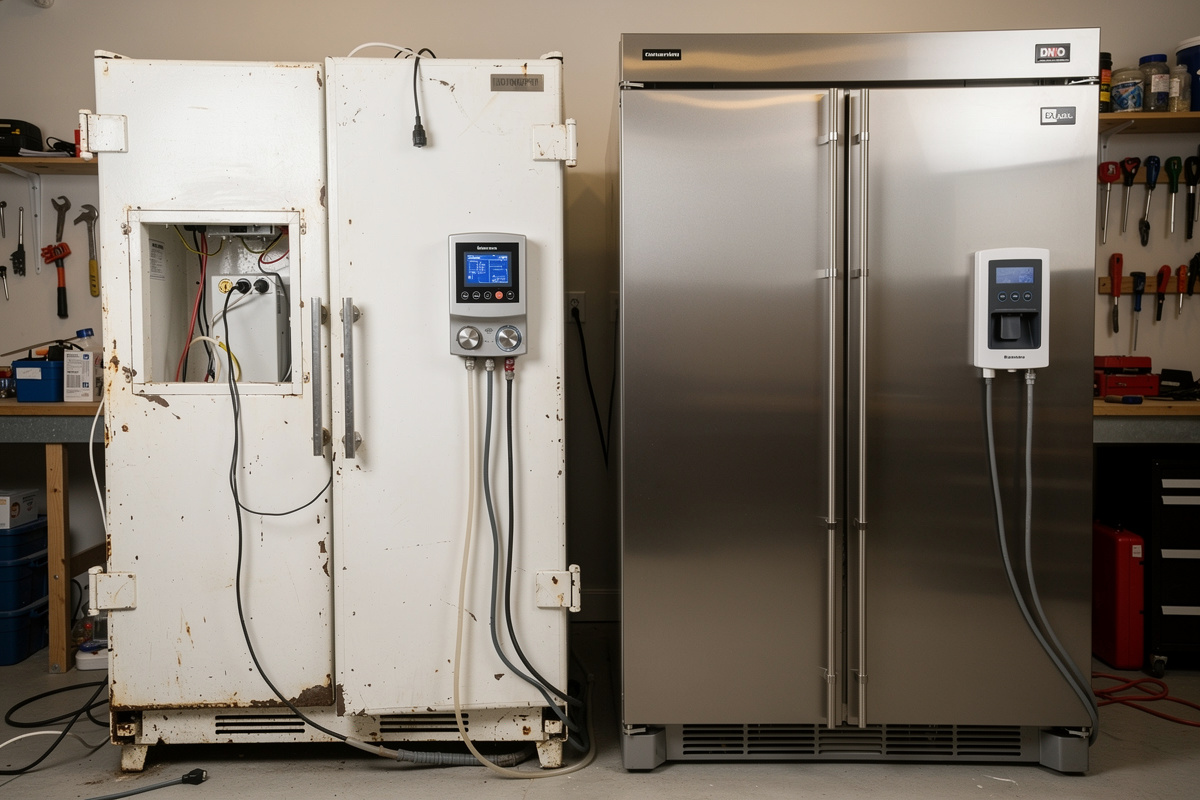
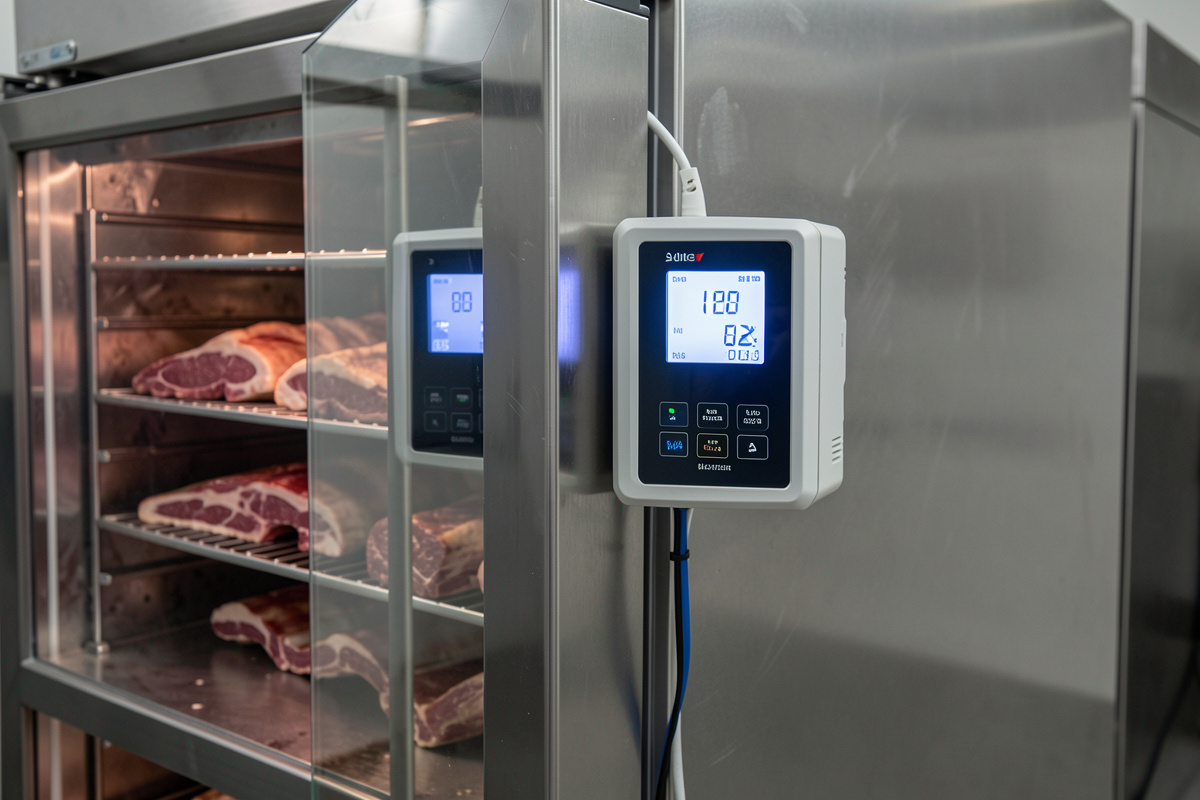
The Inkbird upgrade that turns a basic fridge into a real curing chamber is a pair of plug-and-play controllers: an ITC-308 dual-stage temperature controller on the compressor and an IHC-200 humidity controller driving both a humidifier and a dehumidifier. Together they hold the chamber at roughly 13 °C and 78% RH without you touching it, […]
Read 6 min read
How to Clean and Reset a Chamber Between Batches
Building a Curing Chamber

How to Clean and Reset a Chamber Between Batches

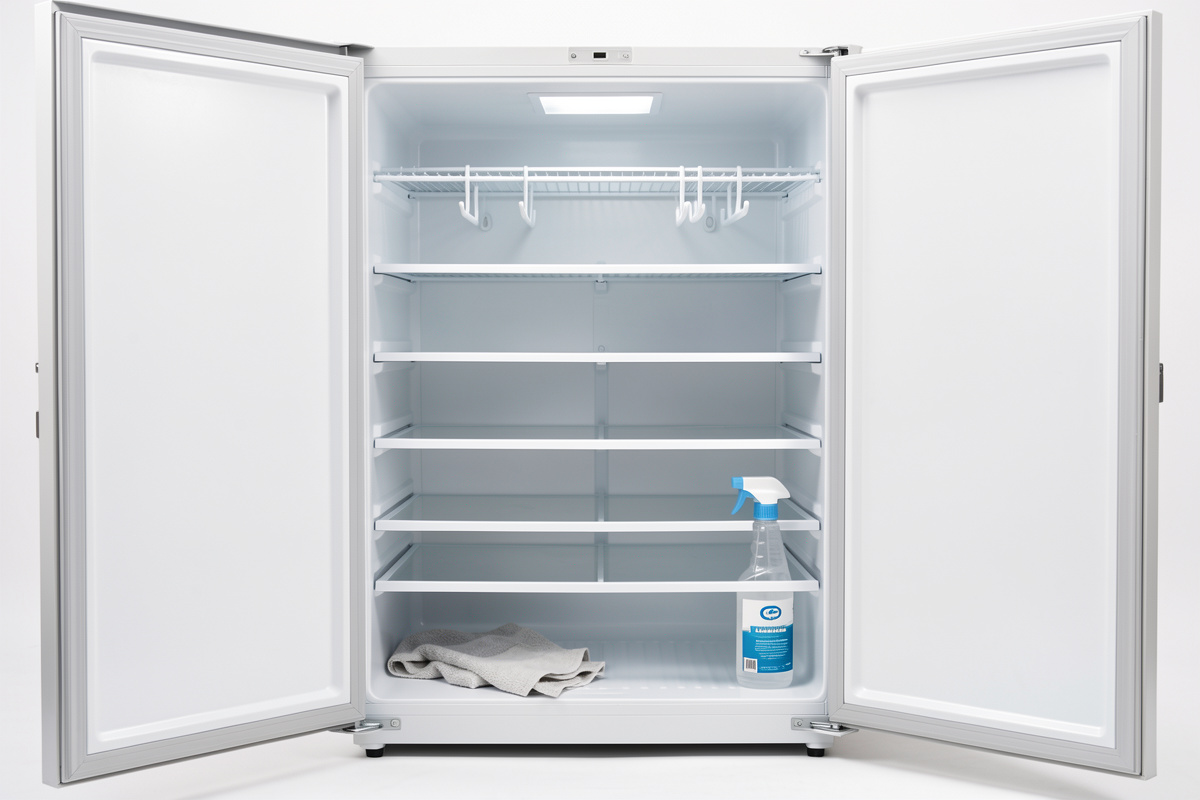
To clean and reset a curing chamber between batches, strip it empty, remove all debris and drips, wipe the surfaces down, and let it dry fully before reloading — but how deep you go depends entirely on how the last batch ended. A clean, fully-bloomed batch needs only a light wipe that preserves your house […]

Read 8 min read
Controlling Humidity in Large Curing Chambers
Building a Curing Chamber

Controlling Humidity in Large Curing Chambers

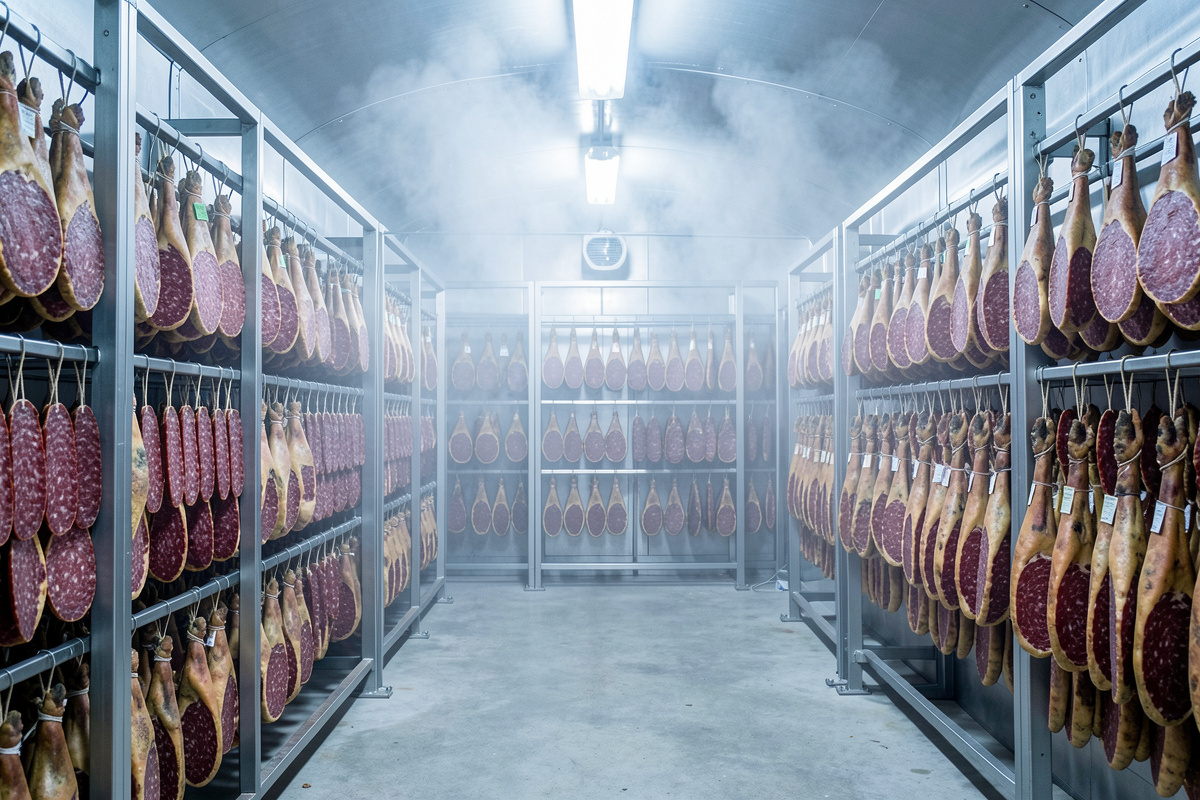
Controlling humidity in a large curing chamber means sizing active humidification and dehumidification to the box volume and giving the controller a tight band to work inside — a damp sponge that holds 78% RH in a bar fridge does nothing in a 300-litre larder box. The bigger the chamber, the more air there is […]

Read 8 min read
Multi-Zone Curing Setup: Ferment and Dry at Once
Building a Curing Chamber

Multi-Zone Curing Setup: Ferment and Dry at Once

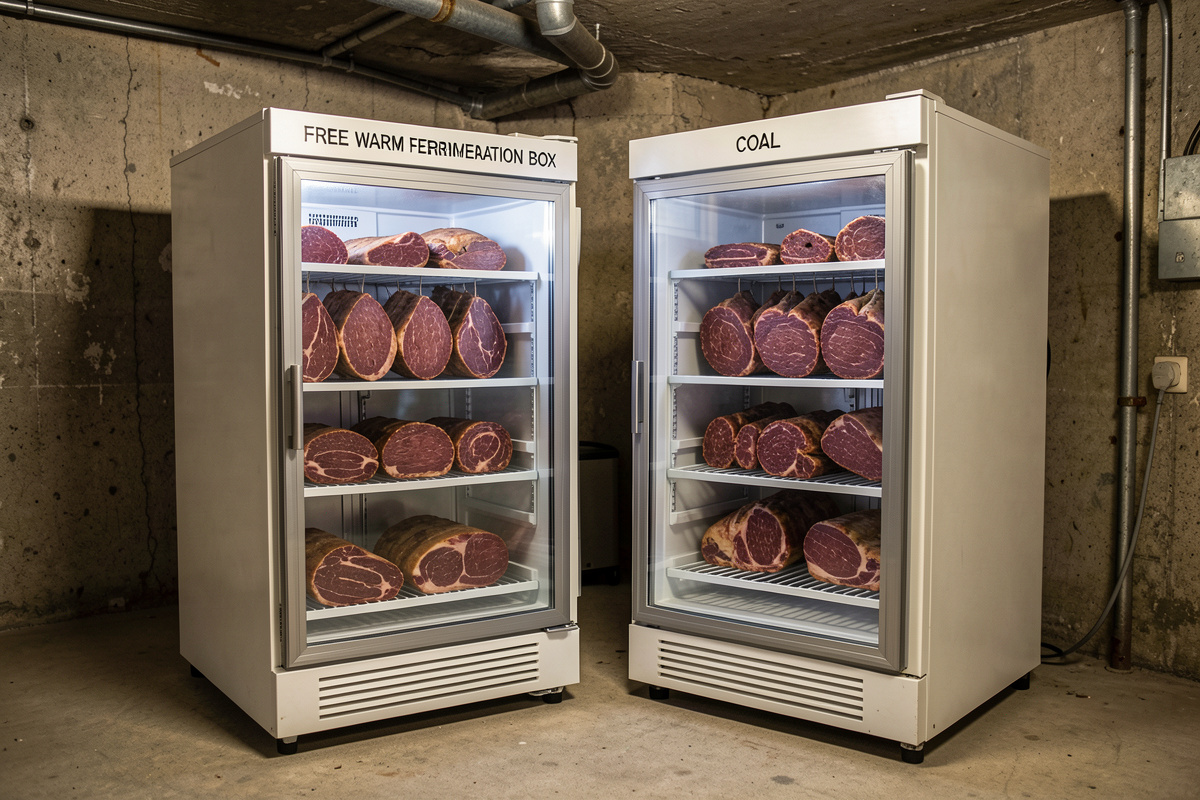
A multi-zone curing setup runs two different climates at once so you can ferment and dry at the same time: a warm, humid zone around 20–24 °C and 90% RH for the fermentation phase, and a cool, drier zone at 12–15 °C and 75–80% RH for the long dry. The single hardest thing in home […]

Read 8 min read
Upgrading a Curing Chamber: The Priority Checklist
Building a Curing Chamber

Upgrading a Curing Chamber: The Priority Checklist

The right way to upgrade a curing chamber is to fix the thing that is currently costing you batches first, not the thing that is most fun to buy. Across the chambers I have built, the upgrade that pays back fastest is almost always independent humidity control — a dedicated humidity controller driving both a […]

Read 7 min read
Advanced Curing Chamber Guide: Bigger, Multi-Zone, Smarter Builds
Building a Curing Chamber

Advanced Curing Chamber Guide: Bigger, Multi-Zone, Smarter Builds

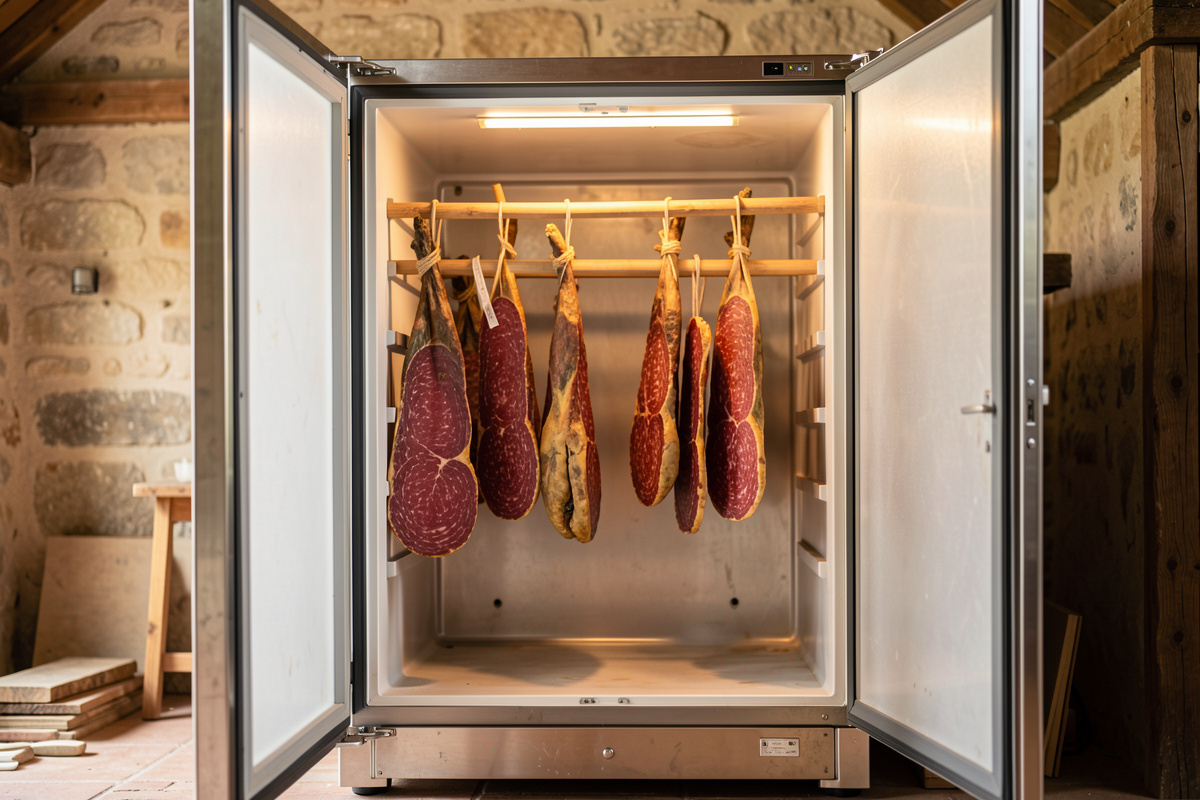
An advanced curing chamber is not a fancier fridge — it is a bigger, more stable box that holds 12–15 °C and 75–80% RH across more meat, more thermal mass, and more open door-time without drifting. Once you are hanging six or eight pieces instead of two, the variable that decides success is no longer […]

Read 14 min read
Used Fridge Curing Chamber Inspection: What to Check Before Buying on Marketplace
Building a Curing Chamber

Used Fridge Curing Chamber Inspection: What to Check Before Buying on Marketplace

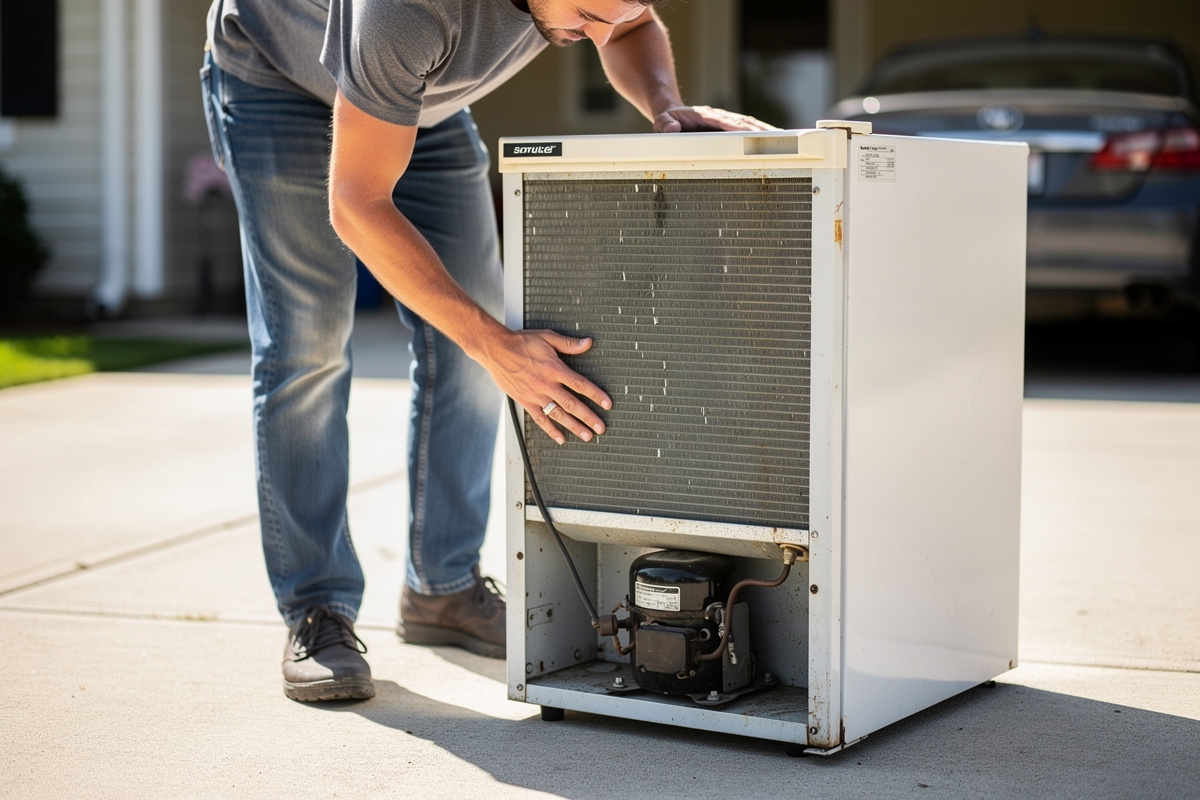
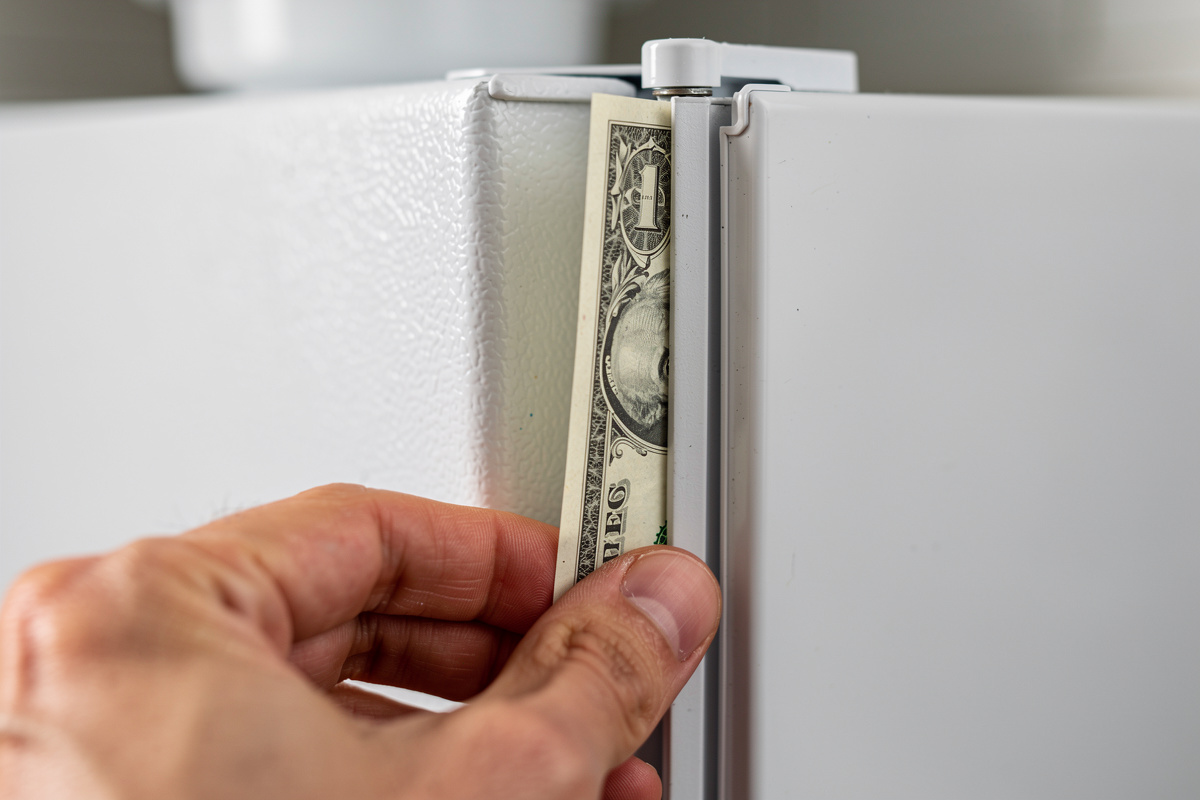
Before handing over $40 to $80 for a used fridge on Marketplace, check three things in this order: plug it in and confirm the compressor kicks on and the interior drops to 40°F or below within thirty minutes, run the dollar-bill test around the entire door gasket with the fridge unplugged and cold, and open […]

Read 11 min read
Budget vs Premium Curing Chamber Build: What Extra $200 Gets You
Building a Curing Chamber

Budget vs Premium Curing Chamber Build: What Extra $200 Gets You

A budget curing chamber costs $130 to $175 using a used mini fridge, an Inkbird ITC-308 temperature controller, a basic ultrasonic humidifier, and no dedicated dehumidifier — and it cures salami and whole muscles reliably for two to three years if the used fridge compressor holds up. Spending an extra $200 or so upgrades to […]

Read 9 min read
Curing Chamber Lighting Setup: Does Light Affect Meat Curing? What to Install
Building a Curing Chamber

Curing Chamber Lighting Setup: Does Light Affect Meat Curing? What to Install

Light accelerates fat oxidation in curing meat — the same UV and visible-spectrum wavelengths that make a steak display case look appealing are actively degrading the fat in your salami and bresaola every hour the light stays on. A curing chamber should be dark 23.5 hours a day, with a low-wattage cool-white LED switched on […]

Read 10 min read
Curing Chamber Door Seal: How to Test Gaskets, Replace Latches, and Stop Odor Leaks
Building a Curing Chamber

Curing Chamber Door Seal: How to Test Gaskets, Replace Latches, and Stop Odor Leaks

A curing chamber door seal fails quietly — the gasket loses its spring at one corner, room air slips in, and three days later your humidity setpoint is unreachable because the dehumidifier is fighting a quarter-inch gap that costs you 10% RH every hour. The dollar-bill test catches a failing gasket in thirty seconds, and […]

Read 11 min read
Curing Chamber Shelving Material: Wood vs Stainless Steel vs Plastic-Coated Wire
Building a Curing Chamber

Curing Chamber Shelving Material: Wood vs Stainless Steel vs Plastic-Coated Wire

Two materials touch the meat in a curing chamber that works long-term: unfinished hardwood dowels for hanging salami and whole muscles, and 304 stainless steel wire shelves for flat cuts like pancetta and cheese. The wood wicks surface moisture from the casings; the stainless takes 75% humidity for years without rusting or leaching. Plastic-coated wire, […]

Read 10 min read
How to Drill a Curing Chamber Without Breaking Refrigerant Lines
Building a Curing Chamber

How to Drill a Curing Chamber Without Breaking Refrigerant Lines

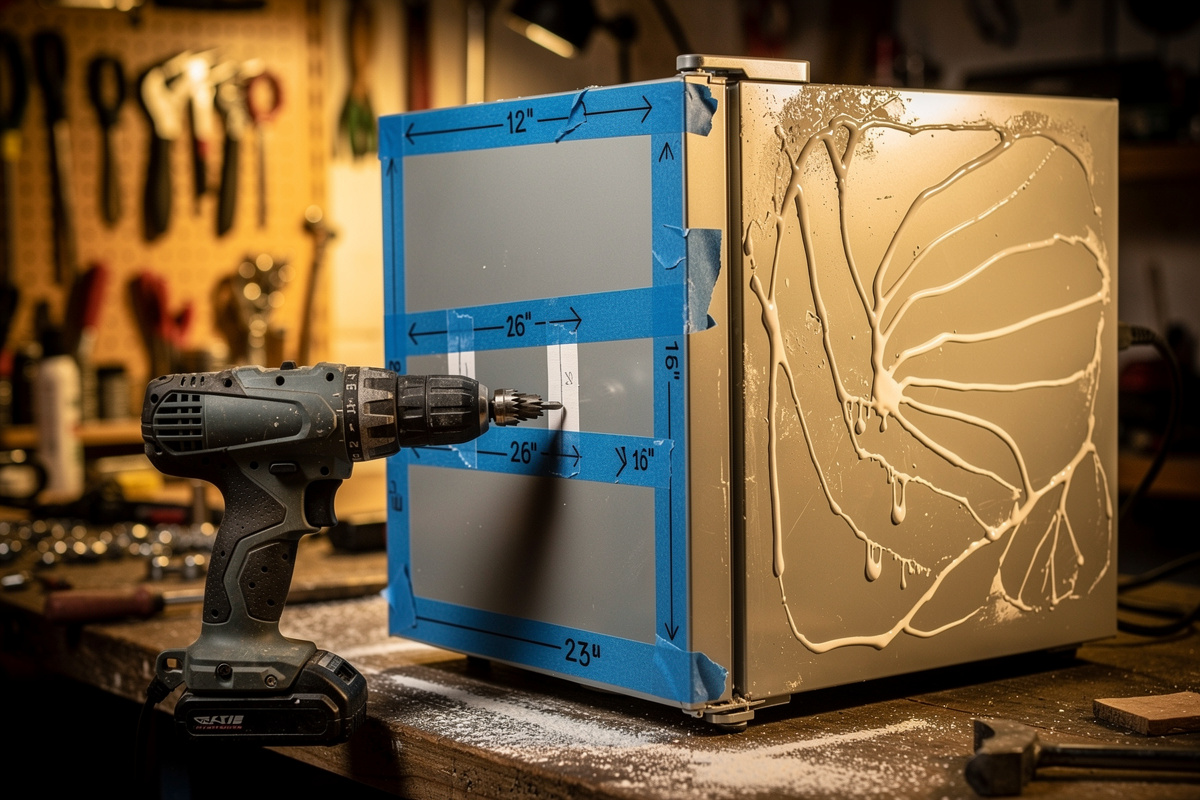
Drill through the fridge door — never the back wall — and map any side-panel route with a cornstarch-and-alcohol slurry before you pick up a step bit. The refrigerant lines run in the back wall, both side walls near the rear corners, and sometimes the top, always within 2 inches of the outer skin. Hit […]

Read 13 min read