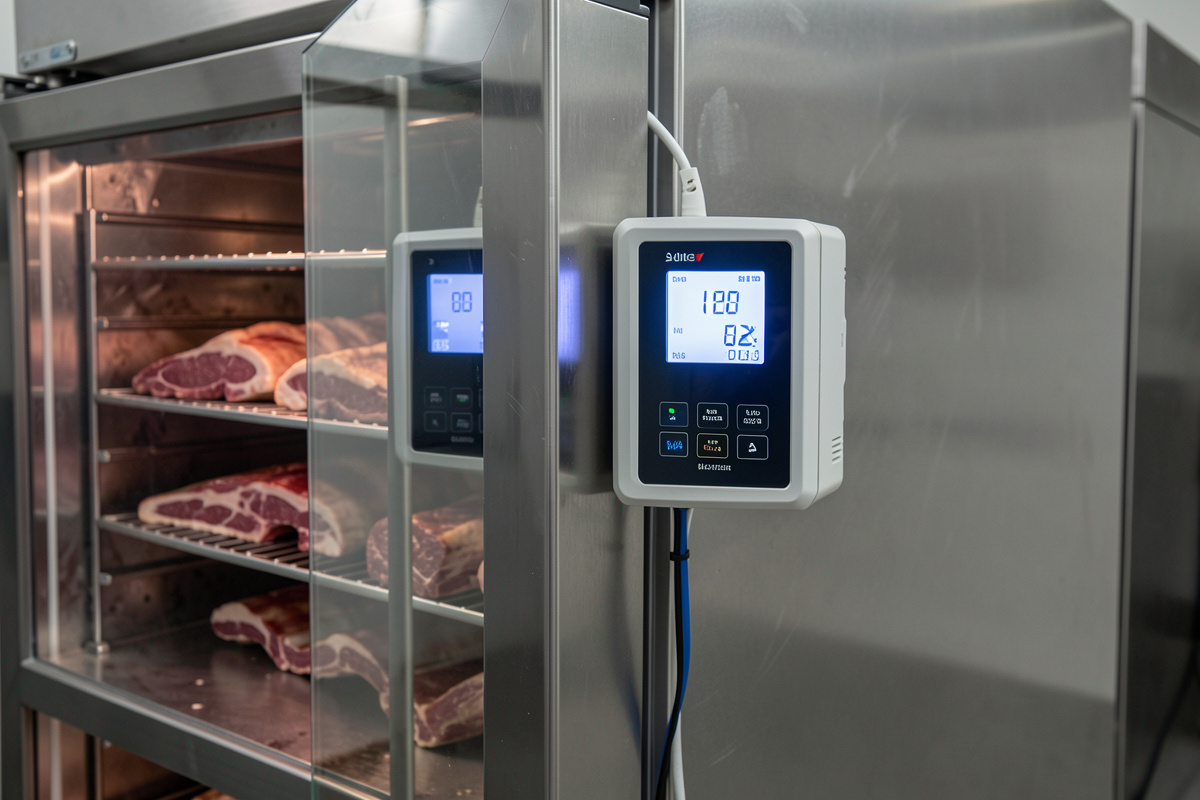

The Inkbird upgrade that turns a basic fridge into a real curing chamber is a pair of plug-and-play controllers: an ITC-308 dual-stage temperature controller on the compressor and an IHC-200 humidity controller driving both a humidifier and a dehumidifier. Together they hold the chamber at roughly 13 °C and 78% RH without you touching it, which the fridge’s own dial can never do.
This is the controller setup I run in my primary chamber, and it is the highest-leverage upgrade in the whole hobby. The Inkbird units win not because they are the most precise — a PID controller edges them on tightness — but because they are cheap, plug-and-play, and reliable enough that I trust them with a season’s worth of meat. This guide covers which Inkbird models to buy, how to wire the two-stage logic, and how to set the bands so the devices do not fight.
Why Two Controllers, Not One
A curing chamber needs two completely separate control loops — one for temperature, one for humidity — because they are driven by different equipment and want different logic. The temperature controller switches the compressor (and optionally a heater); the humidity controller switches a humidifier and a dehumidifier. Trying to run a chamber on a single thermostat means humidity is left to chance, and uncontrolled humidity ruins more pieces than anything else.
The ITC-308 handles temperature with a cooling output and a heating output, each on its own relay, so in a cool Swedish basement it mostly idles the compressor and occasionally nudges a heater. The IHC-200 does the same job for moisture with a humidify output and a dehumidify output. Run as a pair, they keep the two variables independent, which is exactly what a stable advanced build needs — the logic is laid out in my advanced curing chamber guide and the wider device picture in climate control.
Which Inkbird Model for Which Job
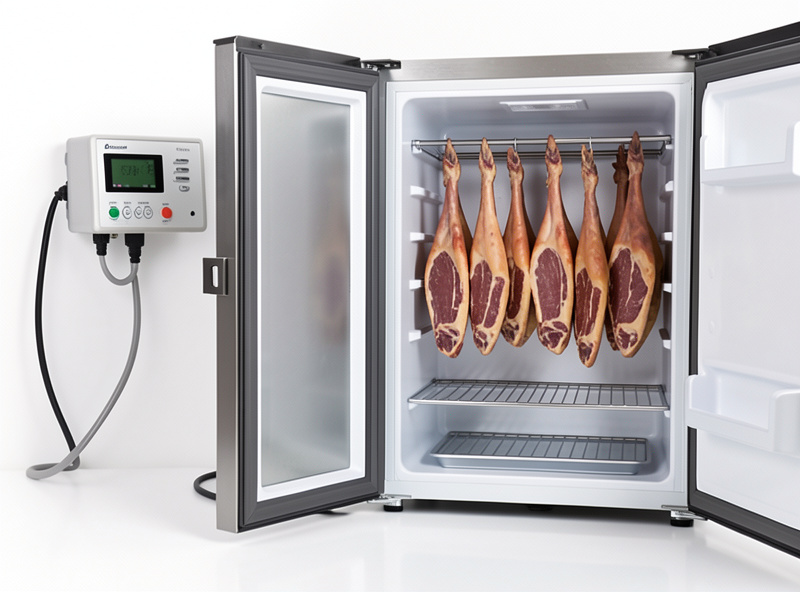
Inkbird makes several controllers and they are not interchangeable — the key split is plug-and-play units with built-in sockets versus wire-in units that need a relay box. For most home chambers the plug-and-play ITC-308 and IHC-200 are the right answer because you can have them running in ten minutes with no electrical work.
| Model | Controls | Stages | Wiring | Best for |
|---|---|---|---|---|
| ITC-308 | Temperature | Dual (heat + cool) | Plug-and-play sockets | The default chamber temperature controller |
| ITC-308 Wi-Fi | Temperature | Dual (heat + cool) | Plug-and-play + app | Remote monitoring and alerts |
| IHC-200 | Humidity | Dual (humidify + dehumidify) | Plug-and-play sockets | The default humidity controller |
| ITC-1000 | Temperature | Dual, wire-in | Needs relay/enclosure | Built-in panel installs |
| ITC-310T | Temperature | Dual, time-programmable | Plug-and-play | Staged temperature schedules |
For a straightforward build, buy an ITC-308 dual-stage temperature controller and an IHC-200 humidity controller. If you want the chamber on your phone, the Wi-Fi ITC-308 adds remote alerts. As an Amazon Associate I earn from qualifying purchases. For how these stack up against PID and budget rivals, see my Inkbird vs Auber vs Willhi comparison.
Wiring the Two-Stage Logic
The plug-and-play units make wiring almost trivial: the chamber plugs into the controller, the controller plugs into the wall, and the powered devices plug into the controller’s two output sockets. On the ITC-308 the compressor goes into the cooling socket and, if you use one, a low-wattage heater into the heating socket; the probe hangs at meat height. On the IHC-200 the humidifier goes into the humidify socket and the dehumidifier into the dehumidify socket.
The one rule that matters is the compressor protection delay — set the ITC-308’s compressor delay to around 3–5 minutes so a brief power cycle cannot restart the compressor instantly and damage it. The probe placement matters as much as the wiring: put it at meat-shelf height, not against the back wall near the coil, or the controller will chase the coil temperature instead of the chamber’s. Calibrate every probe before you trust it with my salt and ice calibration guide, and back it up with an independent reference sensor.
Setting the Bands So Nothing Fights
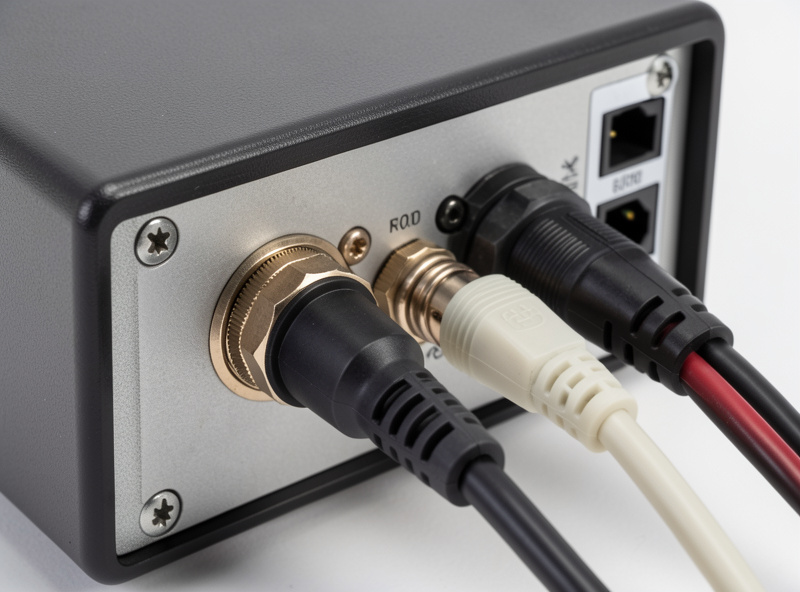
The Inkbird controllers use a setpoint plus a differential (hysteresis) — the difference that has to be crossed before an output switches — and getting that band right is what separates a flat climate line from a jittery one. On the temperature side I set 13 °C with a differential of about 1 °C, so the compressor only runs when the chamber climbs past 14 °C, which stops it short-cycling.
On the humidity side the two outputs each get their own trigger with a dead zone between them: humidify when RH falls below about 74%, dehumidify when it rises above about 82%, leaving a quiet band around 78% where neither runs. Set them too close and the humidifier and dehumidifier switch on top of each other and saw the humidity back and forth. The full sizing-and-band method for a big box is in controlling humidity in large chambers, and the device choices in my humidifier and dehumidifier guides.
Where Inkbird Fits in an Upgrade Path
If you are upgrading an existing chamber, the controller swap is usually step two on the list — right after getting a calibrated sensor so you can see what you are doing. A chamber running on the fridge’s built-in dial swings far too wide for charcuterie, and dropping in the Inkbird pair is the single change that most often takes a temperamental box and makes it boring and reliable, which is exactly what you want.
The Wi-Fi ITC-308 is worth the small premium if your chamber lives somewhere you do not pass daily, because the app alerts you to a drift before it becomes a ruined batch — the same logic as running everything through a smart-home hub, which I cover in smart plug schedules. For the full ranked upgrade order, see my upgrading a curing chamber guide, and if your chamber is misbehaving right now, the humidity troubleshooting guide walks the faults. Whatever controller you run, it does not change the cure math: long dry-cures and fermented sausage need Cure #2, short or cooked cures need Cure #1 — the same nitrite split the National Center for Home Food Preservation sets out for safe home curing.
Frequently Asked Questions
Which Inkbird controller is best for a curing chamber?
The plug-and-play pair: an ITC-308 dual-stage temperature controller on the compressor and an IHC-200 humidity controller driving a humidifier and dehumidifier. They install in minutes with no electrical work and reliably hold about 13 degrees Celsius and 78% relative humidity, which a fridge dial cannot.
Do I need both the ITC-308 and the IHC-200?
Yes, for a proper chamber. They are separate control loops: the ITC-308 switches the compressor and an optional heater for temperature, while the IHC-200 switches a humidifier and dehumidifier for humidity. A single thermostat leaves humidity to chance, and uncontrolled humidity is what ruins most pieces.
How do I wire an Inkbird ITC-308 to a curing chamber?
With the plug-and-play model there is no wiring. Plug the compressor into the cooling socket, an optional low-wattage heater into the heating socket, hang the probe at meat-shelf height, then plug the controller into the wall. Set a 3 to 5 minute compressor delay so a power cycle cannot restart it instantly.
What differential should I set on the Inkbird?
On temperature, set the target around 13 degrees Celsius with about a 1 degree differential so the compressor does not short-cycle. On humidity, humidify below about 74% and dehumidify above about 82%, leaving a dead band around the 78% target so the two devices never switch on top of each other.
Is the Wi-Fi version of the ITC-308 worth it?
If your chamber lives somewhere you do not check daily, yes. The Wi-Fi ITC-308 sends app alerts when temperature drifts, so you catch a problem before it ruins a batch. If the chamber is in front of you every day, the standard non-Wi-Fi model does the same control job for less.
Related Guides
- Advanced Curing Chamber Guide
- Inkbird vs Auber vs Willhi Controller
- Upgrading a Curing Chamber
- Controlling Humidity in Large Chambers
- Calibrate Curing Chamber Sensors