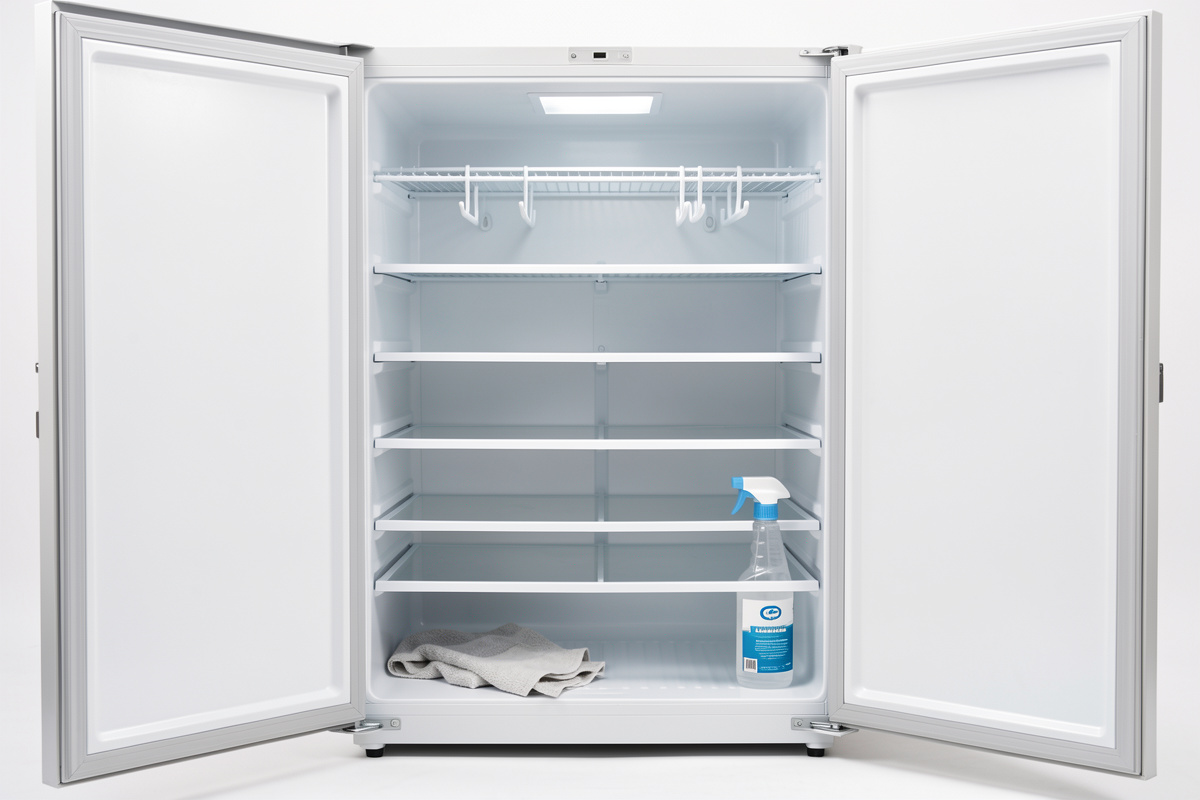

To clean and reset a curing chamber between batches, strip it empty, remove all debris and drips, wipe the surfaces down, and let it dry fully before reloading — but how deep you go depends entirely on how the last batch ended. A clean, fully-bloomed batch needs only a light wipe that preserves your house culture; a batch that went sour or grew black mold needs a full strip-and-sanitize before anything new hangs. Match the reset to the batch and you keep the good biome while clearing the bad.
This is the mistake I see most: people either never clean the chamber, letting spoilage loads and drips accumulate until a batch goes wrong, or they nuke it sterile every single time and then wonder why their next run won’t bloom. Both are wrong. The chamber is a living system between batches, carrying the resident Penicillium that seeds your new pieces. The whole skill is cleaning away what you don’t want without erasing what you do.
Resetting well is a core part of managing mold in your curing chamber, and it’s directly tied to why white mold won’t grow — over-sanitizing between batches is one of the classic reasons a chamber suddenly stops blooming.
Do I Need to Clean the Chamber Between Every Batch?
Yes, some cleaning between every batch — at minimum removing debris, drips, and any fallen bits, and wiping the shelves — but the depth varies. A light reset after every clean batch keeps the chamber tidy without stripping the house culture; a deep reset is reserved for after a problem batch. Skipping cleaning entirely lets fat drips, salt crust, and stray spoilage organisms accumulate, and that’s how an otherwise good chamber slowly turns into one that keeps growing the wrong mold.
Think of it in tiers. Every batch: pull everything, clear the crumbs and drips, wipe surfaces with a damp cloth, dry, reload. That’s the routine reset, and it’s fast. After a bad batch: everything above plus washing with detergent and applying a food-safe sanitizer, because you’re now trying to clear an organism load, not just tidy up. The trigger for going deep is simple — did this batch end clean, or did something go wrong? If a piece grew black mold, went slimy, or smelled sour, deep-clean before the next hang. If everything came out white and correct, a light reset is not only enough, it’s better, because it protects the biome you want.
The Light Reset: Preserving Your House Culture
A light reset after a clean batch is exactly that — remove the pieces, brush or wipe away any fallen debris and casing bits, wipe the shelves and any fat drips with a damp cloth using plain water or a mild vinegar solution, empty and refill the humidifier, and let the chamber air out for a few hours before the next hang. You deliberately do not sanitize the walls, because the resident Penicillium living on them is what seeds your next batch fast.
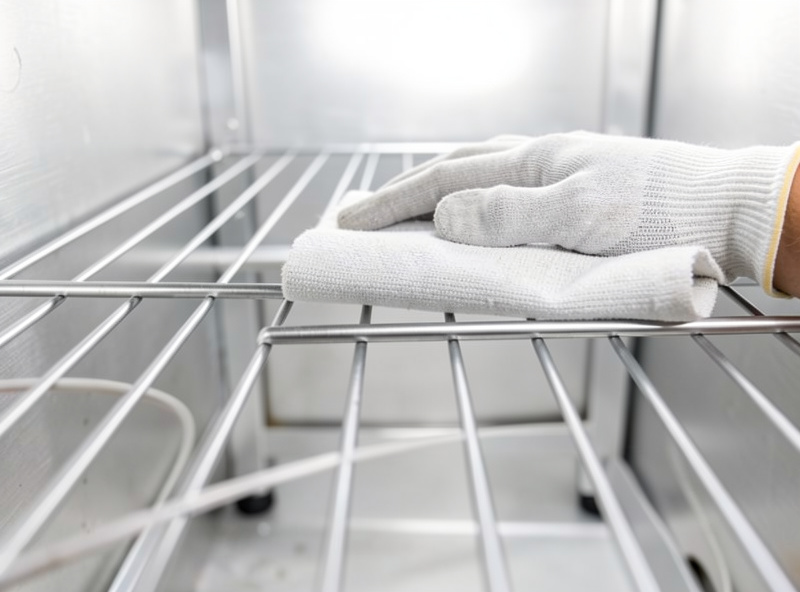
This is the reset I run 90% of the time, because most of my batches come out clean. The goal is hygiene without sterility. I wipe down the drip zones and shelves so nothing organic sits and rots, I check the fan and the corners for any settled gunk, but I leave the ambient mold population alone. In a mature chamber this is why new pieces often bloom before I’ve even finished spraying — the walls hand them spores the moment they hang, the same self-seeding that makes reusing mold from a finished salami so easy. A light reset is the maintenance that keeps that engine running. It also keeps the drift of good spores healthy across pieces, which ties back to how mold spreads between pieces in a shared chamber.
The Deep Reset: Starting Over After a Bad Batch
A deep reset is what you do after a batch grows spoilage — black fuzzy mold, pink or red slime, or a sour ammonia stink — and it means stripping the chamber completely, washing every surface with warm water and a mild detergent, applying a food-safe sanitizer, rinsing, and drying thoroughly before you even think about hanging again. Here you are deliberately clearing the biome, because the resident population has tipped the wrong way and you need to reset it.
My deep-reset sequence: pull everything and bin any compromised pieces. Remove the shelves and rods and wash them in the sink with detergent. Wipe every interior surface — walls, door, gasket, ceiling, floor — with detergent solution to lift the organic film that feeds mold, then go over it with a food-safe sanitizer at the label’s dilution, give it the contact time it specifies, and rinse food-contact surfaces with dechlorinated water. Pay special attention to the door gasket and any silicone seals, because biofilm hides in those folds and re-seeds the chamber if you skip them. Then air it out fully and dry it before reloading — a damp, freshly-sanitized chamber loaded immediately can suppress your next bloom, exactly the residual-sanitizer trap that stalls mold. After a deep reset the house culture is gone, so plan to re-seed the next batch heavily with fresh commercial culture rather than relying on the chamber. A no-rinse food-safe sanitizer like Star San, used at its proper dilution, is the brewer’s standard for exactly this kind of food-contact reset.
As an Amazon Associate I earn from qualifying purchases.
Light or Deep: Which Reset Does This Batch Need?
The decision comes down to how the batch ended and what you’re trying to protect. Here’s the split I use.
| Factor | Light reset | Deep reset |
|---|---|---|
| When to use | After a clean, well-bloomed batch | After spoilage: black mold, slime, sour smell |
| Surfaces | Wipe shelves and drips, damp cloth | Wash all surfaces with detergent, then sanitize |
| House culture | Preserved on purpose | Cleared on purpose |
| Sanitizer | None, or mild vinegar | Food-safe sanitizer, rinsed and dried |
| Next batch seeding | Ambient culture plus light spray | Heavy fresh commercial culture |
| Downtime before reload | A few hours to air out | Until fully dry, often a day |
When in doubt between the two, lean toward the reset that matches your worst piece, not your best. One slimy salami in an otherwise clean batch is a signal to deep-clean, because whatever produced that slime is now in the chamber and will happily colonize your next run.
How Do I Clean the Fan, Humidifier, and Gasket?
These three components hide the problems a surface wipe misses, and neglecting them is how a “clean” chamber keeps growing bad mold. The humidifier reservoir is the worst offender — standing water grows biofilm and bacterial slime fast, and every mist cycle then aerosolizes that straight onto your meat.
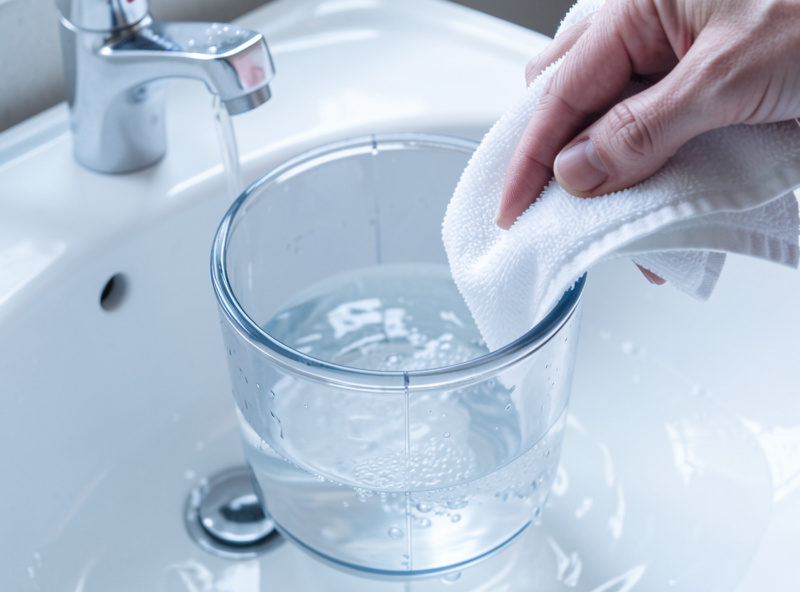
I learned the humidifier lesson the hard way — a run where the pieces kept getting a faint off-smell no wipe would fix, until I opened the ultrasonic humidifier reservoir and found a pink biofilm ring I’d been happily misting into the chamber for weeks. Now I empty and scrub the reservoir with every reset, light or deep, and refill it with fresh dechlorinated water. The fan gets a wipe to clear settled fat and dust off the blades, since a gunked fan both moves less air and flings whatever’s on it around. The door gasket gets particular attention because its folds trap moisture and organic film; I run a cloth right into the channel. My compressor and humidifier sit on smart plugs scheduled through Home Assistant, so between batches I can cut power cleanly and service everything without the chamber cycling. Get these three right and the surface wipe actually means something. If your monitoring or airflow needs work while the chamber’s empty, that’s the moment to handle it — the chamber upgrade checklist and multi-zone setup both cover the hardware side.
What Sanitizer Is Safe, and How Long Should the Chamber Air Out?
Use a food-safe, food-contact sanitizer at its labeled dilution — a no-rinse acid sanitizer like Star San or a properly diluted quaternary sanitizer — and never heavy bleach, which is harsh on food surfaces and murder on your ability to re-establish the good mold. Whatever you use, follow the product’s contact time and rinse instructions, and then let the chamber air out and dry completely before reloading.
Drying time is the step people rush. A chamber that’s still damp with sanitizer when you hang a fresh batch will suppress the bloom you’re trying to start — this is the number one self-inflicted cause of a chamber that “suddenly won’t grow mold.” After a light reset, a few hours of open-door airing is plenty. After a deep sanitize, give it until it’s genuinely dry to the touch everywhere, which in a cool chamber can mean the better part of a day. Rinsing food-contact surfaces with dechlorinated water after sanitizing removes residue that could otherwise carry over. For the underlying principles of surface hygiene and safe food handling, the National Center for Home Food Preservation is a solid, non-commercial reference worth bookmarking.
One closing point that runs through this whole cluster: cleaning discipline changes the quality and consistency of your charcuterie, not its fundamental safety. A salami is safe because of cure #2, a proper fermentation pH drop, and drying to 30–40% weight loss. A clean, well-reset chamber gives that safe piece the best possible surface conditions — a fast white bloom, no bad-mold competition, no off-smells — but it never substitutes for doing the cure right. Reset the chamber for a better bloom and a cleaner batch; do the cure correctly for safety. Those are two different jobs, and a serious chamber-runner does both.
Keep Building
- Managing Mold in Your Curing Chamber: The Complete Guide
- Why Won’t White Mold Grow in My Chamber?
- Reusing Mold From a Finished Salami
- Upgrading a Curing Chamber: The Priority Checklist