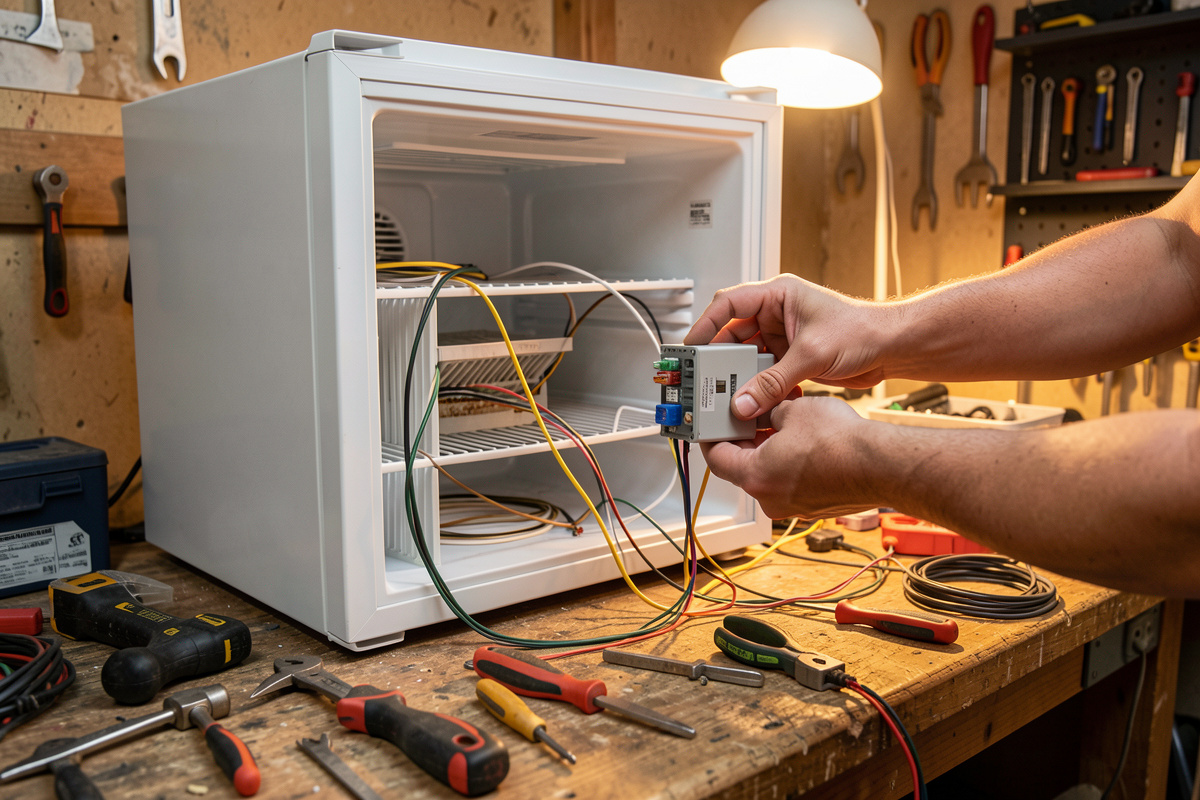

The right way to upgrade a curing chamber is to fix the thing that is currently costing you batches first, not the thing that is most fun to buy. Across the chambers I have built, the upgrade that pays back fastest is almost always independent humidity control — a dedicated humidity controller driving both a humidifier and a dehumidifier — because uncontrolled RH ruins more pieces than any other single fault.
This guide is the priority order I actually use. Before you spend a krona, you diagnose: read your weight log and your sensor log, find the variable that is drifting, and upgrade that. A chamber that holds temperature beautifully but swings humidity does not need a new compressor; it needs a humidity controller. Work the list in order and you will spend less and ruin fewer pieces than someone who buys the shiny thing first.
Diagnose Before You Buy Anything
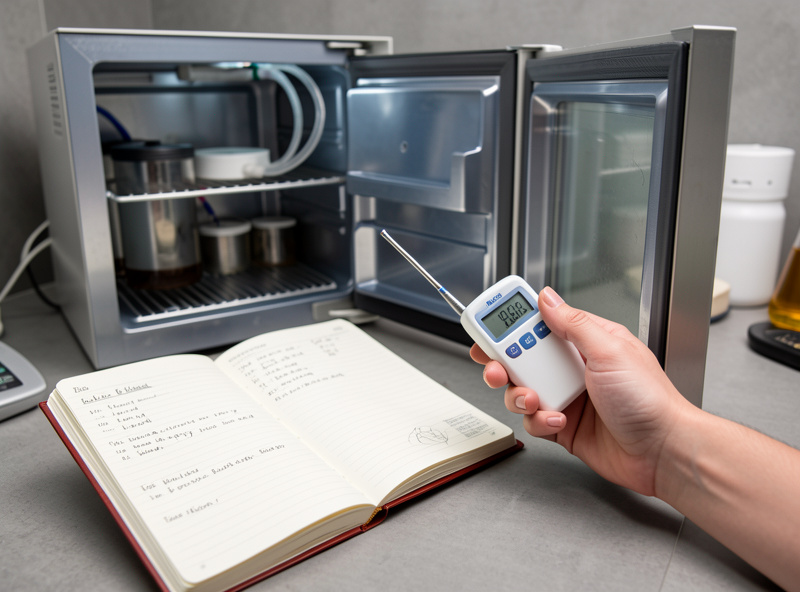
An upgrade only counts if it fixes a measured problem, so the first step is reading your own data. Pull your weight log and your temperature-and-humidity log side by side and look for the fault: is RH swinging more than about ±5% around setpoint, is temperature drifting, or are pieces case-hardening with a hard shell and a wet core? Each symptom points at a different upgrade.
If you do not have a log to read, that is your first upgrade. You cannot tune what you cannot see, and a calibrated sensor plus a logger is cheaper than a wasted coppa. Set up trustworthy monitoring with my smart sensor guide, confirm the readings with the salt and ice calibration tests, and capture the trend without opening the door using a data logger. Once you can see the drift, the right upgrade usually announces itself.
The Upgrade Priority Order I Use
When a chamber needs work, I run down the same ranked list and stop at the first item that addresses the fault I diagnosed. The order is deliberate: it goes from the cheapest, highest-impact fixes to the expensive, last-resort ones. Spending out of order is how people end up with an over-built box that still swings humidity.
- Calibrated sensor and logging — you cannot tune blind. The foundation of every other upgrade.
- Independent humidity controller — a dedicated unit running humidify and dehumidify with its own band. The single biggest leap in stability.
- Dual-stage temperature controller — replace the fridge’s own dial with a proper controller on the compressor.
- Air exchange and circulation fans — timed fresh-air swap plus gentle internal circulation to kill stratification.
- Door seal — a leaking gasket sabotages every other upgrade. Cheap to fix, big effect.
- Humidifier and dehumidifier capacity — size the devices to the chamber volume once the controller is in place.
- Shelving and capacity — better racking and airflow-friendly shelves before you think about a bigger box.
- A second or larger chamber — only when you genuinely need more capacity or a second climate.
That last step is a different project entirely; when you reach it, the decision logic lives in my advanced curing chamber guide and the multi-zone setup guide.
Upgrade One: Independent Humidity Control
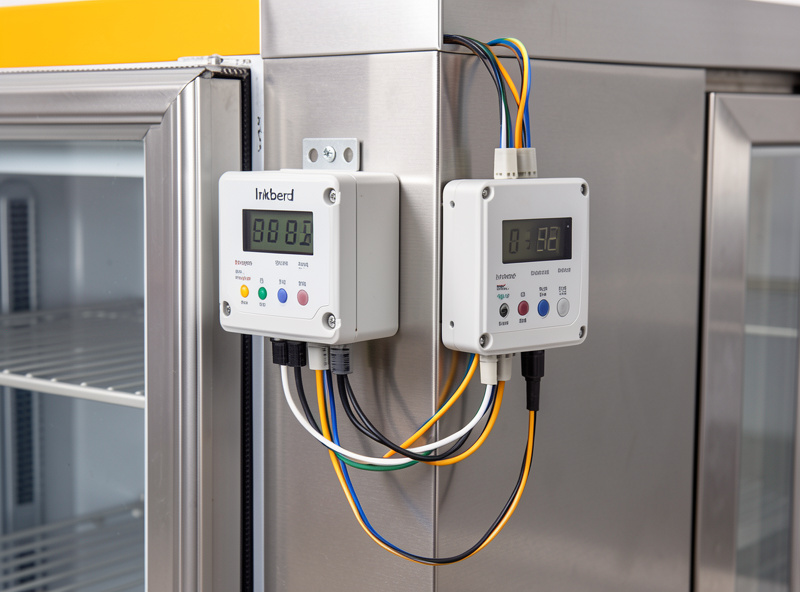
If you upgrade only one thing, make it humidity control. A dedicated humidity controller — I run an Inkbird IHC-200 — switches a humidifier and a dehumidifier independently, each side with its own trigger point, so the chamber holds a tight band instead of sawing between too wet and too dry. This is the difference between a chamber that needs babysitting and one you can leave for a week.
The upgrade is genuinely simple: the controller’s probe goes at meat height, the humidifier and dehumidifier plug into its two outputs, and you set the target around 78% RH with a small dead band. For a controller I keep coming back to a dedicated humidity controller like the Inkbird IHC-200. As an Amazon Associate I earn from qualifying purchases. Match it with the right devices using my humidifier comparison and the dehumidifier sizing guide.
Upgrade Two: A Proper Two-Stage Controller
If your chamber still runs on the fridge’s built-in thermostat, the temperature swings far wider than charcuterie wants — fridge dials are built to keep food cold, not to hold 13 °C within a degree. A dual-stage temperature controller like the Inkbird ITC-308 takes over the compressor and, if you add a low-wattage heater, the heating side too, holding the box where you set it.
This pairs with the humidity controller as the two halves of a stable advanced build. The deep dive on choosing and wiring the temperature side is in my Inkbird controller upgrade guide, and the head-to-head against other brands is in Inkbird vs Auber vs Willhi.
Upgrade Three: Airflow and the Door Seal
Two cheap upgrades quietly fix more problems than people credit: proper airflow and a sound door seal. Stratified air gives you a dry top shelf and a damp bottom; a 120 mm low-speed fan on a timer for fresh-air exchange plus a gentle circulation fan evens it out without blasting the meat surface, which would case-harden it. The full method is in my airflow guide, and you can automate the cycle with smart plug schedules.
A tired door gasket undermines every other upgrade by leaking conditioned air, so it is always worth testing. If a sheet of paper shut in the door pulls out with no resistance anywhere along the seal, the gasket is done. The test-and-replace method is in my door seal guide, and if you are still dialing in the basics, cross-check against the complete build guide and fridge conversion walkthrough.
When an Upgrade Is Really a New Build
There is a point where pouring money into an old box stops making sense — usually when the compressor is failing, the carcass is too small for your output, or you need a second climate for fermentation. At that point you are not upgrading, you are building again, and it is worth being honest about it rather than throwing a third controller at a dying fridge.
Before you scrap a unit, run it through my used fridge inspection checklist in reverse to judge whether it is worth keeping, and weigh the spend with the build cost breakdown and the budget versus premium comparison. A wine fridge can also be a cheap, quiet second box for small pieces — see the wine fridge conversion. And whatever you upgrade, the safety rules do not change: long dry-cures and fermented sausage still need Cure #2, short or cooked cures need Cure #1, and a better chamber never excuses skipping the cure math, and the National Center for Home Food Preservation lays out which cure each method needs.
Frequently Asked Questions
What is the most important curing chamber upgrade?
Independent humidity control. A dedicated humidity controller driving both a humidifier and a dehumidifier, each with its own trigger band, holds a tight RH instead of swinging wet to dry. Uncontrolled humidity ruins more pieces than any other fault, so it pays back fastest.
How do I know which upgrade my chamber needs?
Read your logs. If relative humidity swings more than about plus or minus 5% you need humidity control; if temperature drifts you need a two-stage controller; if pieces case-harden you need better airflow or a tighter humidity band. If you have no log at all, monitoring is your first upgrade.
Should I upgrade my chamber or build a new one?
Upgrade while the carcass and compressor are sound and you only need one climate. Build new when the compressor is failing, the box is too small for your output, or you need a second warm humid zone for fermentation alongside cool drying. At that point a third controller on a dying fridge is wasted money.
Is a door seal upgrade worth it?
Yes, and it is one of the cheapest. A tired gasket leaks conditioned air and undermines every other upgrade. Test it by shutting a sheet of paper in the door at several points; if it pulls out with no resistance the seal has failed and a new gasket restores stability for very little money.
Do I need to replace the fridge thermostat to upgrade?
If you are still using the fridge’s built-in dial, yes. Fridge thermostats hold food cold, not a steady 13 degrees Celsius for curing, so they swing too wide. A dual-stage temperature controller takes over the compressor and holds the chamber within about a degree of your setpoint.
Further Reading
- Advanced Curing Chamber Guide
- Inkbird Controller Upgrade Guide
- Controlling Humidity in Large Chambers
- Curing Chamber Airflow: Fan Size and Placement
- Troubleshooting Chamber Humidity Issues