Advanced Curing Chamber Guide: Bigger, Multi-Zone, Smarter Builds
June 28, 2026

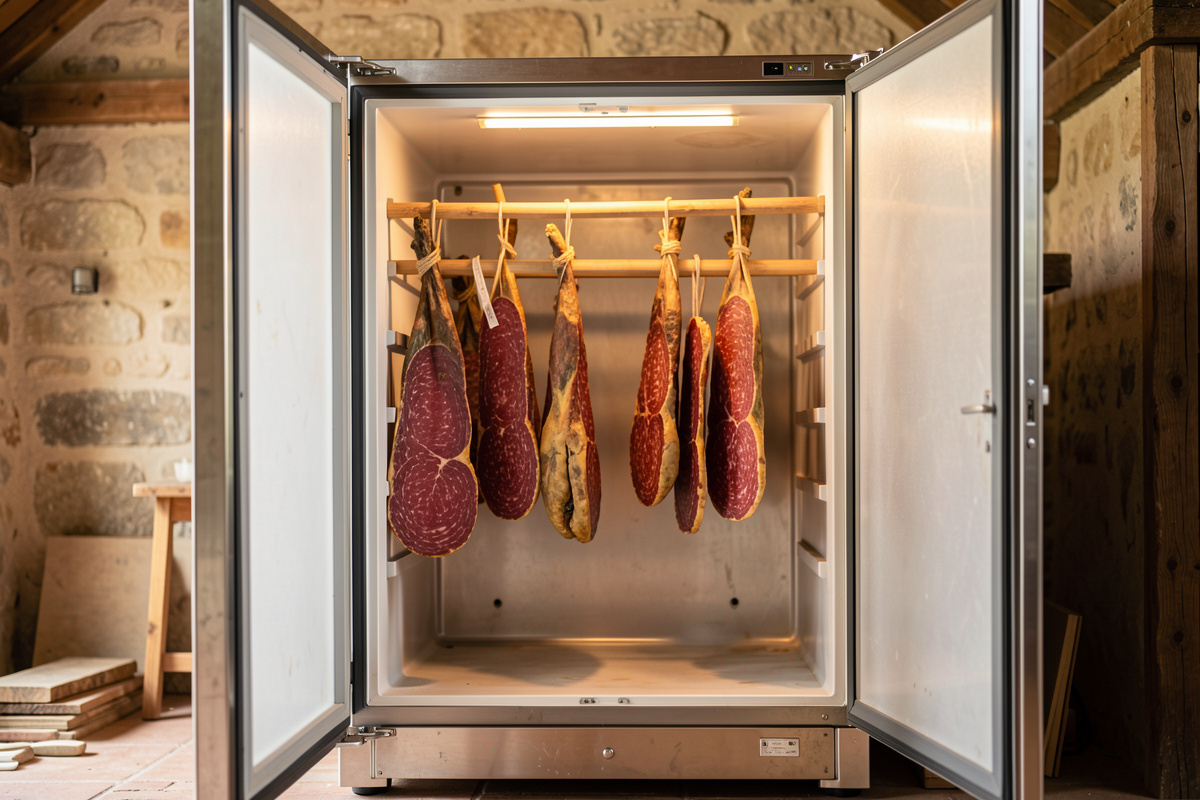
An advanced curing chamber is not a fancier fridge — it is a bigger, more stable box that holds 12–15 °C and 75–80% RH across more meat, more thermal mass, and more open door-time without drifting. Once you are hanging six or eight pieces instead of two, the variable that decides success is no longer the recipe; it is how well the chamber recovers its envelope after every disturbance.
I run a small fleet of converted-fridge chambers in Sweden — a full-height larder unit as the primary and a smaller bar fridge for overflow and A/B tests — and the jump from “a fridge that works” to “a chamber I trust with a 30-piece season” came down to a handful of upgrades I keep repeating. This guide is the map: when to go bigger, how to add zones, what controllers actually earn their place, and how to hold humidity in a large box that fights you. Each section links out to the deep-dive that covers it in full.
When You Have Outgrown Your First Chamber
You have outgrown your first build when the chamber can no longer hold its envelope under real load — typically once you pass roughly 15–20 kg of hanging meat or you are opening the door daily to check or rotate pieces. More meat means more moisture released into the air, more thermal mass fighting the compressor, and a humidity curve that swings instead of sitting flat.
The tells are consistent across the chambers I have built: RH spikes to 90% the day you load a fresh batch of wet salami, the compressor short-cycles trying to pull down warm air after a door opening, and pieces on the bottom shelf dry slower than the top because the air is stratified. None of those are recipe problems. They are capacity and air-movement problems, and they are exactly what an advanced build solves. Before you buy a bigger box, read my honest accounting in the curing chamber build cost breakdown and the budget versus premium build comparison — scaling up is where the extra money actually changes the result.
Bigger Box or Second Chamber? Choosing Your Path
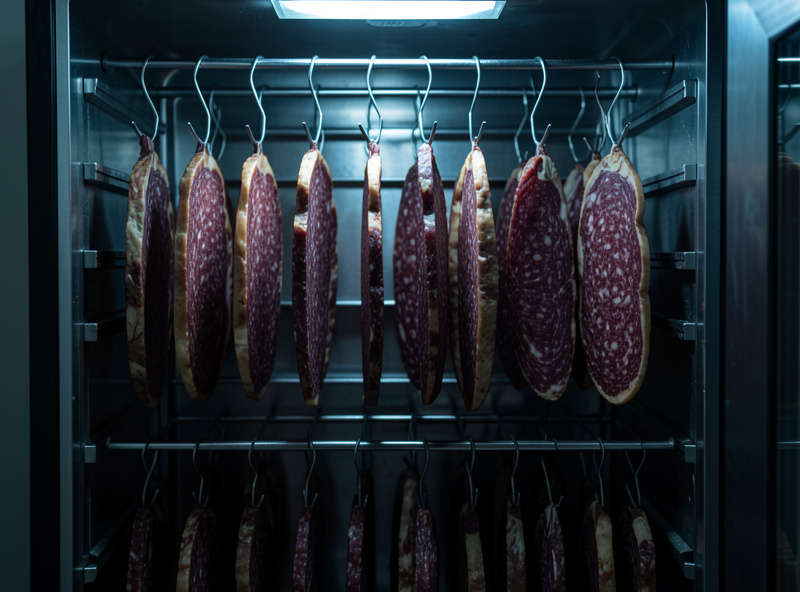
There are two ways to scale, and they solve different problems. A single larger chamber gives you more capacity for one climate; a second chamber gives you a second climate. For most home charcutiers the right first move is a single full-height fridge, because a tall box stratifies less per litre than a wide chest layout and a fan can homogenise it easily.
You go to a second box — or to a partitioned multi-zone build — when you genuinely need two envelopes at once: a warm, humid fermentation hold for fresh salami while whole muscle dries cool and slower nearby. I run my bar fridge as the overflow and the test bed precisely so a fermentation batch never forces the primary chamber off its drying setpoint. If you are weighing the same decision, the full walkthrough lives in the multi-zone curing setup guide, and the foundational box-selection logic is in choosing the best fridge for a conversion.
| Scaling path | Best for | Typical capacity | Main trade-off |
|---|---|---|---|
| Larger single fridge | More of one product at one climate | 20–35 kg | One envelope only; big door-open swings |
| Second dedicated chamber | Two climates (ferment + dry) at once | 2 × 10–20 kg | Doubles controllers, sensors, and footprint |
| Single box, multi-zone partition | Two climates, one footprint | 15–25 kg split | Hardest to balance; airflow leakage between zones |
| Wine fridge conversion | Small-space, quiet, low-vibration drying | 5–12 kg | Thermoelectric units struggle in warm rooms |
The Controller Upgrade That Changes Everything
The single upgrade that separates a reliable advanced chamber from a temperamental one is dual-stage, independent control of temperature and humidity. In my primary chamber an Inkbird ITC-308 handles the compressor on the temperature side and an Inkbird IHC-200 drives both a humidifier and a dehumidifier on the humidity side, each with its own hysteresis band. That separation is what lets the box hold 13 °C and 78% RH instead of chasing one against the other.
If you are still running a single thermostat or relying on the fridge’s own dial, the controller swap is the highest-leverage move you can make. I cover exactly which units to buy and how to wire the two-stage logic in the Inkbird controller upgrade guide, and the head-to-head against the alternatives is in Inkbird vs Auber vs Willhi. For controller hardware I keep coming back to the same two Inkbird units: a dual-stage ITC-308 temperature controller and an IHC-200 humidity controller. As an Amazon Associate I earn from qualifying purchases.
Humidity in a Large Box Is a Different Animal
In a small chamber a damp sponge can hold humidity; in a large box you need active humidification and active dehumidification working against real volume. A bigger chamber has more air to saturate, more thermal mass to swing the dew point, and more meat dumping moisture during the first weeks of a batch — so RH overshoots high early and crashes low later as the load dries down.
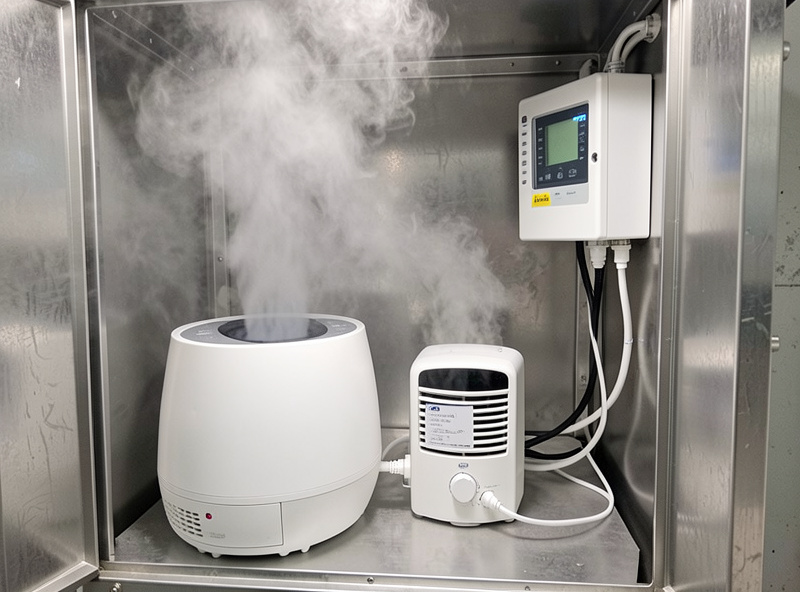
The fix is sizing the kit to the volume and giving the controller a tight band to work inside. I run an ultrasonic cold-mist humidifier for fast response and a small Peltier or desiccant dehumidifier to bleed off the early-batch moisture spike, both on the IHC-200. The complete sizing logic — how much humidifier and dehumidifier capacity per litre, and how to stop the swings — is in controlling humidity in large chambers. For the device choices themselves see my humidifier comparison and when and how to size a dehumidifier.
Air Exchange and Circulation at Scale
The bigger the box, the more it stratifies, and stratification is what gives you a dry top shelf and a damp bottom. The answer is two separate jobs done by two separate fans: gentle circulation to homogenise the internal air, and timed air exchange to swap stale, CO2-laden, ammonia-tinged chamber air for fresh room air.
In my primary chamber a 120 mm low-speed computer fan runs on a 5-minutes-on, 25-minutes-off interval timer for exchange, while a second slow fan keeps the internal air moving without blasting the meat surface (which case-hardens it). Get this wrong and you will chase humidity ghosts forever. The full method — fan size, CFM, placement, and duty cycle — is in curing chamber airflow, and the smart-plug scheduling that automates the cycle is in smart plug schedules for curing chambers.
Monitoring and Logging You Can Actually Trust
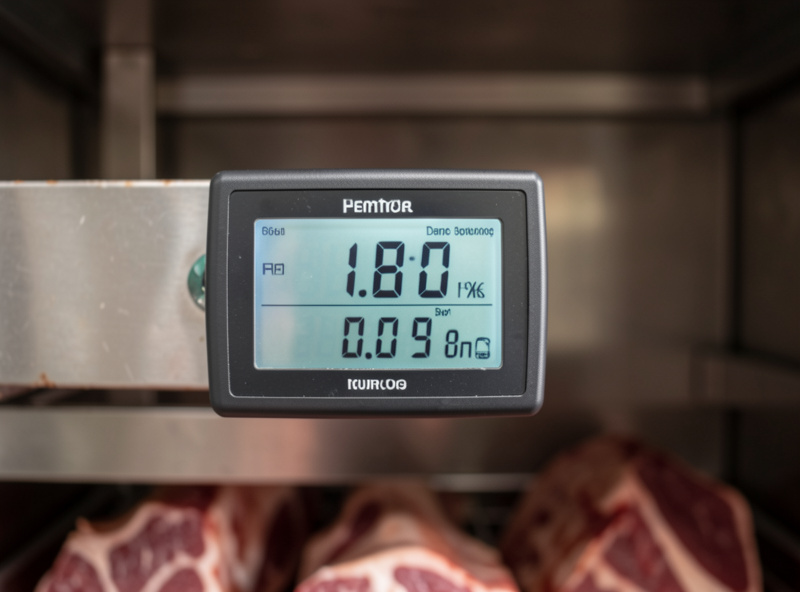
At scale, eyeballing a single dial is not enough — you need calibrated sensors at meat height and a log you can read over time. I keep a SensorPush HT.W at shelf height as the trusted reference and an Inkbird IBS-TH3 in the coil zone to watch what the compressor is doing, both salt-test and ice-water calibrated, and both surfaced through Home Assistant so I get an alert before a drift becomes a ruined batch.
The same Home Assistant hub that runs the grow lights in my other projects runs the chamber’s compressor and fan cycle here — humidity is destiny whether the organism is a salami culture or a lettuce root. Set up the sensors with my smart sensor guide, learn to trust the numbers with the salt and ice calibration tests, and log without opening the door using a curing chamber data logger.
Upgrading What You Already Have
You do not always need a new box. Most first chambers have headroom left in them — a better door seal, proper shelving, a second fan, or a controller swap can buy you another season before you scale up. I treat upgrading as a ranked checklist: fix the thing that is currently costing you batches first, not the thing that is most fun to buy.
The priority order I use, and how to diagnose which upgrade your chamber actually needs, is laid out in the upgrading a curing chamber guide. Quick wins that punch above their cost include a fresh door gasket, the right shelving material, and confirming your build basics against the complete build guide and fridge conversion walkthrough.
The Wine Fridge Build for Small Spaces
A wine fridge is the quietest, lowest-vibration small chamber you can build, and for someone in an apartment it is often the only realistic option. The catch is that most wine fridges are thermoelectric (Peltier) rather than compressor units, which means they cannot pull the box far below room temperature — fine in a cool Swedish basement, a problem in a warm kitchen.
Used right, a wine fridge makes a beautiful bresaola-and-lonzino sized chamber. The full conversion — which units to look for, how to add humidity control, and the temperature ceiling you have to respect — is in the DIY curing chamber from a wine fridge guide. If you are shopping used, run the unit through my used fridge inspection checklist first.
When the Chamber Misbehaves
Every advanced build will eventually drift, and the most common failure at scale is humidity — too high after loading, too low at the end, or swinging because two devices are fighting. The discipline is to read the log, change one variable, and wait a full day before judging, because a chamber’s thermal mass means it responds slowly.
For a methodical walk through every humidity fault and its fix, see troubleshooting chamber humidity issues. For the emergency case where RH is pinned at 90%, the fast recovery steps are in curing chamber too humid, and the general fault tree is the complete troubleshooting guide. The one defect that ruins more pieces than mold ever will is case hardening — a too-dry, too-fast surface that traps a wet core — so learn to spot it early.
Power, Vibration, and Where a Bigger Chamber Lives
A larger chamber draws more power and makes more noise, and both matter more than people expect. A full-height compressor fridge running a tight humidity band cycles often, and the compressor plus a humidifier and two fans is a meaningful continuous load — worth putting on its own circuit and a quality surge-protected outlet rather than sharing with the workshop tools.
Vibration is the quieter problem. A compressor that buzzes through a wooden floor will telegraph into the meat and into your sleep if the chamber lives near a bedroom wall. I sit mine on rubber anti-vibration feet on a concrete basement floor, which kills the resonance and keeps the box level so the door seals evenly. Siting also decides your battle with the room: a cool, stable basement does half the temperature work for you and is why my Swedish builds barely run the compressor in winter. If you want the chamber to keep running through an outage or you are off the mains, size the backup with my off-grid battery and inverter guide before you commit to a big draw.
Insulation, Thermal Mass, and Recovery Time
The reason a bigger box behaves differently is thermal mass. More air, more meat, and more shelving all store energy, so the chamber is slower to drift but also slower to recover after you disturb it — a single door opening on a large chamber can take an hour to fully settle the temperature and far longer to rebalance the humidity. That inertia is a feature once you stop fighting it: it means short disturbances barely register, and it is why you judge a change over a full day, never over ten minutes.
An old fridge carcass is already well insulated, which is most of why a converted fridge beats a purpose-built plywood cabinet for stability — the foam in the walls holds the envelope when the power cycles off. The thing that wrecks that insulation is a tired door gasket leaking conditioned air, so on any larger build I test and, if needed, replace the seal before the first batch. The full method is in my door seal testing guide, and the trade-offs of carcass size and door orientation are covered in choosing the best fridge. Heavy stainless shelving adds useful thermal mass but also blocks airflow if you overload it, which is why shelving material choice is a real decision and not an afterthought.
Building for the Fermentation Phase at Scale
The fermentation phase is where an advanced build earns its keep, because fermenting sausage wants the opposite of drying: warm, around 20–24 °C, and humid, near 90% RH, for roughly the first day or two while the starter culture and dextrose drive the pH down. Doing that in the same box that is trying to dry your whole muscle at 13 °C is impossible, which is the single best argument for a second chamber or a true multi-zone setup.
I run the warm ferment in the smaller overflow chamber with a low-wattage heat source on the temperature controller’s heating stage, then move the sausage across to the cool primary chamber for the long dry once the pH has dropped and the culture has done its job. This is the fermenter’s discipline applied to meat: the lactic acid bacteria need feeding and a stable warm window to acidify the batch, exactly as a sauerkraut crock does, and “let it ferment naturally” is a needless gamble with a product you will eat months later. The pH-and-culture parallel is laid out across my multi-zone setup guide, and you must never hold meat warm without a culture or acidification path — that is the botulism window, and it is why the cure-salt rules below are non-negotiable.
Weight Loss Is Still the Only Honest Signal
No matter how big or smart the chamber, the doneness signal never changes: weight loss. I weigh every piece going in and track it down to a target of 30–40% loss for whole muscle and finished salami — that is the number that tells you the water activity has dropped into the safe, shelf-stable range, not the calendar and not the look of the mold. A bigger chamber just means more scales and a longer spreadsheet.
This is the fermenter’s lens on charcuterie: the pH drop that secures a salami is the same lactic-acid chemistry that ferments a jar of sauerkraut, and water activity is the variable both crafts obey. The advanced chamber exists to hold the envelope steady so the meat can lose that water evenly. For the science behind why beef and charcuterie want different envelopes, see humidity for dry aging beef vs charcuterie, and for the humidity-control crossover that started it all, adapting hydroponic reservoir tech.
A Note on Safety as You Scale
Scaling up multiplies risk as well as yield, so the safety rules get stricter, not looser. Every long dry-cure and every fermented sausage still needs the correct curing salt — Cure #1 for short or cooked cures, Cure #2 for anything fermented or dried for weeks — and “natural, no-nitrate” is never a safe substitute on a long dry-cure, a point the National Center for Home Food Preservation makes plainly in its home-curing guidance. Use a starter culture and dextrose for the fermentation phase so the pH drops reliably instead of leaving the box in the warm, no-acid window where botulism risk lives.
Good white mold (Penicillium nalgiovense) is your friend; fuzzy black or green growth and any slimy, off-smelling piece is not — when in doubt, throw it out. Learn the difference with my guide to good white mold vs dangerous black and green. A bigger chamber should make you more disciplined about the log, the cure math, and the calibration, never less.
The curing chamber lighting guide covers LED selection, wiring, and safe installation.
Frequently Asked Questions
How big should an advanced curing chamber be?
For most home charcutiers a full-height larder fridge of roughly 250-350 litres is the sweet spot, holding 20-35 kg of hanging meat at one climate. A tall box stratifies less per litre than a wide one and a single fan can homogenise it. Go to a second chamber only when you need two climates at once.
Do I need two controllers for temperature and humidity?
Yes. Independent dual-stage control is the upgrade that makes an advanced chamber stable. Run an Inkbird ITC-308 on the compressor for temperature and an Inkbird IHC-200 driving both a humidifier and dehumidifier for humidity, each with its own hysteresis band, so the two do not fight each other.
Why does humidity swing more in a larger chamber?
A bigger box has more air to saturate and more meat releasing moisture, so RH overshoots high when you load a fresh wet batch and crashes low as the load dries down. The fix is active humidification plus active dehumidification sized to the chamber volume, set to a tight control band.
Should I build one big chamber or a multi-zone setup?
Build one larger single chamber if you make a lot of one product at one climate. Choose a second dedicated chamber or a multi-zone partition only when you genuinely need two envelopes simultaneously, such as a warm humid fermentation hold running alongside cool slow whole-muscle drying.
Can I convert a wine fridge into an advanced chamber?
Yes, for small spaces. A wine fridge is quiet and low-vibration, ideal for bresaola and lonzino sized pieces holding 5-12 kg. The limitation is that most are thermoelectric and cannot cool far below room temperature, so they work best in a cool basement rather than a warm kitchen.
What is the right temperature and humidity for a curing chamber?
The standard envelope for whole-muscle and salami drying is roughly 12-15 degrees Celsius and 75-80% relative humidity, with gentle air circulation and timed fresh-air exchange. Hold that steady and track weight loss to a 30-40% target, which is the honest signal that the water activity has dropped into the safe range.
Related Guides
- Upgrading a Curing Chamber: The Priority Checklist
- Multi-Zone Curing Setup Guide
- Controlling Humidity in Large Chambers
- Inkbird Controller Upgrade Guide
- DIY Curing Chamber From a Wine Fridge
- Troubleshooting Chamber Humidity Issues