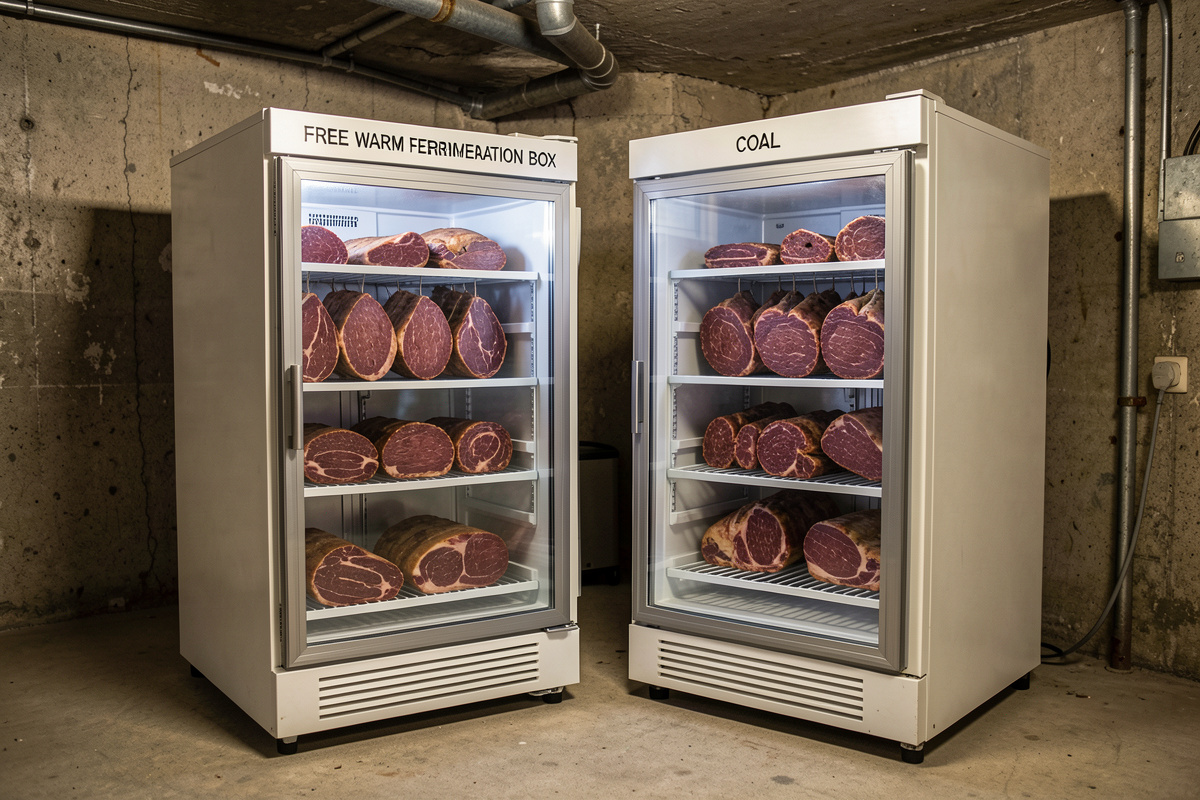

A multi-zone curing setup runs two different climates at once so you can ferment and dry at the same time: a warm, humid zone around 20–24 °C and 90% RH for the fermentation phase, and a cool, drier zone at 12–15 °C and 75–80% RH for the long dry. The single hardest thing in home charcuterie scheduling is that these two jobs want opposite conditions, and a multi-zone build is the answer.
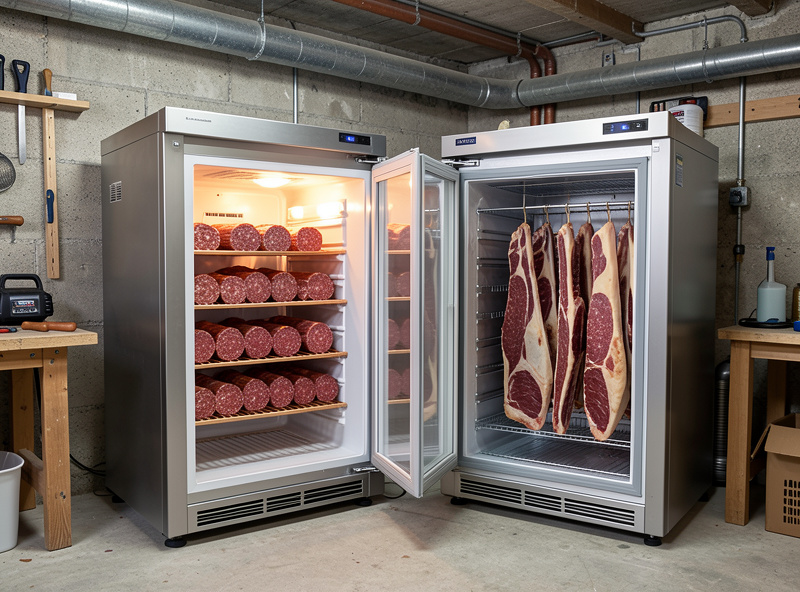
I run mine as two boxes rather than one partitioned cabinet — the full-height larder fridge as the cool drying chamber and a smaller bar fridge as the warm fermentation box — because two separate carcasses are far easier to hold at two stable envelopes than one box with a divider and a battle over leaking air. This guide covers both approaches, how to set the zone targets, and how to move a sausage between them without shocking it.
Why You Need Two Zones at All
You need two zones the moment you want to make fermented sausage while whole muscle is drying. Fresh salami needs a warm, humid hold for roughly the first 24–48 hours so the starter culture and dextrose can drive the pH down below about 5.3, which is what secures the meat. Whole muscle like coppa or bresaola wants none of that — it wants to go straight into a cool, steady dry.
Try to do both in one box and you either hold your drying coppa too warm, which is a food-safety problem, or you ferment your salami too cool, which is a needless gamble on whether the pH drops in time. The zones exist to keep each product in its correct window. This is the fermenter’s lens applied to meat: the lactic acid bacteria driving a salami’s pH down are the same family that ferments a sauerkraut crock — same chemistry, different substrate — and they need their warm window just as the dry needs its cool one. For the cool-side fundamentals, start with my climate control guide.
Two Chambers vs One Partitioned Box
There are two ways to build multi-zone, and for most home setups two separate chambers wins. A second dedicated box gives each climate its own compressor, controller, humidifier and sensor, so the two never interfere — the cost is footprint and a duplicate set of controllers. A single partitioned chamber saves space and money but is genuinely hard to balance, because the two zones share walls and any airflow gap lets the warm humid zone bleed into the cool one.
If you do partition one box, the warm fermentation zone goes at the top (heat rises) with its own small heat source and humidifier, the cool zone draws from the compressor at the bottom, and you need a real physical divider, not a curtain. Honestly, by the time you have added a second heater, a second humidifier and a second controller to one box, you have paid for a second fridge anyway — which is why I run two. The decision logic for scaling sits in my advanced curing chamber guide, and if you are choosing carcasses, see best fridge for a conversion.
Setting the Targets for Each Zone
Each zone gets its own controller pair and its own setpoints, and the numbers are not negotiable if you want a safe, repeatable result. The fermentation zone runs warm and very humid for a short, defined window; the drying zone runs cool and moderately humid for weeks; an optional finishing or “equalizing” hold sits between, slightly cooler and drier, to even out a piece that has dried unevenly.
| Zone | Temperature | Relative humidity | Duration | Purpose |
|---|---|---|---|---|
| Fermentation | 20–24 °C | 88–92% | 24–48 hours | Drop pH below ~5.3 with culture + dextrose |
| Primary drying | 12–15 °C | 75–80% | Weeks to months | Steady moisture loss to ~30–40% weight loss |
| Equalizing / finishing | 10–13 °C | 70–75% | Optional, days | Even out a case-hardened or uneven piece |
The fermentation zone needs a heating stage on its temperature controller — a low-wattage heat source such as a small ceramic or seedling-mat style heater — plus its own humidifier to hold that high RH. The drying zone is your standard build. Get the device sizing right with my humidifier comparison and dehumidifier sizing guide, and never hold the warm zone without a culture acidifying the batch — warm, humid, and no acid is the botulism window, which is exactly what the fermentation chemistry is there to close.
Controllers and Sensors for a Multi-Zone Build
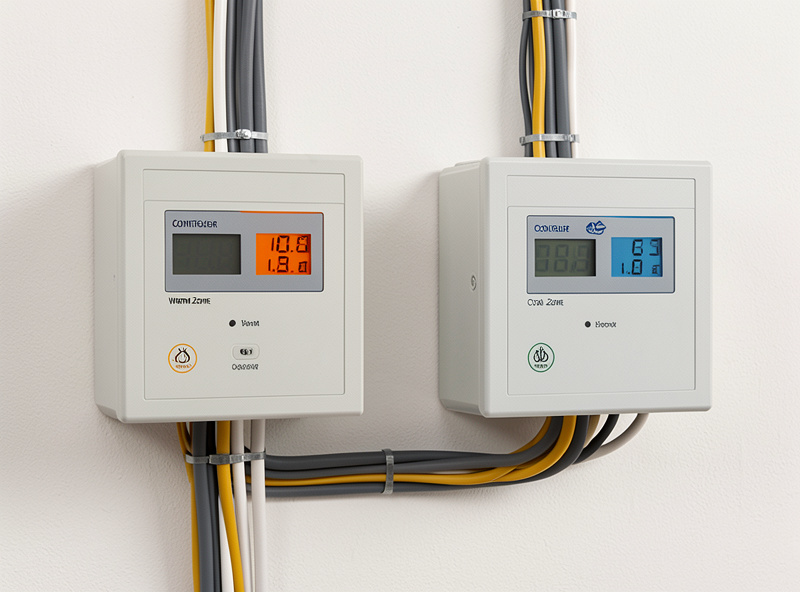
Each zone is an independent control loop, so plan on two temperature controllers and two humidity controllers — one set per box. I run an Inkbird ITC-308 and IHC-200 pair in the cool drying chamber and a second temperature controller with its heating stage active in the warm fermentation box. Doubling the controllers is the real cost of going multi-zone, and it is money well spent compared to ruining a batch.
Monitoring matters even more with two zones because you are now tracking two envelopes. I keep a calibrated reference sensor at meat height in each box and surface both through the same Home Assistant hub, so one screen shows me whether the ferment is holding warm and the dry is holding cool. Set this up with my smart sensor guide and trust the numbers using the salt and ice calibration tests. For the controller deep dive, see my Inkbird controller upgrade guide and the controller comparison.
Moving a Sausage Between Zones
The transition from ferment to dry is where multi-zone earns its name, and the move should be gentle, not a shock. Once the fermentation window is done and the pH has dropped — I confirm with a pH meter rather than guessing — I move the sausage from the warm box to the cool drying chamber, but I avoid dropping it straight from 90% RH into a dry, hard-blowing environment, because a sudden surface-dry is exactly how you case-harden a piece.
The trick is to let the drying chamber start a touch more humid for the first day or two after a transfer, then settle it to the 75–80% target as the load equalizes. Watch the first week closely: that is when case-hardening sets in, and it ruins more multi-zone batches than mold ever does. If you see a hard shell forming over a soft core, walk it back with my case hardening guide. Track every piece on the scale toward the 30–40% weight loss target — that number, not the calendar, tells you the water activity has dropped into the safe, shelf-stable range.
Scheduling Batches Across Two Zones
The quiet advantage of a multi-zone setup is throughput: because the warm zone is only busy for a day or two per batch while the cool zone is occupied for weeks, you can stagger production and keep both boxes earning. I treat the fermentation chamber as a fast lane and the drying chamber as a long-stay car park — a new salami batch passes through the warm zone in 48 hours and then frees it up for the next, while the dry chamber slowly fills with pieces at different stages.
In practice that means I batch my fermented sausage in waves: ferment a load, move it across, and within two days the warm box is ready for the next grind. Meanwhile whole muscle that needs no fermentation goes straight into the cool chamber and never touches the warm zone at all. Keeping a written log of what is in each box, its start weight and its target weight is what stops a two-zone operation from turning into chaos — I log every piece, every zone, every transfer date. The same weight discipline that governs a single chamber governs two; there are just more rows in the spreadsheet.
One scheduling trap to avoid: do not overload the cool drying chamber just because the warm zone is producing quickly. A drying box crammed past its airflow capacity stratifies and stalls, giving you damp pockets and slow, uneven loss. If you find the dry zone is the bottleneck, that is the signal to scale the cool side — a larger drying chamber or a second one — rather than slowing the ferment. The capacity logic for that step is in my advanced chamber guide, and airflow at load is covered in the airflow guide.
Safety Across Two Zones
Two zones double the meat in flight, so the cure discipline gets stricter, not looser. Fermented and long-dried products need Cure #2 (nitrite plus nitrate) because they hang for weeks; only short or cooked cures use Cure #1. Never present a “natural, no-nitrate” route as safe for a fermented sausage or a long dry-cure — it is not, and a multi-zone build does not change that chemistry. The National Center for Home Food Preservation sets out the same nitrite requirement for any cure that hangs for weeks.
Use a proper starter culture and dextrose in the fermentation zone so the pH drops on schedule instead of leaving the warm box sitting in the danger window, and never use iodized table salt, which inhibits the ferment. Good white mold (Penicillium nalgiovense) on the casing is welcome; fuzzy black or green growth or a slimy, off-smelling piece is not — when in doubt, throw it out. Learn the difference with my guide to good white mold versus dangerous black and green, and keep the troubleshooting fault tree handy in chamber humidity troubleshooting.
Keep Building
- Advanced Curing Chamber Guide
- Controlling Humidity in Large Chambers
- Inkbird Controller Upgrade Guide
- Upgrading a Curing Chamber
- Curing Chamber Climate Control