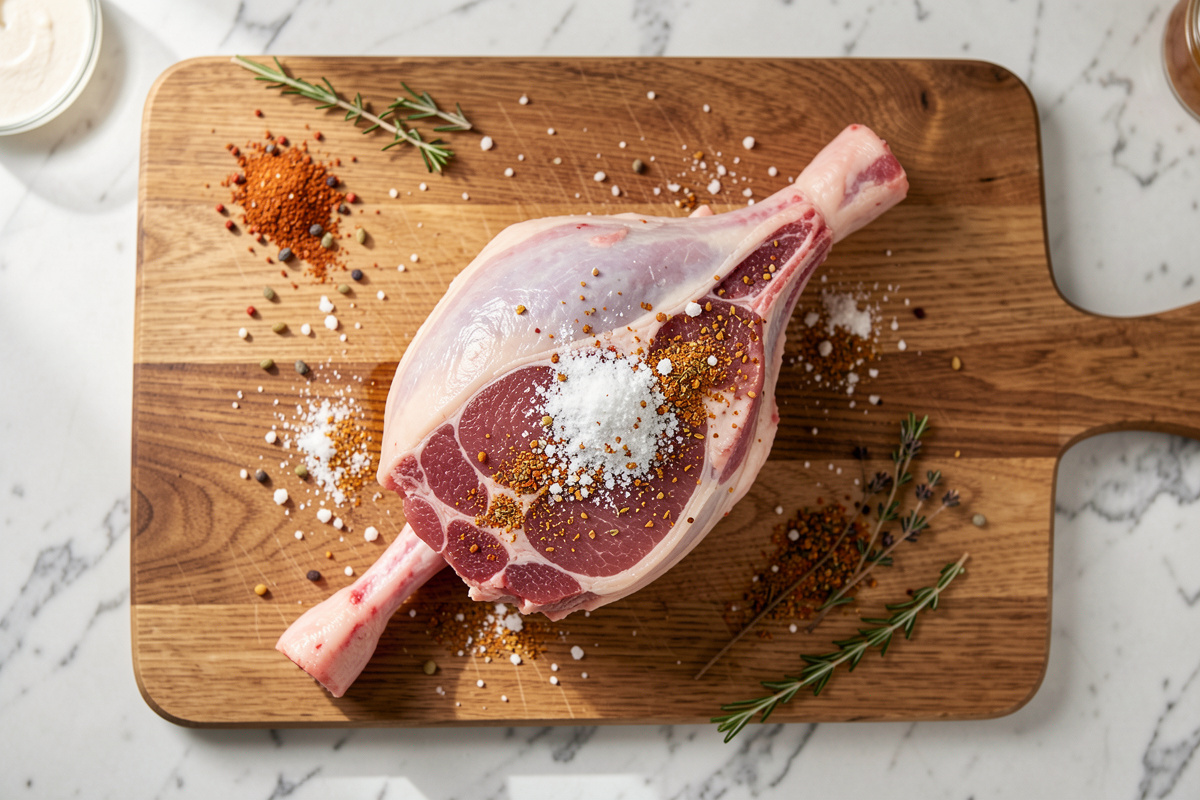

To make prosciutto at home, weigh a trimmed pork leg, apply 3% salt plus 0.25% cure #2, cold-cure it at 2 to 4°C until the cure is fully absorbed, then hang it in a 12 to 15°C chamber at 70 to 80% humidity until it has lost at least 30% of its starting weight. For a first attempt, bone the leg out — it is safer, more forgiving, and finishes in 5 to 9 months instead of well over a year.
This is the boned, equilibrium-cured method I steer every newcomer toward, because it removes the two things most likely to ruin a leg: an unreachable deep bone zone and an unpredictable salt uptake. It is the same logic I use on every coppa and lonzino I hang — weigh, calculate, apply all of it, and let the chamber do the slow work. Here is the whole process, step by step, with the numbers that keep it safe. Read the complete prosciutto guide first if you want the wider context behind each choice.
Step 1: Choose and Bone the Leg
Start with a fresh pork hind leg, never one that has been frozen and thawed, ideally 5 to 8 kg before boning. Freshness is a safety input, not a luxury: the leg spends weeks cold and sealed before it ever dries, and spoilage bacteria present at the start never get smaller. Bone out the femur and aitch bone with a sharp boning knife, working along the bone and opening the leg as little as you can — you want a roughly closed pocket you can re-form, not a butterflied sheet.
Removing the bone eliminates the deep zone where bone sour begins, which is the single most common way a whole-leg cure fails. Trim ragged edges and loose fat but keep the outer fat cap and skin where they are; that fat will slow surface drying later. Then weigh the boned, trimmed leg and write the number down. Every calculation and every entry in your weight log refers back to this green weight.
Step 2: Weigh and Mix the Cure
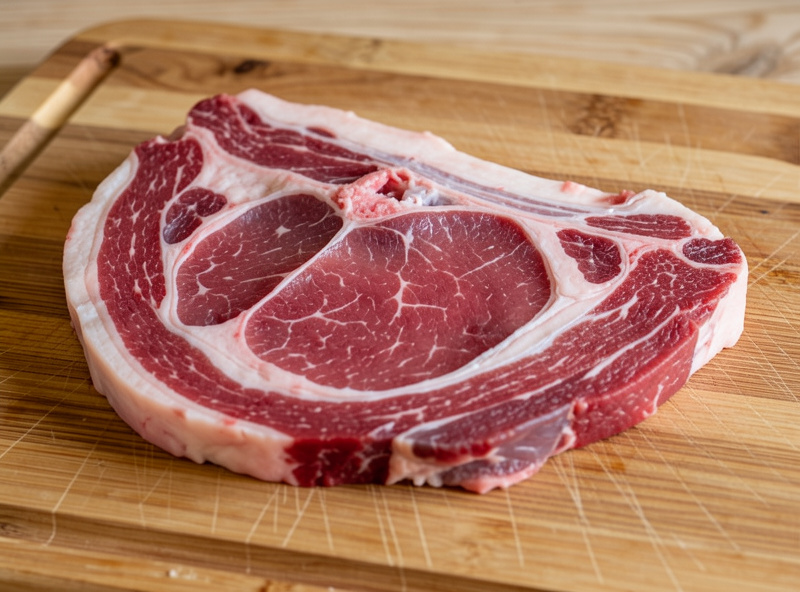
For an equilibrium cure, calculate everything as a percentage of that green weight: 3% fine non-iodized salt, 0.25% cure #2, and 1 to 2% sugar or dextrose to soften the salt edge. On a 5 kg boned leg that is 150 g salt, 12.5 g cure #2, and 50 to 100 g sugar. Optional aromatics — cracked black pepper, juniper, bay, garlic — go in here too, but the salt and cure #2 percentages are the only non-negotiable numbers.
Cure #2 is the right curing salt for prosciutto because it carries nitrate that converts slowly to nitrite across a months-long dry-cure; cure #1 is for short or cooked cures and does not belong here. At 0.25% of green weight you sit safely under the legal nitrite ceiling. Mix the salt, cure #2, and sugar together thoroughly so the cure is evenly distributed before it ever touches the meat — a clump of cure #2 in one spot is both a safety and a flavour problem.
| Component | % of green weight | On a 5 kg leg |
|---|---|---|
| Non-iodized salt | 3% | 150 g |
| Cure #2 | 0.25% | 12.5 g |
| Sugar or dextrose | 1–2% | 50–100 g |
| Aromatics (optional) | to taste | pepper, juniper, bay |
Step 3: Apply the Cure and Cold-Cure
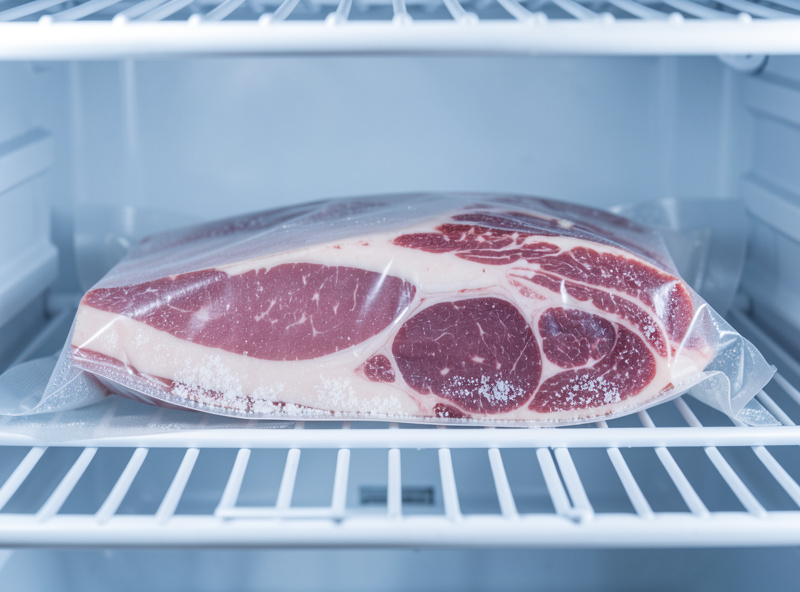
Rub the entire cure mix over every surface of the leg, working it firmly into the open muscle faces and any seams where the bone was. Press the leg back into shape, then seal it — a vacuum bag is ideal for an equilibrium cure because it keeps all the cure in contact with the meat and lets nothing escape; a tightly wrapped non-reactive container also works. Refrigerate at 2 to 4°C.
Leave it to cure cold for roughly one day per centimetre of thickness at the thickest point, and generally not less than two to three weeks for a leg, flipping it every few days so the liquid that draws out bathes all sides. The cold is doing real work here: it holds bacteria static while the salt and nitrite penetrate to the centre. Do not rush this phase or run it warm — patience at 3°C is what makes the rest safe.
Step 4: Rinse, Net, and Hang
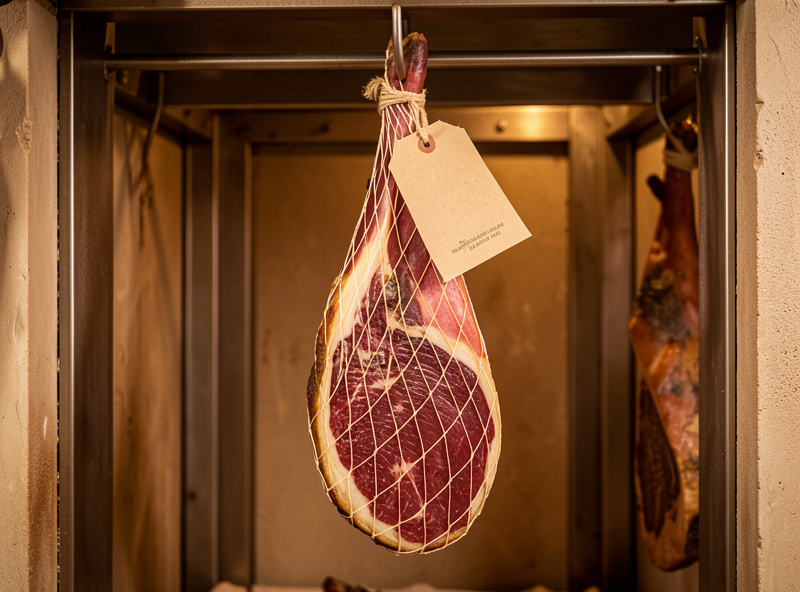
When the cure is fully absorbed, take the leg out, rinse off the surface cure, and pat it dry. Some makers give it a short cold equalisation rest, loosely wrapped, so any remaining salt gradient evens out before drying — worthwhile on a thick leg. Then truss it tightly in a meat net or butcher’s twine to hold its shape, attach a hook, and hang it in the chamber.
The net matters more than it looks: a boned leg wants to slump and trap moisture in folds, and the net keeps the surfaces open to airflow so it dries evenly. Note the date and the green weight on a tag tied to the hook. From here, the chamber and the calendar take over, and your job becomes weighing and watching.
Step 5: Dry to the Weight, Not the Calendar
Hang the leg at roughly 12 to 15°C and 70 to 80% relative humidity with gentle, intermittent airflow. Start nearer the high-humidity end so the surface does not race ahead of the core, then let humidity drift down slowly over the months. Weigh the leg on the same scale every week or two and log it. It is done when it has lost at least 30% of its green weight — for a boned leg, usually 5 to 9 months; chase 33 to 35% if you want it firmer and more concentrated.
Watch for two things while it hangs. A powdery white bloom on the surface is good mold and entirely normal; fuzzy black or green growth, or a slimy or putrid surface, is not — consult the troubleshooting guide before you act, and when genuinely in doubt, throw it out. If the surface starts hardening while the core stays heavy, you are case hardening, and the fix is more humidity and, on an exposed face, a coat of sugna fat paste. The full chamber-side detail is in the drying room conditions guide.
If You Want to Try Bone-In
The bone-in version follows the same logic but trades the vacuum bag for the salt-coverage method and adds months to the clock. You bury the leg in salt at 1 to 4°C, packing it hard into the aitch-bone pocket and along the femur where penetration is slowest, salt for roughly a day per kilogram split across an initial salting and a re-salt, then equalise cold before drying for 12 to 18 months. It is a genuinely advanced project — prove your chamber on a boned leg first. The technique lives in the whole ham curing guide and the salt coverage guide, and the trade-offs are weighed in boneless versus bone-in.
Frequently Asked Questions
What is the easiest way to make prosciutto at home?
Bone the leg out and use an equilibrium cure: 3% salt and 0.25% cure #2 of green weight, vacuum sealed and cold-cured at 2 to 4°C, then dried at 12 to 15°C and 70 to 80% humidity to 30% weight loss. A boned leg finishes in 5 to 9 months.
How much salt and cure #2 do I use for prosciutto?
For an equilibrium cure, use 3% non-iodized salt and 0.25% cure #2 by green weight, plus 1 to 2% sugar. On a 5 kg boned leg that is 150 g salt, 12.5 g cure #2, and 50 to 100 g sugar. Cure #2, not cure #1, is correct for a long dry-cure.
How long do you cure a prosciutto in the fridge before hanging?
For an equilibrium cure, hold the leg cold at 2 to 4°C for roughly one day per centimetre of thickness, and not less than two to three weeks for a leg, flipping every few days until the cure is fully absorbed before rinsing and hanging.
Can I make prosciutto without a curing chamber?
You need a space that reliably holds 12 to 15°C and 70 to 80% humidity for months. A converted fridge with a temperature and humidity controller is the dependable home solution. A random cellar that swings in temperature or humidity will case-harden or spoil the leg.
How do I know when my prosciutto is finished?
Weigh it on the same scale you used at the start. It is finished when it has lost at least 30% of its green weight, which corresponds to a water activity below 0.91. Many makers go to 33 to 35% for a firmer, more concentrated result.
Related Guides
- Prosciutto at Home: The Complete Guide
- Curing a Whole Ham at Home
- Prosciutto Salt Coverage Guide
- Prosciutto Drying Room Conditions
- How to Calculate Equilibrium Salt Percentage