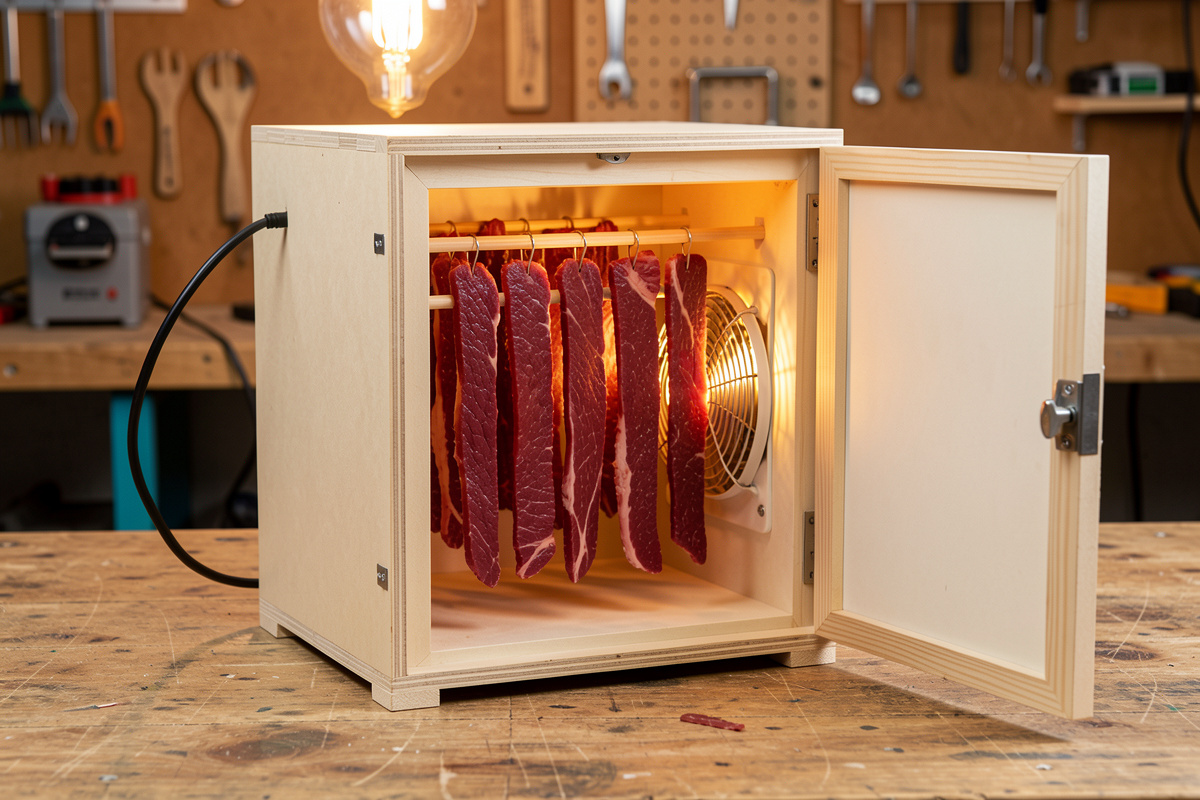

A biltong box is a ventilated enclosure with a low-wattage bulb for gentle warmth and a small fan for airflow — nothing more. The goal is a warm, dry, breezy interior, roughly 25 to 30 °C at 40 to 60 percent humidity, which is the exact opposite of a curing chamber. You can build one in an afternoon for the cost of a fan and a bulb.
I build chambers for a living hobby, so the first thing I want to say is this: a biltong box is the easy cousin of a full curing chamber build. There is no compressor, no refrigeration, no humidifier. You are not fighting to hold humidity up — you are driving it down. That makes the engineering forgiving, but there are still a few decisions that separate a box that dries cleanly from one that grows mould. Here is how I would build it, the parts that matter, and the ratios that work.
How a Biltong Box Actually Works
Two components do all the work. The bulb sits at the bottom and warms the air; warm air holds more moisture, so it lowers relative humidity and gently drives convection up past the meat. The fan moves that air across the strips and pushes the moisture-laden air out through a vent. Cool, dry, moisture-carrying air comes in low; warm, wet air leaves high. That is the entire machine.
Because the box drives humidity down rather than up, it is mechanically simpler than the climate control in a fridge chamber. But the airflow principle is identical to the one I obsess over in chamber fan sizing — air across every surface, no dead spots, no two strips touching. Biltong just wants the airflow turned up.
The Enclosure
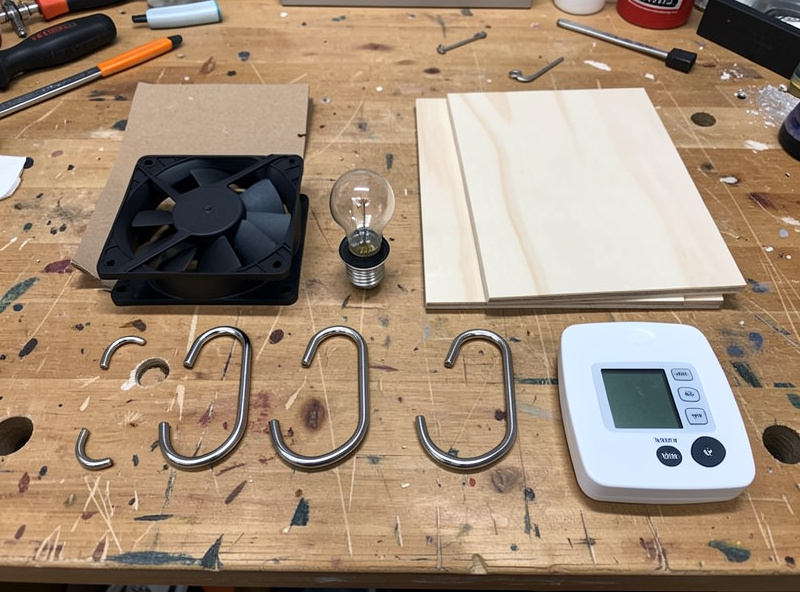
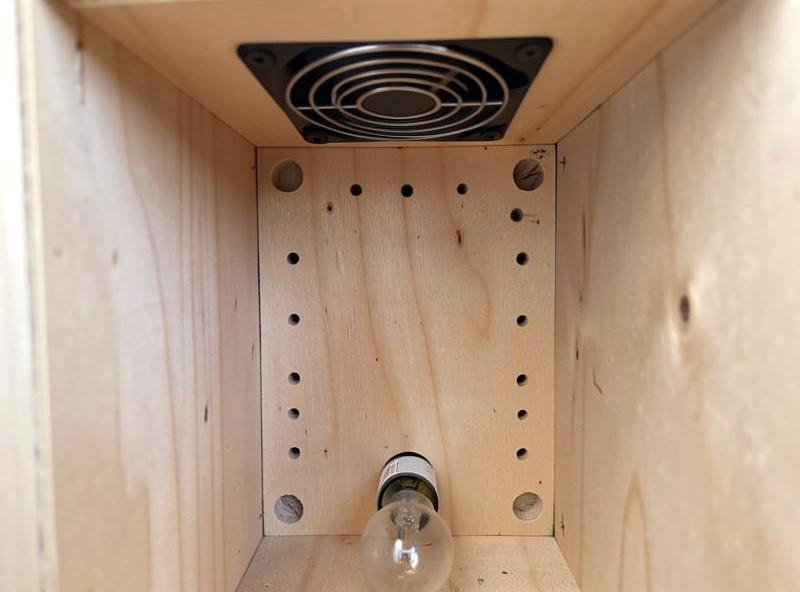
Almost any clean, food-safe box works: a plywood cabinet, a plastic storage tote, an old wooden wine crate, even a cardboard box for a first trial. I prefer plywood because it is rigid, easy to drill, and takes hooks well. Whatever you use, you need intake vents low and exhaust vents high so the convective stack can run. Drill a ring of holes near the base and another near the top, or cut a vent and cover it with mesh to keep insects out.
Size it to your batch. A box around 40 to 60 cm tall gives strips room to hang clear of the bulb and clear of each other. If you are repurposing an enclosure, the same things I check in a used-fridge inspection apply at small scale: clean surfaces, no lingering odours, and a door or lid that you can open to check progress without chilling the whole box.
The Bulb: Warmth Without Cooking
The bulb is for drying, not cooking. A standard incandescent bulb in the 15 to 40 watt range gives enough gentle heat to lower humidity and nudge convection in a small box. In a warm room you may need very little; in a cool Swedish garage like mine, a bit more. The hard rule is to keep the box interior under about 35 °C. Push past that and you start to case-harden the surface — a dry shell sealing a wet centre, the same defect that ruins a slow cure.
LED bulbs barely warm anything, so for the heat function you want an incandescent or a small dedicated heat source. If your ambient air is already warm and dry, you may be able to run the box on the fan alone and skip the bulb entirely. The bulb earns its place in cool or damp conditions, which is most of the year where I live.
The Fan and Air Exchange
A 120 mm computer fan is the workhorse — quiet, cheap, low power, and easy to run from a USB or 12 V supply. Mount it to either pull fresh air in low or exhaust warm air high; both work, and on a small box one fan is plenty. Unlike a curing chamber, where I cycle the fan on an interval to avoid over-drying, a biltong box generally runs its fan continuously because the whole point is fast drying. A 120 mm fan and a cheap power supply are the bulk of the build cost.
Hanging Hardware and Monitoring
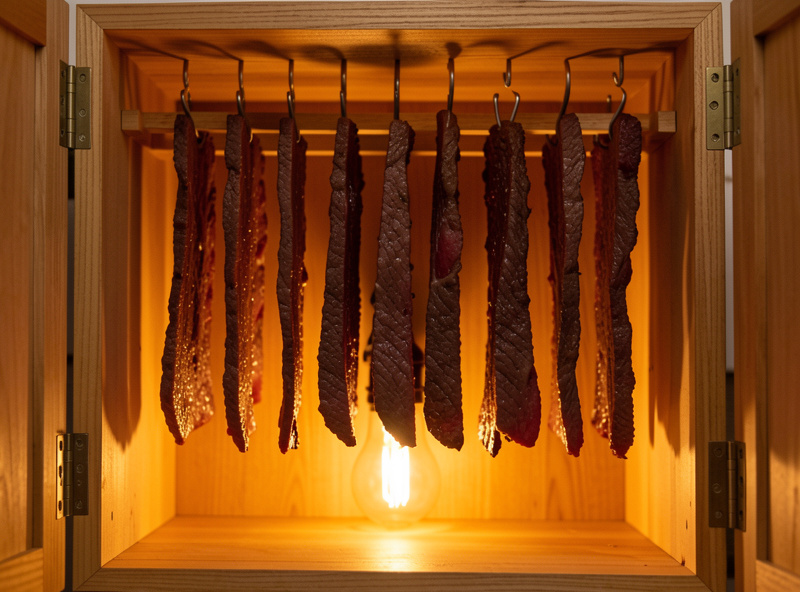
Inside, you want a dowel or rod across the top and stainless S-hooks or food-safe twine to hang strips with air gaps between them. Avoid galvanised hooks touching the meat. A small digital thermometer-hygrometer tells you whether you are actually in the 25 to 30 °C, 40 to 60 percent band — do not trust the dial of a cheap analogue gauge, and calibrate it with a salt test if you are unsure. If you want to get fancy, the same smart-plug approach I use on chamber gear lets you put the bulb on a thermostat so it cycles to hold a set point, and an Inkbird temperature controller does the same job out of the box.
As an Amazon Associate I earn from qualifying purchases.
Build Options Compared
There is no single right build — it depends on your climate and how much you want to spend. Here is how the common approaches stack up.
| Build | Heat | Airflow | Climate Control | Best For |
|---|---|---|---|---|
| Cardboard box trial | None or small bulb | One small fan | Manual, basic | First batch, warm dry rooms |
| Plywood box (classic) | 15–40 W bulb | 120 mm fan, continuous | Hygrometer, watch it | Most home makers |
| Plastic tote build | Small bulb | 120 mm fan | Hygrometer | Easy clean, small spaces |
| Controlled box | Bulb on thermostat | Fan, optional cycle | Inkbird / smart plug | Cool or damp climates |
| Ready-made kit | Built-in bulb | Built-in fan | Basic dial | No-DIY shortcut |
If you would rather not cut plywood at all, a ready-made biltong box gets you drying the same day, though I find a DIY box gives more room and better airflow for the money.
Dialing It In
Once built, run the empty box for an hour and read the hygrometer. If it sits above 60 percent humidity, you need more airflow, more bulb, or drier intake air — a small dehumidifier in the room helps in damp climates. If it runs hot above 35 °C, drop to a lower-wattage bulb or add a vent. Get the empty box into the target band before you ever hang meat, and your first batch will dry cleanly. Then follow the step-by-step method and watch the weight loss to know when it is done.
Frequently Asked Questions
What temperature should a biltong box be?
Aim for 25 to 30 C inside the box and keep it under about 35 C. The warmth lowers humidity and speeds drying, but too much heat case-hardens the surface and traps a wet centre. In a warm room you may need little or no bulb.
What size fan do I need for a biltong box?
A single 120 mm computer fan is plenty for a typical home box. Run it continuously, since biltong relies on fast drying. Position it to either draw fresh air in low or exhaust warm moist air high; both work on a small enclosure.
Do I need a light bulb in a biltong box?
Only for warmth in cool or damp conditions. A 15 to 40 watt incandescent bulb gently warms the air and lowers humidity. In a warm, dry room you can often run on the fan alone. Use incandescent, not LED, since LEDs produce almost no heat.
What humidity should a biltong box have?
Target 40 to 60 percent relative humidity, much drier than a curing chamber. If your box reads above 60 percent, increase airflow, add gentle bulb heat, or dehumidify the room. High humidity is the main cause of mould on drying biltong.
Can I use my curing chamber as a biltong box?
Not as configured. A curing chamber holds 75 to 80 percent humidity at 12 to 15 C for slow whole-muscle drying, which makes vinegar-wet biltong mould. You would have to override the humidity and raise the temperature, at which point it is no longer working as a chamber.
Related Guides
- Biltong Guide: Air-Dried Beef in a Warm, Dry Box
- How to Make Biltong at Home
- Biltong Drying Time and Moisture Guide
- How to Build a Curing Chamber
- Curing Chamber Airflow: Fan Size and Placement
- Inkbird vs Auber vs Willhi Controllers