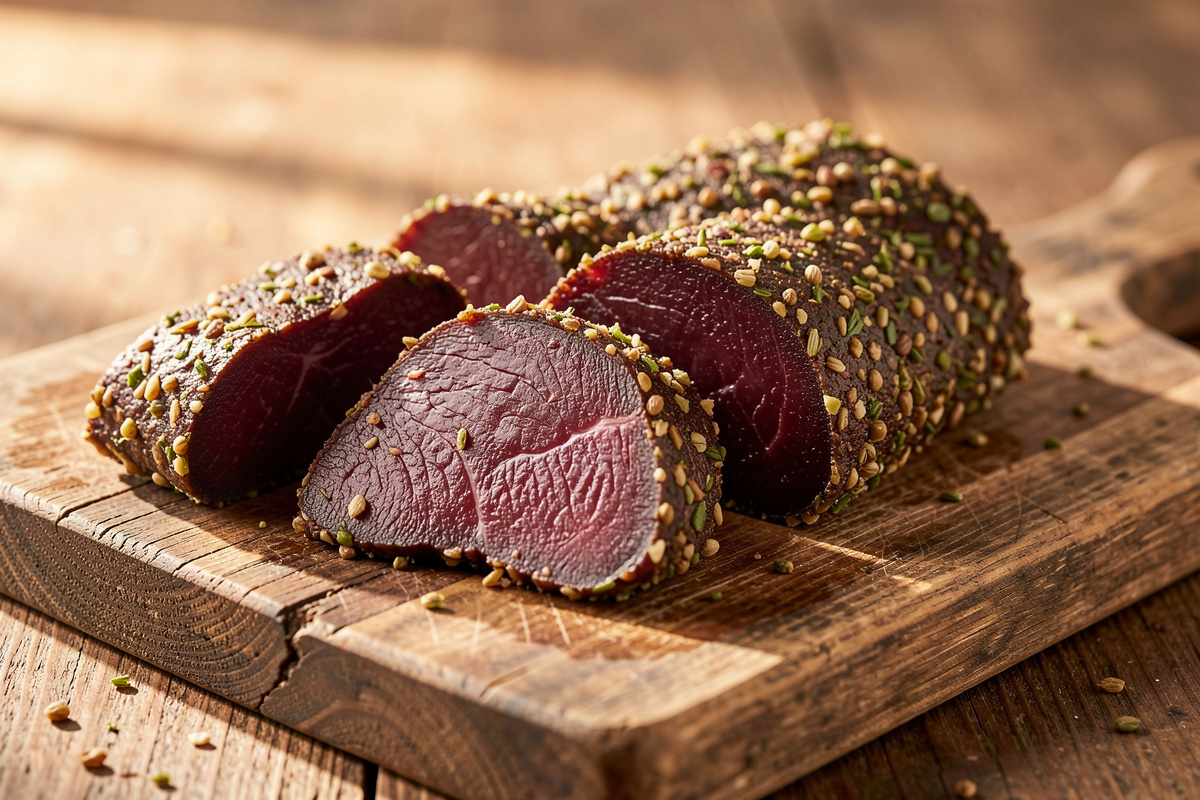

To make biltong at home you marinate thick strips of lean beef in vinegar and spice, salt them, and hang them in a warm, dry, breezy box until they lose about half their weight — roughly 3 to 7 days. No cooking, no smoking, no refrigeration. The whole craft is acid, salt, and moving air.
I came to biltong from the slow side of charcuterie, where a coppa hangs for three months. Biltong felt almost reckless by comparison — a few days and it is done. But the speed is precisely what keeps it safe, and once you internalise that, the method is genuinely simple. Here is the exact sequence I run, the way I weigh mine, and the handful of places it goes wrong. For the deeper reasoning behind each step, the main biltong guide is the parent of this walkthrough.
What You Need Before You Start
Biltong needs less gear than almost anything else I make. You need lean beef — silverside or topside is classic — a sharp knife, coarse salt, real vinegar, toasted coriander and black pepper, and somewhere warm, dry, and breezy to hang the strips. A digital scale is the one tool I will not skip, because biltong is finished by weight loss, not by guesswork. If you do not have a dedicated drying space, the biltong box build is a weekend project that pays for itself on the first batch.
One thing to be clear about up front: do not plan to dry biltong in a curing chamber. A chamber sits at 75 to 80 percent humidity to dry whole muscle slowly, and that is the wrong climate for vinegar-wet beef, which will mould before it dries. Biltong wants 25 to 30 °C, 40 to 60 percent humidity, and constant airflow. That single distinction is the most common reason a first batch fails.
Step 1: Choose and Slice the Beef
Start with a lean, single muscle. Trim the silver skin and any heavy seams, then slice with the grain into strips about 2 to 3 cm thick and a hand-span long. Cutting with the grain is what gives biltong its long, satisfying chew — this is the opposite of jerky, which is cut thin against the grain, and one of the defining differences in the biltong versus jerky comparison.
Thickness is also a safety lever. Thinner strips dry faster, and fast drying is half of what keeps no-nitrite biltong safe. If your room is humid or you are skipping the optional cure, stay on the thinner side. A thin fat cap is fine for biltong you will eat within a week or two; trim it hard for longer keeping, because fat turns rancid long before lean meat does.
Step 2: The Vinegar and Spice Marinade
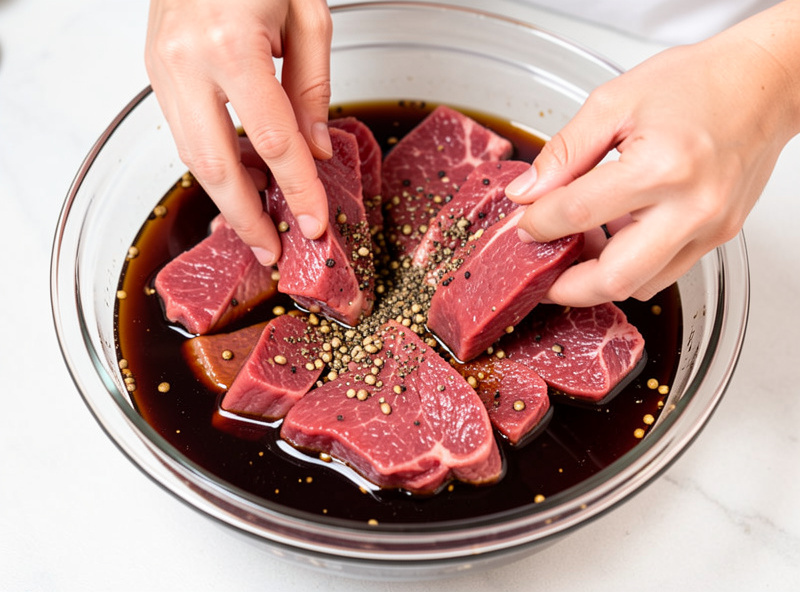
Toss the strips in vinegar first — brown malt, cider, or red wine vinegar all work. The vinegar is not just flavour: the acetic acid drops the surface pH and is one of the three pillars (acid, salt, speed) that make raw air-dried beef safe to eat. Let the meat sit in the vinegar for anywhere from a few minutes to a couple of hours; I usually give it about half an hour.
Then comes the spice and salt. Toast whole coriander seed in a dry pan until fragrant, crack it coarsely, and combine with cracked black pepper and salt. Coriander is the non-negotiable signature of biltong; pre-ground coriander tastes flat, so crack your own. I weigh the salt rather than eyeball it — around 2 percent of the meat weight for an equilibrium cure you do not rinse off. The exact ratios, the salt-box alternative, and regional spice tweaks live in the cure and spice guide. Never use iodized table salt; iodine is harsh and serves no purpose here.
Step 3: Cure and Optional Nitrite
Coat every strip evenly in the salt-and-spice mix, pack them into a non-reactive container, and refrigerate for a few hours up to overnight. This is the rest period where salt penetrates and the surface acidifies. Traditional biltong carries no nitrite at all, and that is genuinely correct for a fast, well-acidified batch.
If you are working in a damp climate — my Swedish winters qualify — or your drying setup runs slow, I add cure #1 at 2.5 g per kilogram of meat as a margin against Listeria and Staphylococcus. That is cure #1, not cure #2: biltong is a short cure of days and never needs the slow-release nitrate of a months-long bresaola. It is optional insurance, not a substitute for the vinegar and the fast dry.
Step 4: Hang and Dry
Pat the strips, hook them through one end, and hang them in your warm, dry, breezy box with space between each piece so air reaches all surfaces. Crowding is a classic failure: strips touching each other trap moisture and grow mould at the contact point. A low-wattage bulb provides gentle warmth that lowers humidity, and a fan keeps the air moving. This is the same airflow principle as a curing chamber’s fan setup, just turned up — biltong wants more air, not less. I clip a SensorPush HT.W inside at strip height so I can watch temperature and humidity from my phone and catch the box drifting out of the 25–30 °C, 40–60 percent band before a batch is at risk.
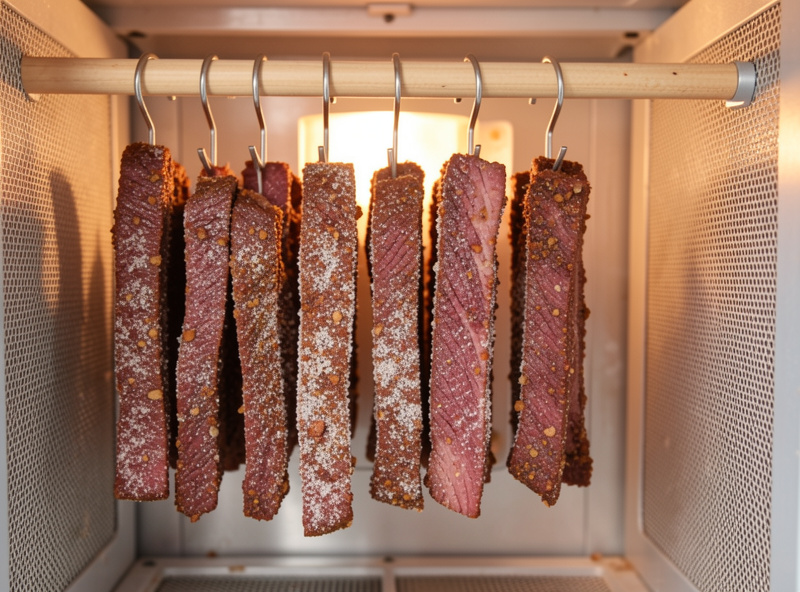
Keep the box under about 35 °C. The bulb is there to dry, not to cook — if you push the temperature up trying to rush things, you case-harden the surface and trap a wet centre, the same defect that ruins slow cures. If your ambient air is humid, a small dehumidifier near the box helps more than extra heat.
Step 5: Know When It Is Done
Biltong is finished by weight, not by the calendar. Weigh the green (starting) weight and dry to a target loss. Around 35 percent loss gives moist, deep-red “wet” biltong; around 50 percent gives the firm, classic dry style that snaps and chews. In a properly warm, dry, breezy box that is usually 3 to 5 days for wet and 5 to 7 or more for dry, but the scale is the truth. The full endpoint science — including how water activity relates to shelf stability — is in the drying time and moisture guide and the broader water activity explainer; the short version is that water activity below about 0.85 is the threshold where the pathogens that matter can no longer grow.
Common First-Batch Mistakes
The failures cluster into a few predictable patterns. Mould almost always means the surface stayed wet too long: too humid, too cold, too crowded, or strips too thick. A hard dry shell over a squishy centre means it dried too hot or too fast. Sour, off, or slimy meat means the cure or acidification was inadequate — when in doubt, throw it out. And a batch that never seems to finish is usually a humidity problem; check your hygrometer is calibrated before blaming the meat. A simple biltong spice blend takes the guesswork out of the seasoning while you dial in your box.
As an Amazon Associate I earn from qualifying purchases.
Frequently Asked Questions
How long does it take to make biltong at home?
In a warm, dry, breezy box at 25 to 30 C, biltong takes about 3 to 5 days for moist wet-style and 5 to 7 or more days for firm dry biltong. Finish by weight loss, not days: roughly 35 percent loss for wet and 50 percent for dry.
Do I have to refrigerate biltong while it dries?
No. Biltong dries at warm room temperature with airflow, not in a fridge. A curing chamber is actually the wrong tool because its high humidity makes vinegar-wet beef mould. You only refrigerate during the short curing rest before hanging.
What kind of vinegar is best for biltong?
Brown malt vinegar is traditional, but cider vinegar and red wine vinegar both work well. The vinegar lowers the surface pH for safety and adds flavour. Use enough to coat the meat; you do not need to soak it for hours.
Is homemade biltong safe to eat raw?
Yes, when made correctly. Safety comes from vinegar acidification, heavy salt, and fast drying in moving air, which together prevent pathogen growth. In humid climates or with thick strips, adding cure #1 at 2.5 g per kg gives extra margin. Discard any piece that smells sour or feels slimy.
Why is my biltong drying so slowly?
Slow drying is almost always a humidity or airflow problem. Make sure the box is 40 to 60 percent humidity with a fan running and strips spaced apart. Check that your hygrometer is calibrated, and add a small dehumidifier if your room air is damp.
Keep Reading
- Biltong Guide: Air-Dried Beef in a Warm, Dry Box
- Biltong Cure Recipe and Spice Guide
- Biltong Box Design and Build Guide
- Biltong Drying Time and Moisture Guide
- Biltong vs Jerky Comparison