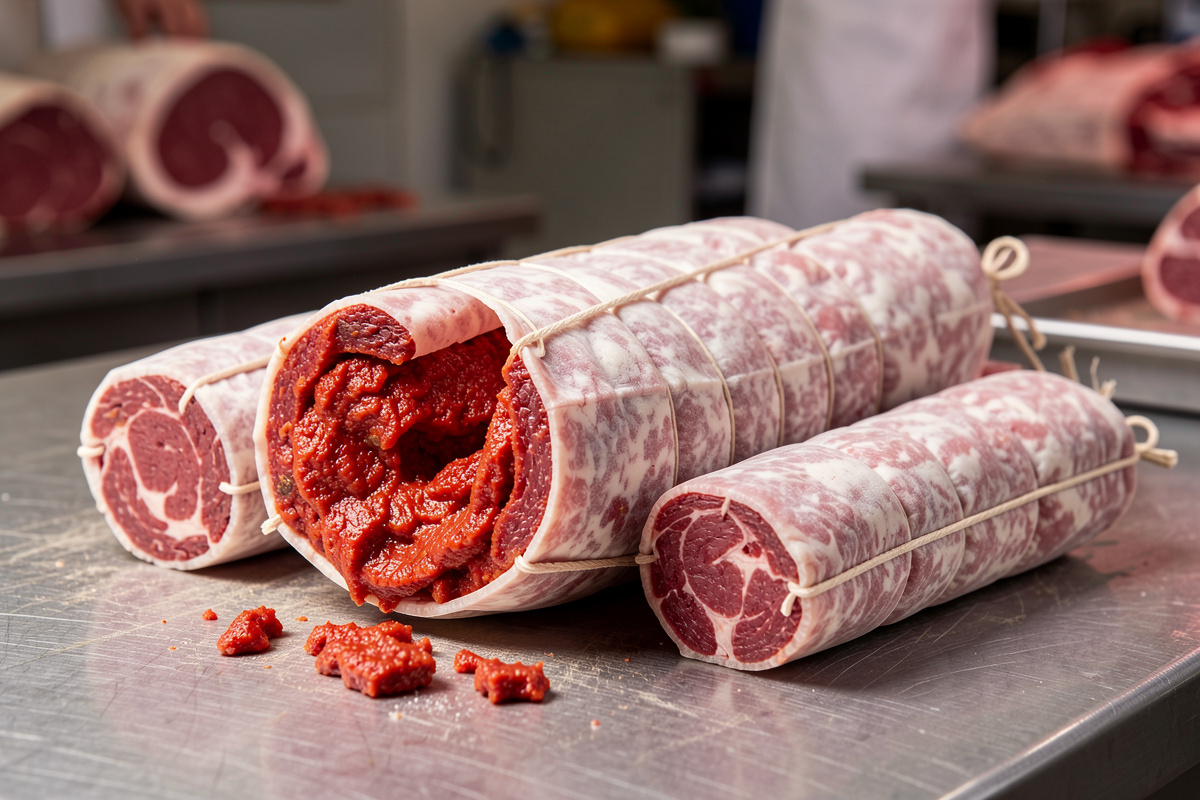

The best casing for ‘nduja is a wide one: traditionally a pork blind gut, and at home a wide beef bung or sewn-end beef cap. The soft, high-fat paste needs a large diameter to hold its shape, and a natural, breathable casing to let the long dry happen evenly. Diameter and breathability matter far more than which animal the casing came from.
‘Nduja is not a sausage you can stuff into the hog casings you would use for a fresh banger. The paste is too soft and the format is meant to be large — that fat torpedo is part of the identity. After stuffing more than a few of these across my chambers, I have settled on a clear preference, and I have learned exactly where each casing type helps and where it fights you. Here is how the realistic home options compare.
Why Casing Choice Matters More for ‘Nduja
With a firm salami, the casing is almost an afterthought — the meat holds itself together. ‘Nduja is different on two counts. First, the paste is soft and slumps, so it needs a wide, supportive casing to give it shape while it ferments and dries. Second, because the format is wide, moisture has a long way to travel from the core to the surface, which makes the casing’s breathability critical. A casing that breathes evenly lets the whole piece dry in step; one that seals or dries unevenly invites a hard outer ring over a wet core. That is the same case-hardening failure I cover in my case hardening fix, and a wide ‘nduja is especially prone to it.
Wide Beef Bung: The Classic Big Format
A wide beef bung (the beef caecum, sometimes sold as “beef bung cap”) is my default for ‘nduja. It is large in diameter, naturally breathable, and produces the chunky, rounded torpedo most people picture. Natural beef bung shrinks with the meat as it dries, hugging the paste and supporting it through the long cure. It takes the white mould bloom beautifully too, which both protects the surface and looks the part. The downside is that bungs are large, so a single one makes a big sausage and a long dry — not ideal if you want quick results or small portions.
Sewn-End Beef Caps and Middles
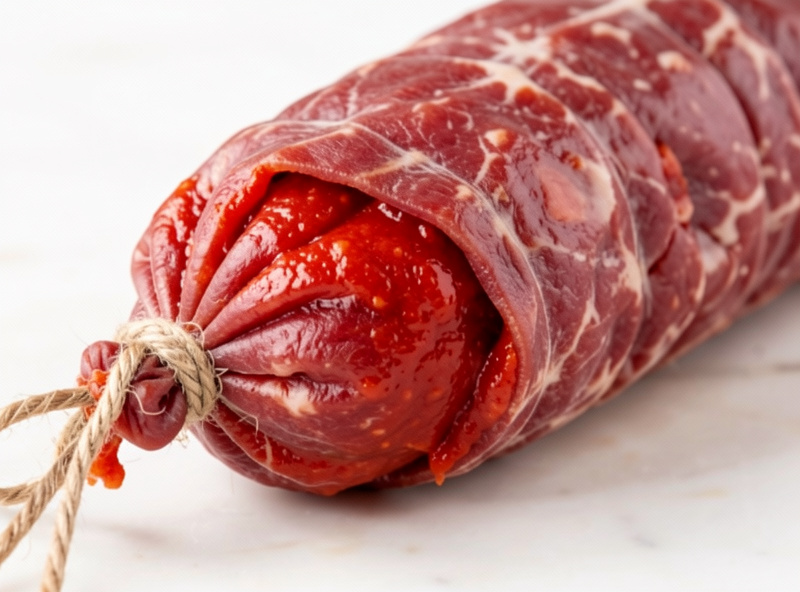
Sewn beef caps and beef middles are the practical alternative, and what I reach for when I want smaller, more manageable pieces. Beef middles give a long, slightly narrower format that dries faster than a fat bung, while sewn-end caps let you make a tidy closed package. They are easier to handle and portion, and the shorter drying distance reduces the case-hardening risk. The trade is that you lose a little of the dramatic wide-torpedo look, and a narrower piece dries to its endpoint sooner, so you have to watch the weight log more closely to catch the soft-spread window.
Both natural beef options are widely available; a pack of beef bung casings keeps in salt for ages, so I buy them ahead. As an Amazon Associate I earn from qualifying purchases.
Natural vs Collagen vs Fibrous
For a long-dried, wide, soft sausage, natural casings win. They breathe, they shrink with the meat, and they carry mould well. Collagen casings, useful as they are for fresh sausage, are less suited to a wide, multi-week ‘nduja dry — they do not shrink and breathe the same way, and the large diameters are harder to find. Fibrous casings are an option for a more uniform, sealed look, but they need to be the breathable type and pre-soaked, and they do not take a natural mould bloom the way a beef bung does. My general take on materials is in the salami casing types guide and the broader natural vs collagen casing guide; for ‘nduja specifically, natural is the safe default.
Diameter and the Dry-Time Trade-Off
The single most important number is diameter, because it sets your drying time. A fat beef bung might take many weeks to reach the soft-spread endpoint, while a narrower beef middle gets there noticeably faster. Wider also means more case-hardening risk if your humidity is not stable, since the surface can set long before the core catches up. If you are new to ‘nduja, I genuinely recommend starting with a narrower sewn format — it is more forgiving, dries in a more predictable window, and lets you learn the weight-loss curve before you commit to a big bung. The exact endpoints by format are in my how long to dry ‘nduja guide.
Preparing the Casing
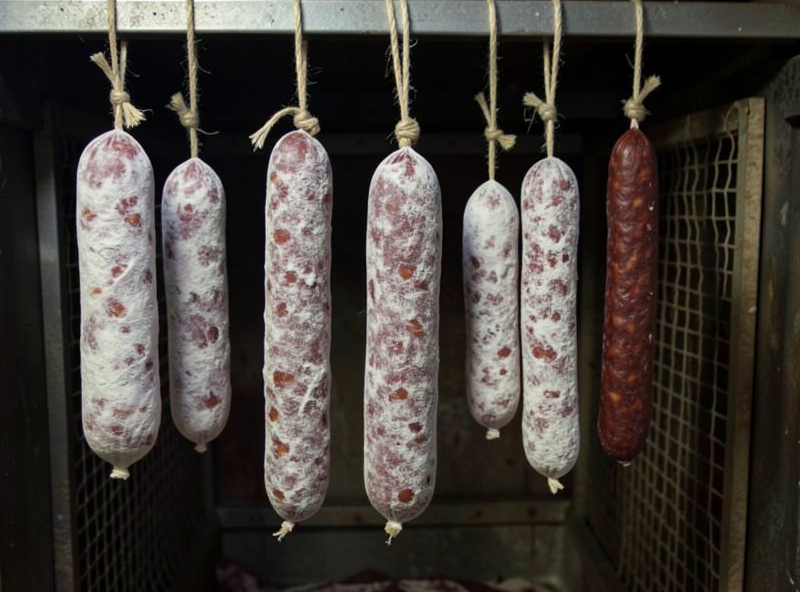
Whatever you choose, prep it properly. Salted natural casings need a good soak in cool water — often a few hours for a thick bung — with a rinse and a flush of the inside to clear the salt. Before stuffing, I check for pinholes and weak spots by running water through, because a hole in a wide casing turns into a fat-weeping leak under pressure. Stuff firmly with no air pockets; trapped air under the casing is where surface spoilage and discoloration start. Then prick any visible bubbles, wipe the casing clean, and it is ready for the ferment.
One more practical note: the soft paste makes a vertical sausage stuffer almost essential for wide casings — pushing soft ‘nduja through a grinder horn into a fat bung is a frustrating, smear-inducing exercise. A proper stuffer fills the casing cleanly and quickly, which also keeps the paste cold, the theme that runs through the whole ‘nduja build.
Tying and Hanging the Wide Format
A wide, soft ‘nduja needs proper support while it hangs, and this is where people lose pieces. A heavy bung full of soft paste puts real strain on the tie, and a casing that slips off its string and drops to the chamber floor mid-cure is a sad thing to find. I tie both ends firmly with curing-grade twine, then add a loop or a butcher’s net for anything large so the weight is carried by the net rather than by a single pinch of casing. A net also gives the surface a regular pattern of contact and air gaps that helps the mould establish evenly.
Hang the piece so air can circulate all the way around it — not touching a wall, a shelf, or its neighbour. With a wide format the back side that faces a surface will dry slower and can develop a damp patch where mould goes the wrong way. I rotate larger pieces every week or so to even out the exposure, and I keep them spaced on the rail. The airflow over a wide bung is something I manage deliberately with the chamber fan, because a soft fat sausage in a still pocket of air is asking for trouble on the surface.
Casing, Mould, and the Surface
One genuine advantage of a natural beef bung over a synthetic casing is how it carries the protective white mould. A good Penicillium nalgiovense bloom on a natural casing forms an even, powdery white coat that buffers humidity swings at the surface, discourages the bad moulds, and contributes flavour. Collagen and fibrous casings can take mould too, but never quite as readily or as evenly as a natural bung that is shrinking and breathing with the meat. If a category-leading ‘nduja is the goal, the natural casing is doing quiet work for you the whole way through the dry — which is why I treat the casing as part of the recipe, not just a container.
Casing Options Compared
| Casing | Format | Dry time | Best for |
|---|---|---|---|
| Wide beef bung | Fat round torpedo | Longest | Classic look, mould bloom, larger batches |
| Beef middle | Long, medium width | Medium | Faster, predictable dry |
| Sewn-end beef cap | Tidy closed package | Medium | Easy handling and portioning |
| Collagen (wide) | Uniform tube | Variable | Convenience; less ideal for long dry |
What to Avoid
A few casings are simply wrong for ‘nduja, and it is worth naming them. Narrow hog casings — the standard fresh-sausage size — cannot hold the soft paste in a meaningful format and dry far too fast for the soft-spread endpoint; you end up with thin, over-dried links rather than a spreadable sausage. Plain non-breathable plastic casings trap moisture and will not let the piece cure at all. And any casing with a hole or weak seam is a liability in a wide format, because the internal pressure of soft paste finds every flaw and weeps fat through it. Match the casing to the job: wide, natural, breathable, and sound.
My Recommendation
If you want the authentic result and you have stable humidity, use a wide natural beef bung and enjoy the mould bloom and the classic shape. If you are learning, or your chamber’s humidity still wanders, start with a sewn beef cap or a beef middle — smaller, faster, more forgiving, and far less likely to case-harden while you dial in the climate. Either way, prep the casing carefully, stuff it cold and firm, and let the weight log tell you when to stop. Good mould management matters on any of them, which is why I seed mine with a Penicillium culture and watch for the difference between good white mould and the bad black or green kind.
Related Guides
- How to Make ‘Nduja at Home: Calabrian Spreadable Salami
- How Long to Dry ‘Nduja: Soft-Spread Endpoint by Weight
- Salami Casing Types: Hog vs Beef Middle vs Collagen
- Why Is My ‘Nduja Greasy Instead of Spreadable?
- How to Make Sobrasada