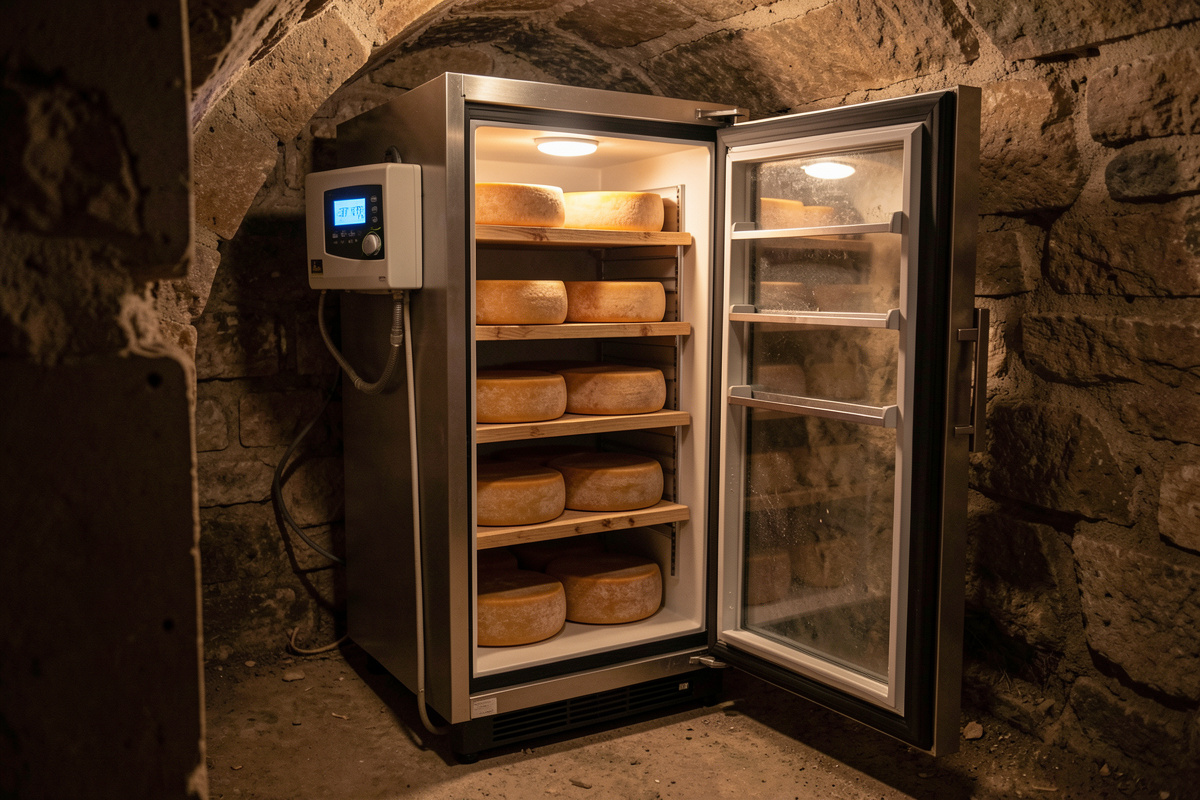

A cheese cave is simply a small fridge held at 10–13 °C and 80–90% relative humidity instead of the 4 °C and bone-dry air a kitchen fridge runs. Convert a mini fridge with a dual-stage temperature controller, a humidity source, and a hygrometer, and you have a working aging chamber for under the cost of a single wheel of imported aged Gouda. I built my first cheese cave from a dented bar fridge, and it has aged more cheddar than I care to admit.
If you are completely new to this, start with my complete guide to home cheese aging for the full picture, then come back here for the build. The conversion is mechanically simpler than the meat chambers I run, because cheese forgives a wider window than dry-cured sausage does. But the humidity target is much higher — cheese wants 80–90% RH where my salami chamber sits at 75–80% — and that single difference is what trips up most first-time builds. Get the humidity right and the rest is patience.
As an Amazon Associate I earn from qualifying purchases.
Why a Kitchen Fridge Won’t Age Cheese
A standard fridge runs at roughly 4 °C with 30–40% relative humidity — too cold to let the cultures and enzymes in cheese keep working, and far too dry, so a natural-rind wheel cracks and case-hardens within a week. Aging cheese needs warmth the enzymes can work in and moisture the rind can hold onto.
The enzymes that turn a bland young curd into something complex slow to a crawl below about 8 °C and effectively stall in a freezer-cold compartment. Meanwhile the auto-defrost cycle on most modern fridges actively strips humidity out of the box on purpose, which is exactly what you don’t want. That is why you convert a separate mini fridge rather than trying to share the family one — you need to override both the temperature and the dehumidifying behavior.
What You Need to Convert a Mini Fridge
The core build is three parts: a controller to override the fridge’s thermostat, a humidity source the controller can switch, and a calibrated hygrometer so you can actually trust your numbers. Everything else is refinement.
- A mini or bar fridge — 40–120 litres is plenty for a home wheel program. A used larder-style mini fridge with no freezer box is ideal because there is no defrost element fighting you.
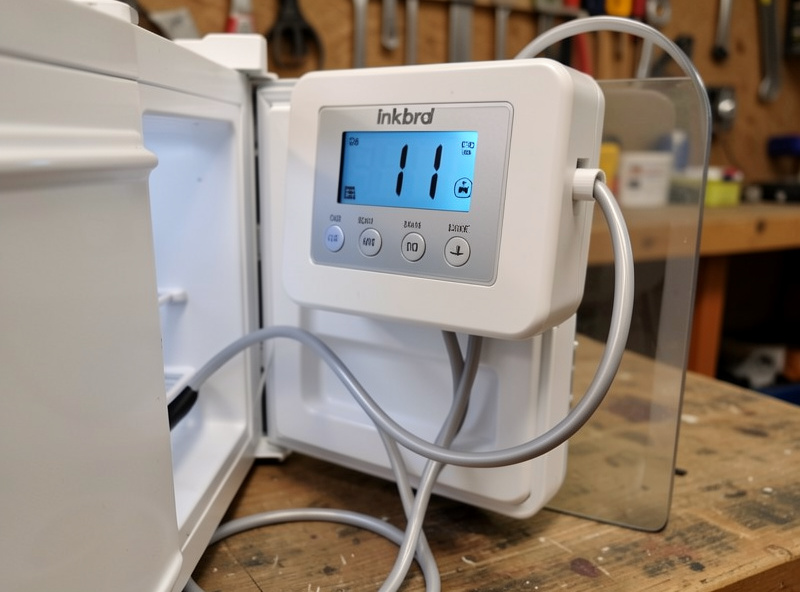
- A dual-stage temperature controller — I run an Inkbird ITC-308 on every chamber I build. You plug the fridge’s compressor into the cooling socket, drop the probe inside, set 11 °C, and the controller cycles the compressor to hold that instead of the factory 4 °C.
- A humidity source plus a humidity controller — a small ultrasonic cold-mist humidifier plugged into an Inkbird IHC-200, which switches it on whenever RH drops below your setpoint. For a tiny box, a tray of water and a damp sponge can passively hold the mid-80s, but a controlled humidifier is steadier.
- A reference hygrometer/thermometer — I leave a SensorPush HT.w at shelf height as the trusted reading and cross-check it against an Inkbird IBS-TH3. Calibrate both with the salt-test before you trust a single number.
Setting Temperature: The 10–13 °C Window
Set the temperature controller to hold 11 °C as a safe all-round target, with a 1 °C differential so the compressor isn’t short-cycling. That sits in the classic 10–13 °C cheese-cave band where most aging cheeses — cheddar, Gouda, alpine styles, tomme — ripen at a sensible pace without souring or sweating.
Warmer than about 14 °C and you accelerate ripening but also invite slip-skin, unwanted yeast, and oily fat-out on the rind; colder than 9 °C and the cheese sulks and the rind dries. I keep my cheese chamber a couple of degrees warmer than the salami chamber I run alongside it precisely because cheese enzymes want that gentle warmth. Bloomy-rind cheeses like Brie are the exception and prefer the cooler end nearer 10 °C; firm wheels are happy at 11–13 °C. If you are still choosing what to put in the cave, my list of best beginner cheeses to age at home covers the low-risk wheels that suit a first run.
Humidity Is the Hard Part
Cheese aging lives or dies on humidity. The target for most natural-rind wheels is 80–90% RH, and holding that inside a fridge — a box engineered to stay dry — is the single biggest difference between a cheese cave and any meat chamber.
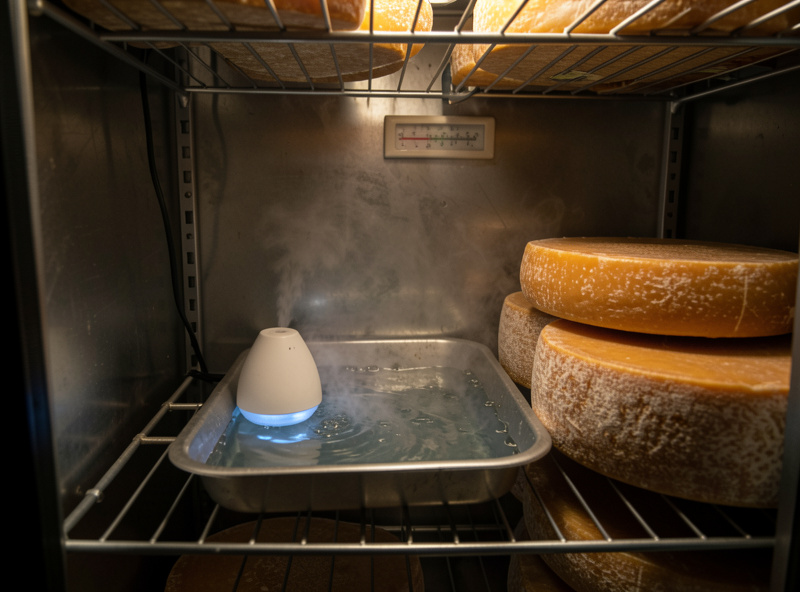
In a small box, the cheese itself plus a tray of water will often carry you into the low 80s passively. To push and hold the mid-to-high 80s reliably I wire an ultrasonic humidifier through the IHC-200 set to kick in below 85% RH. The mistake I see constantly is people chasing 90%+ with a humidifier running flat out, then finding condensation pooling and wild mold blooming on every surface. If the walls are wet, you are too high — back off to the low 80s and let the rind firm up. Cheeses that are waxed or vacuum-sealed don’t care about chamber RH at all, which is the whole point of those methods; only exposed natural-rind wheels need the high-humidity environment.
Airflow, Shelving, and Daily Care
Cheese needs gentle air exchange to clear the ammonia and CO₂ that ripening throws off, but nothing like the active fan cycling a salami chamber demands. Cracking the door for 30 seconds once a day, or running a small low-speed fan on a short interval, is enough. Stale, sealed-tight air is how you grow slimy rinds and off smells.
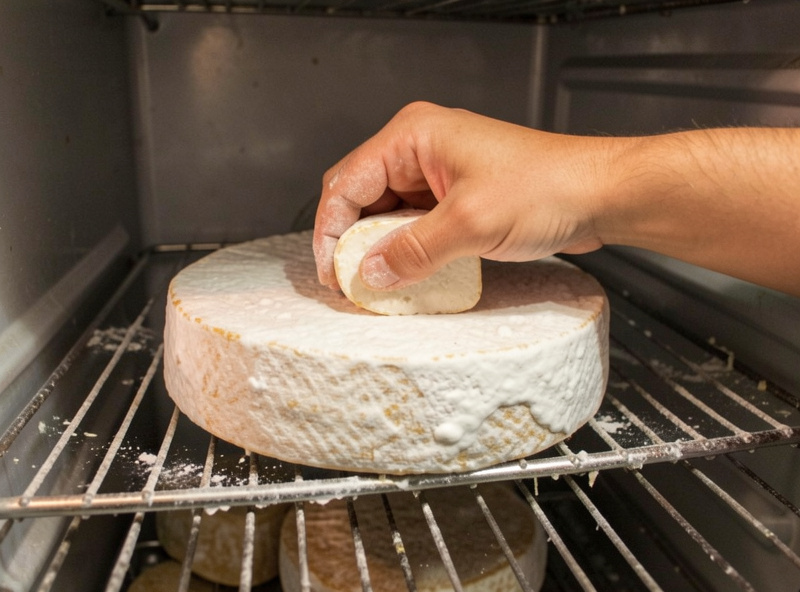
Use a coated wire rack or a cheese mat so air reaches the underside of every wheel, and turn each wheel every few days so it ages evenly and doesn’t flatten or stick. I wipe down the interior with a light brine-dampened cloth weekly to keep the surface ecology in check, and I keep a weight log on every wheel — the same habit I bring from meat curing, because steady weight loss tells you the wheel is drying and concentrating the way it should rather than sitting waterlogged.
Common Mini-Fridge Cave Problems
Most early failures trace back to three things: humidity that swings, a probe in the wrong spot, or a defrost element you forgot about. A controller probe sitting against the cold back wall reads several degrees off from shelf height, so the compressor runs at the wrong times — always place the probe where the cheese actually sits, ideally taped to a small jar of water so it reads a stable average rather than every door-open spike.
If you bought a fridge with an auto-defrost freezer box, that element will dump heat and strip humidity on its own schedule no matter what your controller wants; choose a simple larder fridge without one. And if you see white or blue-grey powdery mold on a natural rind, that is usually normal and brushed back with a brine cloth — but fuzzy black or sticky pink growth means your humidity is too high and airflow too low. When in doubt about a slimy or genuinely off wheel, throw it out; cheese isn’t worth a gamble.
Frequently Asked Questions
What temperature and humidity should a cheese cave be?
Most aging cheeses want 10 to 13 degrees Celsius and 80 to 90 percent relative humidity. A safe all-round setting is 11 degrees Celsius at 85 percent RH, which suits cheddar, Gouda, and alpine styles without souring or drying out the rind.
Can I convert any mini fridge into a cheese cave?
Almost any mini or bar fridge works, but choose a simple larder fridge with no freezer box. Auto-defrost elements dump heat and strip humidity on their own schedule, fighting your controller. A 40 to 120 litre box suits a home wheel program.
Do I need a temperature controller, or just turn the fridge dial up?
You need an external dual-stage controller like an Inkbird ITC-308. A factory fridge dial cannot reach 11 degrees Celsius; its warmest setting still runs near 5 to 7 degrees. The controller overrides the thermostat by switching the compressor on and off at your setpoint.
How do I hold high humidity inside a fridge?
Use a small ultrasonic humidifier switched by a humidity controller set to trigger below 85 percent RH, plus a tray of water. In tiny boxes a damp sponge and water tray can passively hold the low 80s. If walls go wet with condensation, lower the target.
Does the cheese need airflow?
Yes, gentle air exchange clears the ammonia and CO2 that ripening releases. Cracking the door for 30 seconds daily, or a low-speed fan on a short interval, is plenty. Cheese needs far less active airflow than a salami chamber but should never sit in stale sealed air.
How much does a mini-fridge cheese cave cost to build?
A used bar fridge plus a temperature controller, a humidity controller, a small humidifier, and a calibrated hygrometer typically lands the whole build well under the price of a few wheels of imported aged cheese. The controllers are the main spend and last for years.
Related Guides
- Home Cheese Aging: The Complete Guide
- Best Cheese to Age at Home for Beginners
- How to Wax Cheese for Aging
Disclosure: some links above are Amazon affiliate links and I may earn a small commission if you buy through them, at no extra cost to you.