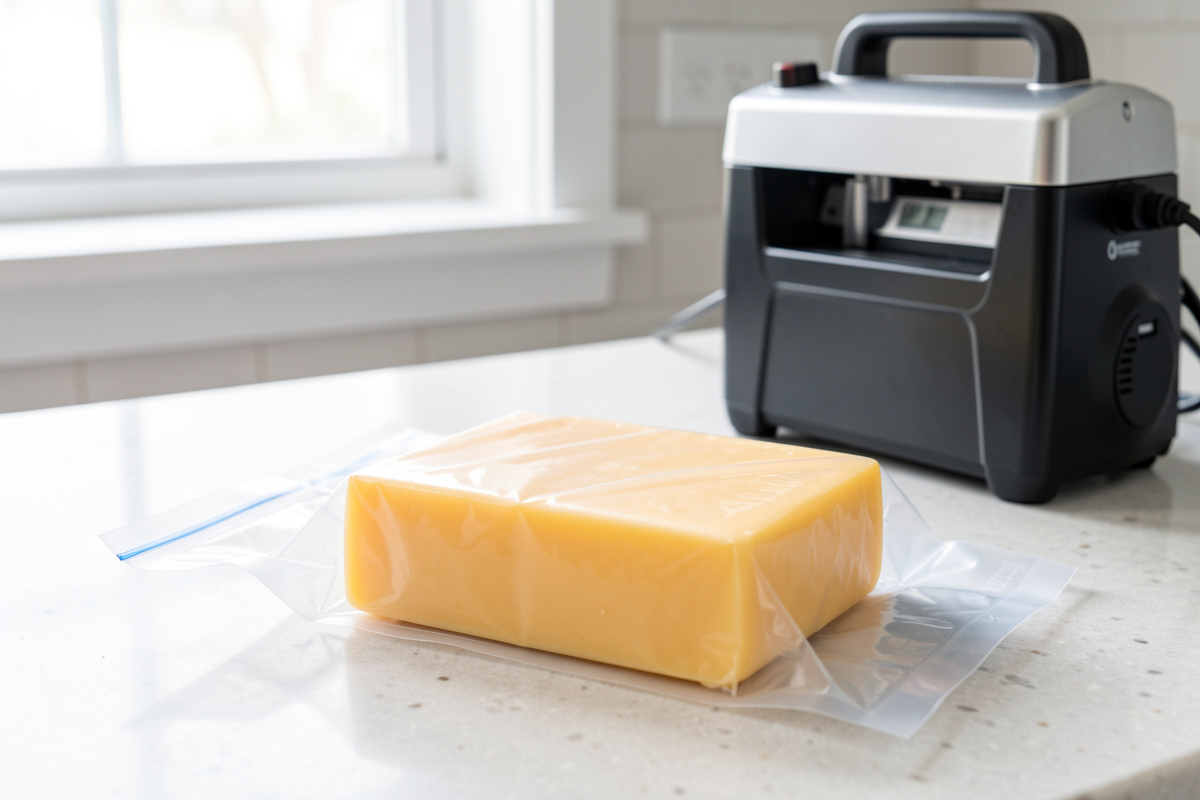

Vacuum sealing is the simplest way to age hard cheese without a humidity-controlled cave: you seal the wheel in a barrier bag, pull the air out, and let it ripen in an ordinary fridge at 3–8 °C for one to twelve months. The bag holds the cheese’s own moisture against the surface, so there is no rind to crack and no chamber humidity to babysit. I vacuum-age the cheddar I don’t want to fuss over, and it comes out clean and sliceable every time.
It is not the same cheese you get from a natural rind — vacuum-aged wheels stay moister, milder, and rindless, with none of the earthy complexity a mold rind develops. But for a beginner with only a kitchen fridge — rather than a converted mini-fridge cheese cave — or for any cheese you simply want to mature reliably, it removes the two things that wreck most first attempts: humidity swings and surface mold. The trade-off is flavor depth for foolproof simplicity.
As an Amazon Associate I earn from qualifying purchases.
How Vacuum Aging Actually Works
Vacuum aging works by sealing the cheese in an oxygen-barrier bag so its own moisture stays trapped at the surface, keeping it from drying while enzymes and residual cultures continue ripening it from the inside. Remove the air and you remove the environment mold and unwanted yeast need to colonize the rind.
A natural-rind wheel ages in conversation with the air around it — it loses moisture, grows mold, breathes off ammonia, and that exchange is exactly what builds rustic complexity. A vacuum-sealed wheel does none of that. The aging is purely internal: the proteins and fats break down under the action of the cheese’s own enzymes, producing a smoother, more uniform result. Because almost no moisture leaves the bag, vacuum-aged cheese also shrinks far less than an open-air wheel, which can shed 15–20% of its weight to evaporation over a long age.
What You Need to Vacuum Age Cheese
The kit is short: a vacuum sealer, the right bags, and an ordinary fridge. You do not need a controller, a humidifier, or a cave — which is the whole appeal.
- A chamber or external vacuum sealer. An external clamp-style vacuum sealer handles cheese well; a chamber sealer is gentler on soft wheels but overkill for hard cheese at home.
- Embossed or barrier bags. Use proper oxygen-barrier vacuum-seal bags; thin household zip bags are not airtight enough for a months-long age.
- A fridge held at 3–8 °C. A normal kitchen fridge is fine here — that is the point. A slightly warmer dedicated fridge around 7–8 °C ripens a touch faster, but the family fridge works.
- A scale and a marker. I date and weigh every bag so I know exactly how long each wheel has aged and can track it the way I track everything else.
Step by Step: Sealing a Wheel
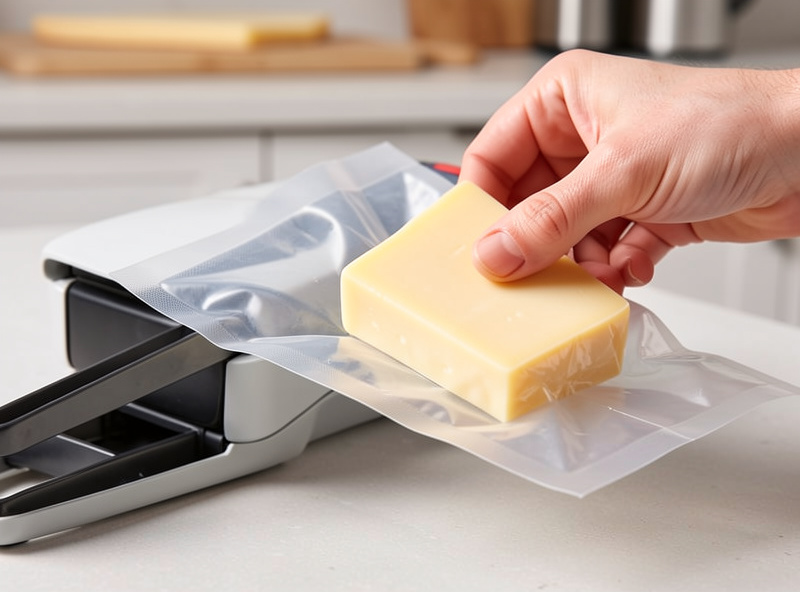
Dry the cheese surface thoroughly with a clean cloth before sealing — surface moisture is what lets liquid pool inside the bag and feeds off flavors. Cut the wheel into block sizes you will actually use, because every time you open a bag you reset the clock and have to reseal.
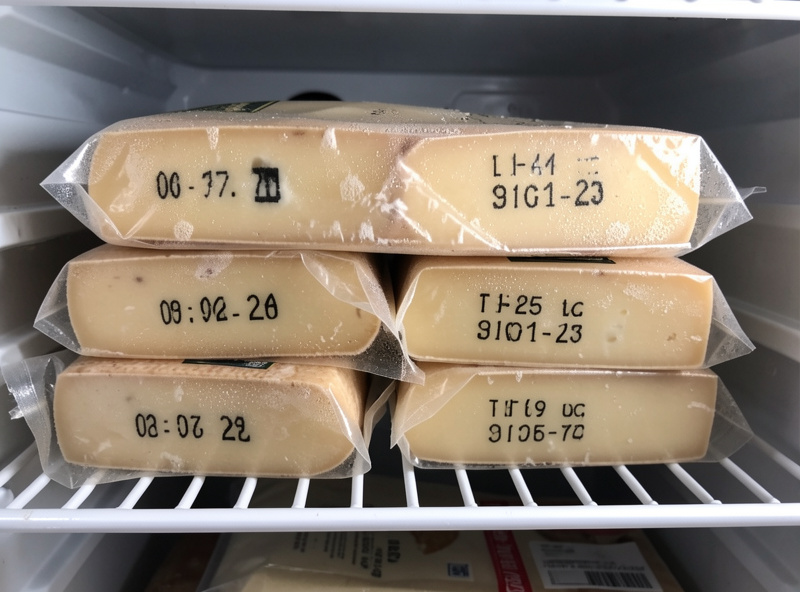
Seal each piece in its own bag with the tightest vacuum the sealer will pull without crushing the cheese, then double-check the seal line is clean and continuous. Label with the cheese and the date. Lay the bags flat in the fridge and leave them alone. The hardest discipline in vacuum aging is not opening the bag “just to check” — every reseal introduces air and a little risk. Weigh and log at the start so you have a reference, then be patient.
How Long to Vacuum Age
Most hard cheeses vacuum-age well over one to twelve months, with three to six months being the sweet spot for a noticeable jump in flavor on a young cheddar or Gouda. Longer is possible but gains slow down, and the rindless texture means it never develops the deep character of a long-aged natural-rind wheel.
A young cheddar will sharpen meaningfully by three months and keep deepening to around six to nine. Gouda smooths and gets nuttier on a similar curve. Because there is no moisture loss to drive concentration, the changes are gentler than open-air aging — you are tasting enzymatic breakdown, not the dehydration-and-concentration effect a cave gives. Check at intervals by tasting a piece from a bag you intend to open anyway, not by cracking every bag.
Which Cheeses Vacuum-Age Best
Firm and hard cheeses are the natural fit for vacuum aging: cheddar, Gouda, Edam, Colby, and young alpine-style wheels all mature cleanly in a bag because their lower moisture and dense paste handle months under vacuum without slumping. These are the same cheeses I’d point a beginner toward for a first age, vacuum or otherwise.
Soft and bloomy cheeses are a poor match. A Brie or Camembert needs air and surface mold to ripen, and vacuum pressure flattens and smothers them — seal one and you get a sad, ammoniated puck. Blue cheeses are similar; the Penicillium roqueforti that veins a blue needs oxygen reaching the interior through pierced channels, which a vacuum bag denies. Stick vacuum aging to the firm, rind-optional cheeses, and reserve waxing or open-air caves for anything that wants a living rind. The way I think about it: if the cheese’s character comes from its surface, don’t bag it; if its character comes from the inside, the bag is your easiest path.
Liquid in the Bag and Other Worries
A little whey weeping into the bag is normal, especially with younger or moister cheese; a lot of pooling liquid usually means the surface wasn’t dry enough at sealing or the cheese was too young and wet. Pat it dry and reseal if it is early, or simply use it if it is near done. The cheese itself is fine as long as it smells and looks clean.
The real warning signs are the same as any cheese: a seal that has failed and let air in, a puffy bag (gas from unwanted fermentation), or any pink, fuzzy, or slimy growth where air got in. A failed-seal bag should be opened, the cheese inspected, and rindless cheese with off smells or suspect growth thrown out — when in doubt, bin it. Vacuum aging is forgiving precisely because a good seal keeps trouble out; the failures are almost always failed seals.
Frequently Asked Questions
Can you age cheese by vacuum sealing it?
Yes. Sealing hard cheese in an oxygen-barrier bag and holding it at 3 to 8 degrees Celsius lets it ripen for one to twelve months. The bag traps the cheese’s own moisture so it ripens internally without a rind, humidity control, or a cave.
How long does vacuum-sealed cheese take to age?
Most hard cheeses improve noticeably between three and six months vacuum-sealed, and can go up to twelve. A young cheddar sharpens by three months. Gains slow after about nine months because there is no moisture loss to concentrate flavor.
Why is there liquid inside my vacuum cheese bag?
A small amount of weeping whey is normal, especially with younger or moister cheese. Heavy pooling usually means the surface was not dried before sealing or the cheese was too wet. Pat it dry and reseal if it is early in the age.
Is vacuum-aged cheese as good as cave-aged?
It is different. Vacuum aging gives a moister, milder, rindless cheese that ripens reliably but never develops the earthy complexity of a natural mold rind. For a beginner or a kitchen fridge it is far more foolproof than open-air cave aging.
What kind of bag do I need to vacuum age cheese?
Use proper oxygen-barrier vacuum-seal bags rated for long storage, either embossed channel bags or chamber pouches. Thin household zip bags are not airtight enough to keep oxygen out over a months-long age and will let the rind develop mold.
Keep Aging
- Home Cheese Aging: The Complete Guide
- How to Wax Cheese for Aging
- Best Cheese to Age at Home for Beginners
- Build a Cheese Cave From a Mini Fridge
Disclosure: some links above are Amazon affiliate links and I may earn a small commission if you buy through them, at no extra cost to you.