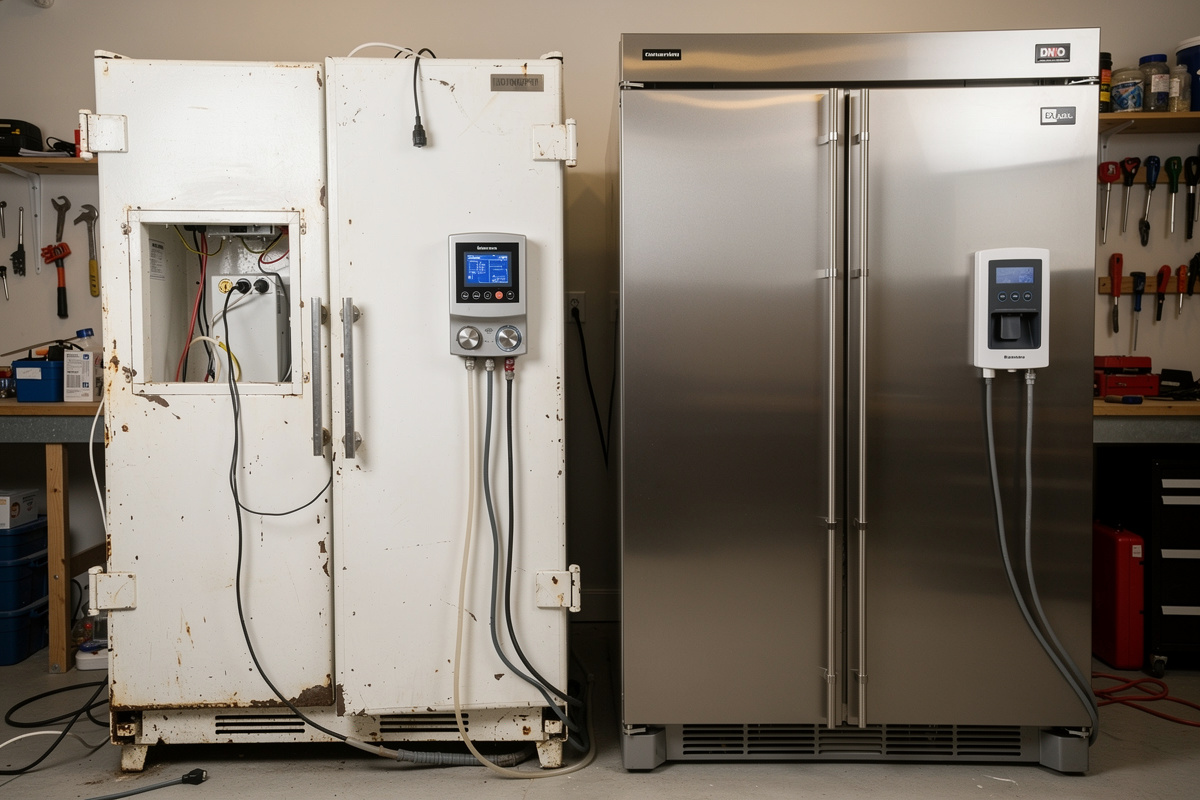
Budget vs Premium Curing Chamber Build: What Extra $200 Gets You
May 12, 2026

A budget curing chamber costs $130 to $175 using a used mini fridge, an Inkbird ITC-308 temperature controller, a basic ultrasonic humidifier, and no dedicated dehumidifier — and it cures salami and whole muscles reliably for two to three years if the used fridge compressor holds up. Spending an extra $200 or so upgrades to a new fridge with a known-good compressor, adds a dedicated Inkbird IHC-200 humidity controller alongside the same ITC-308, a dedicated Peltier dehumidifier, and data logging — the premium build runs $347 to $463 and cures without the weekly calibration drift and humidity sawtooth that budget builds live with.
I built my overflow chamber — the smaller bar-fridge-sized second chamber I run for short cures and A/B humidity tests against my primary larder-fridge chamber — on the budget side of this chart first, then rebuilt it on the premium side, and the difference is not about better-tasting salami — the salami tastes the same when both configurations hold their setpoints. The difference is how much time you spend chasing the setpoints versus letting the chamber run. A budget build needs a humidity adjustment once a week and a temperature check every three days. A premium build holds climate for six weeks without a single controller touch. This is what the $200 buys you.
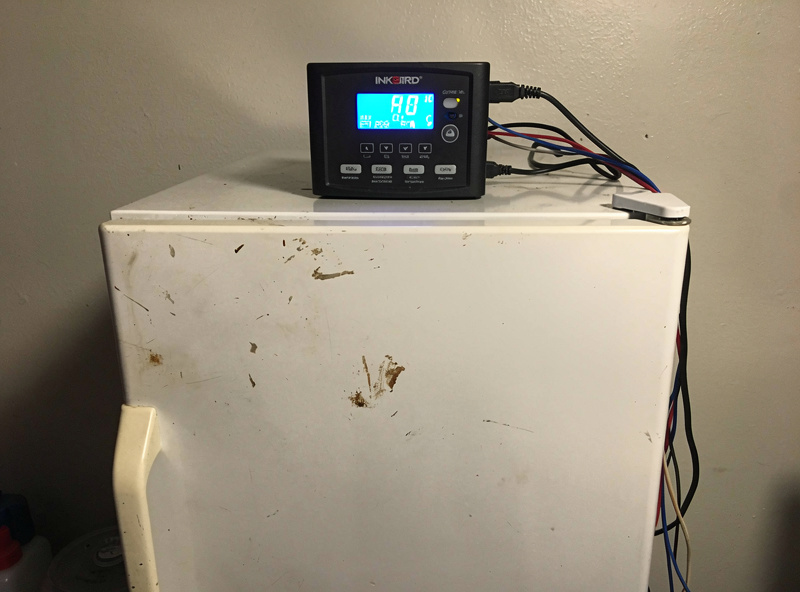
The $200-$280 Budget Build: What It Includes
The budget path starts with a used mini fridge from Facebook Marketplace — $40 to $80 for a 4.4-cubic-foot unit that is one to three years old and still has a sealing door gasket. Add an Inkbird ITC-308 temperature controller for $35, which handles cooling only — it turns the fridge compressor on and off to hold temperature within about 2°F of setpoint. For humidity, a $25 ultrasonic reptile fogger or room humidifier with a hose routed into the chamber provides moisture on a fixed cycle or a basic timer, not a humidity controller. The controller probe wires enter through the door gasket — no drilling — and the circulation fan is a $10 USB desk fan that runs continuously.
As an Amazon Associate I earn from qualifying purchases.
The budget build skips the dedicated dehumidifier. Instead, humidity control is passive: when humidity gets too high, the compressor cycle naturally condenses moisture out of the air, and the drain hole carries it away. This works for salami and whole-muscle cures where the humidity target is 70-80% RH and the meat itself releases moisture slowly. It stops working for dry-aged beef, which needs 60-65% RH and cannot get there with passive dehumidification in a chamber that is actively being humidified.
The budget build’s weak point is the controller. The ITC-308 is temperature-only — it has no humidity input, so humidity is a separate guesswork loop that you manage manually. You check the display of a $10 standalone hygrometer once a day and adjust the humidifier duty cycle accordingly. On a properly set up climate control system, temperature and humidity are managed by two dedicated controllers — the ITC-308 for temperature, a separate Inkbird IHC-200 for humidity — each switching its own output off its own sensor. The budget build has the temperature half automated and leaves humidity as pure guesswork, which is the piece the premium build fixes.
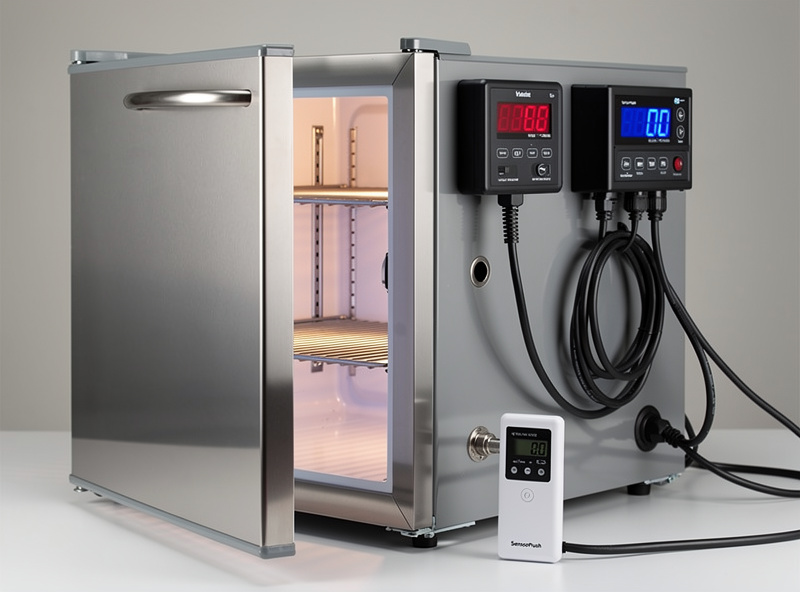
The $420-$480 Premium Build: Where the Extra Money Goes
The premium build starts with a new mini fridge — $140 to $180 for a Magic Chef or Danby 4.4-cubic-foot unit with a known-good compressor, no embedded odors, and a door gasket that seals from day one. The temperature controller stays the same Inkbird ITC-308 from the budget build — it’s the reliability benchmark I measure other controllers against, and there’s no reason to swap it. What I add is a dedicated Inkbird IHC-200 humidity controller (about $45-$60), wired to the humidifier on one relay output and a small dehumidifier on the other, running independently of the ITC-308. That’s the real upgrade: two purpose-built controllers instead of one temperature controller plus a guessing game. The lesson that pushed me to add the IHC-200 was watching humidity ride a 65-85% sawtooth for the full six weeks of a coppa cure in the budget-configured overflow chamber, because I was checking the hygrometer once a day and the humidifier was on a fixed timer, not a controller. A dry surface pulls moisture out of the interior faster than it can migrate up, and that hardened outer ring then blocks the rest of the piece from drying evenly — which is exactly what a humidity sawtooth does over weeks instead of hours. The salami in the same batch came out fine but the coppa case-hardened on the side facing the humidifier outlet — that one mistake cost me about $40 in pork shoulder and convinced me the dedicated humidity controller was the upgrade worth paying for.
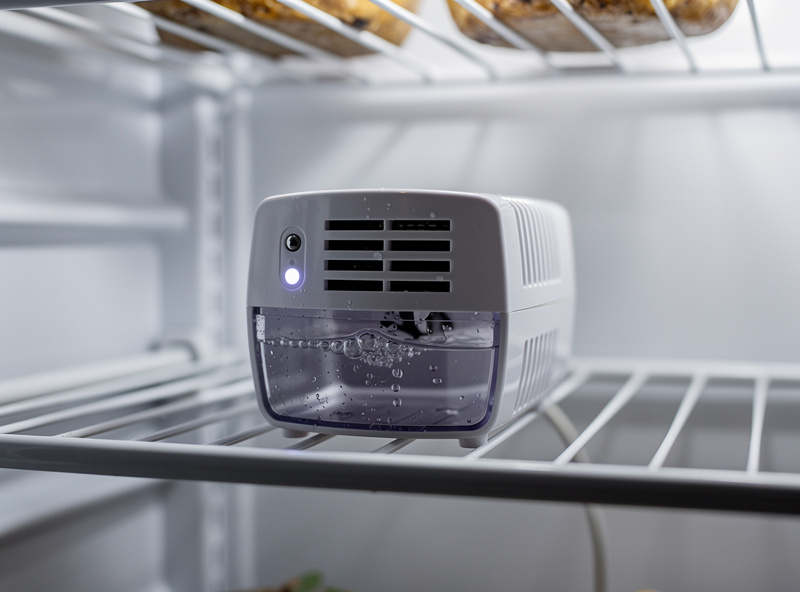
A dedicated Peltier dehumidifier — $35 to $50 for a small semiconductor unit that fits inside the chamber — gives active humidity reduction on command. When the humidity probe reads 78% against a 75% setpoint, the IHC-200 switches the dehumidifier on for sixty seconds and brings it back into band. The budget build waits for the compressor cycle to do the same thing over twenty minutes. The Peltier unit pulls about 200 milliliters of water per day in a 75% environment, and the water drips out the drain hole or collects in a small internal reservoir you empty once a week.
The data logging upgrade — a SensorPush HT1 or Govee WiFi unit for $30 to $50 — records temperature and humidity every minute and graphs the data on your phone. A troubleshooting session without data logging is guesswork: you see the humidity is high but have no idea whether it spiked three hours ago or has been climbing for three days. With a data logger, you see the sawtooth pattern of the defrost cycle, the recovery curve after a door opening, and the slow drift that means a gasket is starting to fail — all before the numbers on the display look wrong. I didn’t have logging on that first budget build, and in hindsight the coppa case-hardening would have shown up as a slow drift on a graph days before I caught it by eye — that’s the whole case for the upgrade, not any specific standard or manual.
The premium wiring and mounting adds $20 to $30. Rubber grommets for every penetration, a step drill bit for clean holes through the door, adhesive cable clips for wire routing, and food-grade silicone for sealing. The budget build routes wires through the door gasket; the premium build drills and seals properly, which eliminates the slow leak that the gasket-routed wires cause.
| Component | Budget Build | Budget Cost | Premium Build | Premium Cost |
|---|---|---|---|---|
| Fridge | Used mini fridge (1-3 yrs old) | $40-$80 | New Magic Chef 4.4 cu ft | $140-$180 |
| Temperature Controller | Inkbird ITC-308 (cooling only) | $35 | Inkbird ITC-308 (same unit) | $35 |
| Humidity Control | Manual (timer + hygrometer) | $10-$15 | Inkbird IHC-200 (dedicated humidity controller) | $45-$60 |
| Humidifier | Ultrasonic reptile fogger | $25 | Ultrasonic with hose adapter | $30-$40 |
| Dehumidifier | None (passive via compressor) | $0 | Peltier dehumidifier (200ml/day) | $35-$50 |
| Circulation Fan | USB desk fan (continuous) | $10 | 120mm PC case fan (controller-switched) | $12-$18 |
| Data Logging | Standalone hygrometer display | $10 | SensorPush HT1 or Govee WiFi logger | $30-$50 |
| Wiring & Sealing | Wires through door gasket | $0 | Grommets, drill bit, silicone, clips | $20-$30 |
| Total | — | $130-$175 | — | $347-$463 |
Note: the budget total assumes you already own a drill and basic hand tools. If you need to buy a step drill bit ($12-$20) and a screwdriver set, add $20 to the budget build. The premium total includes those tools because drilling is part of the premium build plan. The full build cost breakdown tracks the line-by-line spending on my three chamber builds with actual receipts.
Which Build for Which Curing Goal
The budget build is the right choice for whole-muscle charcuterie — pancetta, bresaola, coppa, duck prosciutto. These cuts are forgiving of humidity swings because the muscle structure holds moisture evenly and the salt equilibrium buffers the 3-5% RH fluctuations that a budget chamber produces during compressor cycles. A pancetta cured in a budget chamber tastes identical to one cured in a premium chamber because the fat content and salt level are the dominant variables, not the climate precision.
The premium build becomes necessary for salami and fermented sausages. Salami casing mold needs stable humidity to colonize evenly — a humidity swing from 80% to 70% and back over a compressor cycle causes the white mold to stall at the edges of the casing, creating patchy coverage. The fermentation phase of salami, where pH drops from 5.7 to 5.0 over 48-72 hours, is temperature-sensitive within a 2°F band. A budget controller that cycles temperature between 68°F and 72°F is fine. A budget controller that lets temperature spike to 76°F during the fermentation phase because the fridge compressor is undersized for the 15-pound thermal load of fresh sausage is not fine — the pH drop stalls, and pathogens survive. The fermentation pH and temperature targets above are in line with the dry and semi-dry fermented sausage validation parameters small commercial fermenters have to hold to — running well outside that window at home carries the same food-safety logic a regulated plant would have to document a corrective action for.
Dry-aged beef sits between these two categories. The temperature stability of a premium build helps, but the real requirement is the dedicated dehumidifier. Dry aging needs 60-65% RH, and passive dehumidification through the compressor cycle cannot get there because the meat itself releases moisture continuously. A budget build without a dehumidifier will sit at 72-75% RH regardless of controller settings, and the dry-aged ribeye will develop surface slime instead of a dry black bark. If dry aging is your primary goal, the premium build’s dehumidifier route is not optional.
Frequently Asked Questions
What is the cheapest way to build a curing chamber?
A budget curing chamber costs $130-$175 using a $40-$80 used mini fridge, a $35 Inkbird ITC-308 temperature controller, a $25 ultrasonic humidifier, a $10 USB fan, and a $10 hygrometer. Wires route through the door gasket instead of drilling. It cures whole-muscle charcuterie reliably for 2-3 years.
What does the extra $200 in a premium curing chamber buy?
The extra $200-$290 upgrades from a used to new fridge with a known-good compressor, adds a dedicated Inkbird IHC-200 humidity controller alongside the same Inkbird ITC-308 temperature controller (instead of manual timer-and-hygrometer guesswork), includes a dedicated Peltier dehumidifier for active humidity reduction, and adds data logging with phone alerts.
Can I cure salami in a budget curing chamber?
A budget chamber can cure salami but the manual humidity management and wider temperature swings cause uneven mold coverage and increase the risk of fermentation-phase stalls. Premium builds add a dedicated IHC-200 humidity controller alongside the ITC-308, which together hold the 2°F fermentation band and steady 75-80% RH that salami needs for even white mold.
Do I need a dehumidifier for a curing chamber?
You need a dehumidifier for dry-aged beef (60-65% RH target) because passive dehumidification through the compressor cycle cannot overcome the meat’s continuous moisture release. For salami and whole-muscle cures at 70-80% RH, passive dehumidification through the compressor and drain hole is usually sufficient.
Is a data logger worth $30-$50 for a curing chamber?
A data logger graphs temperature and humidity over time, revealing patterns that a real-time display cannot show: defrost cycle sawtooth, slow gasket leaks, and recovery time after door openings. Without logging, troubleshooting a humidity problem is guessing — with logging, you see the exact moment the problem started.
How long does a budget curing chamber last?
A budget chamber built on a 1-3 year old used fridge lasts 2-3 years before the compressor, gasket, or controller fails. A premium chamber built on a new fridge lasts 5-8 years with annual gasket replacement and controller calibration. Both produce the same quality cured meat while they are running.
Related Articles
- How to Build a Curing Chamber: The Complete Guide
- Curing Chamber Build Cost: What I Spent on My $200 Setup
- Best Refrigerator for a Curing Chamber Conversion: Size, Type, Door Orientation
- Curing Chamber Climate Control: Temperature, Humidity, and Airflow Science
- Home Salami Making: The Complete Guide from Grind to Cure